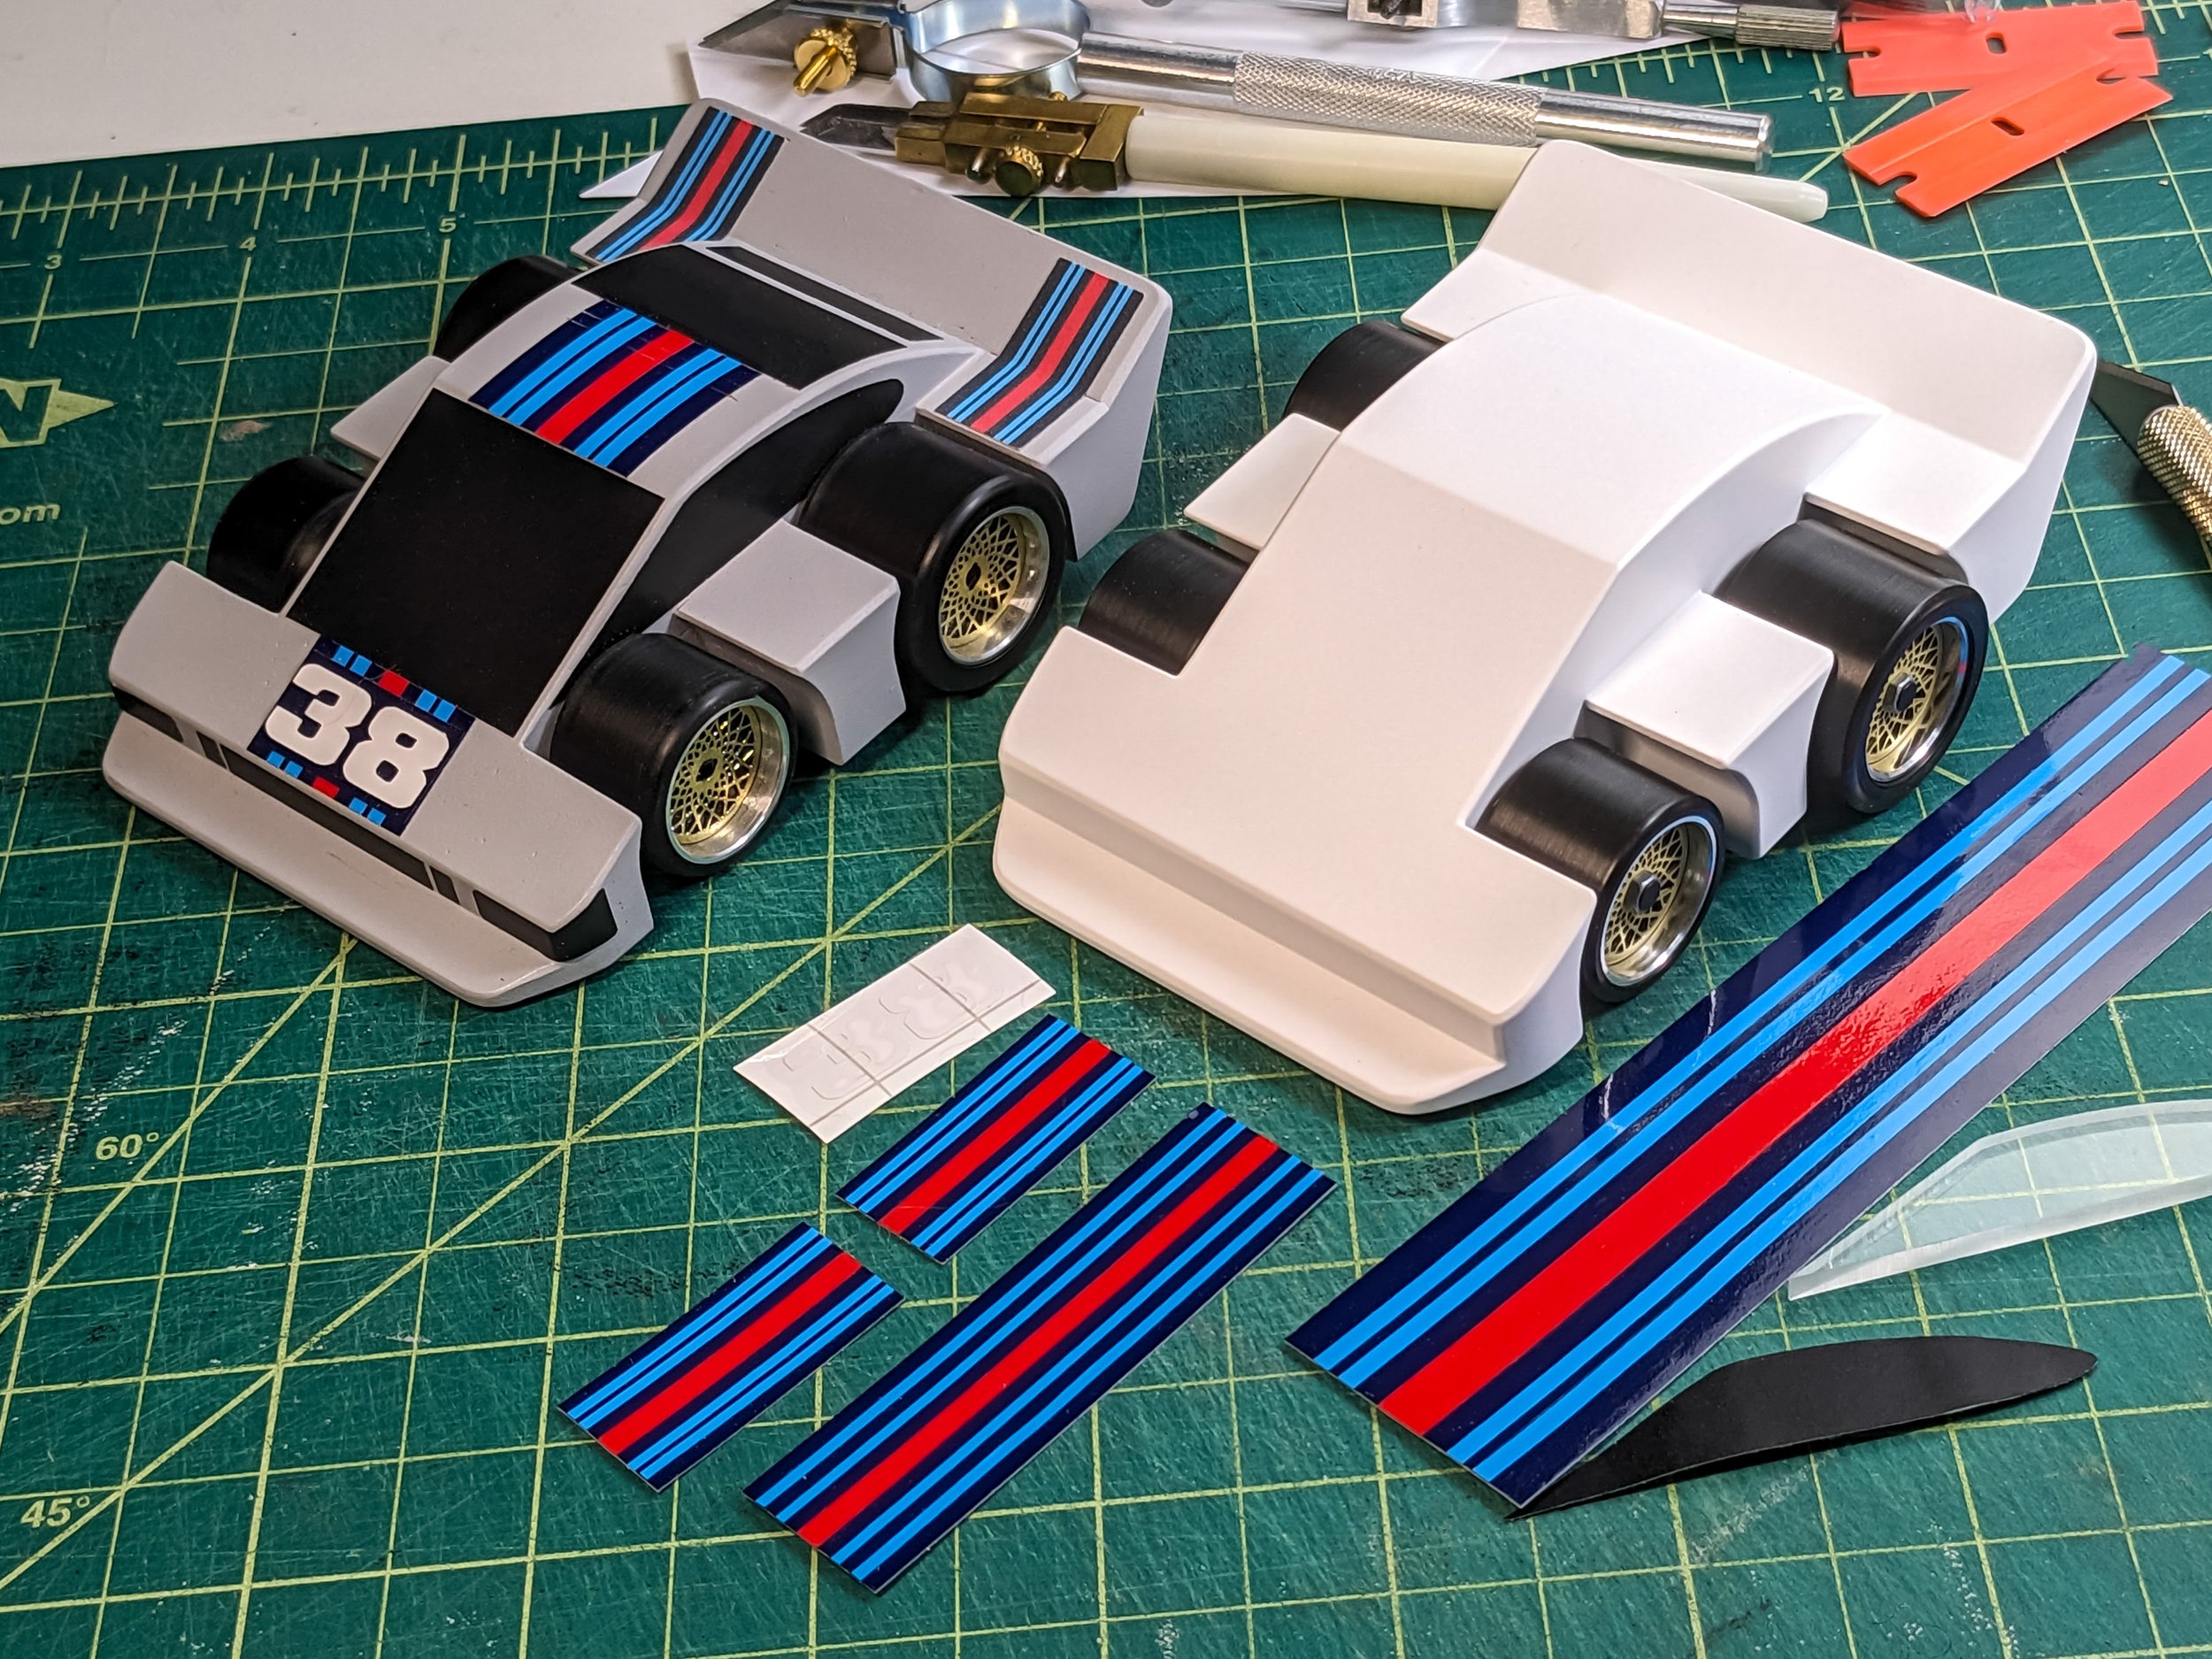
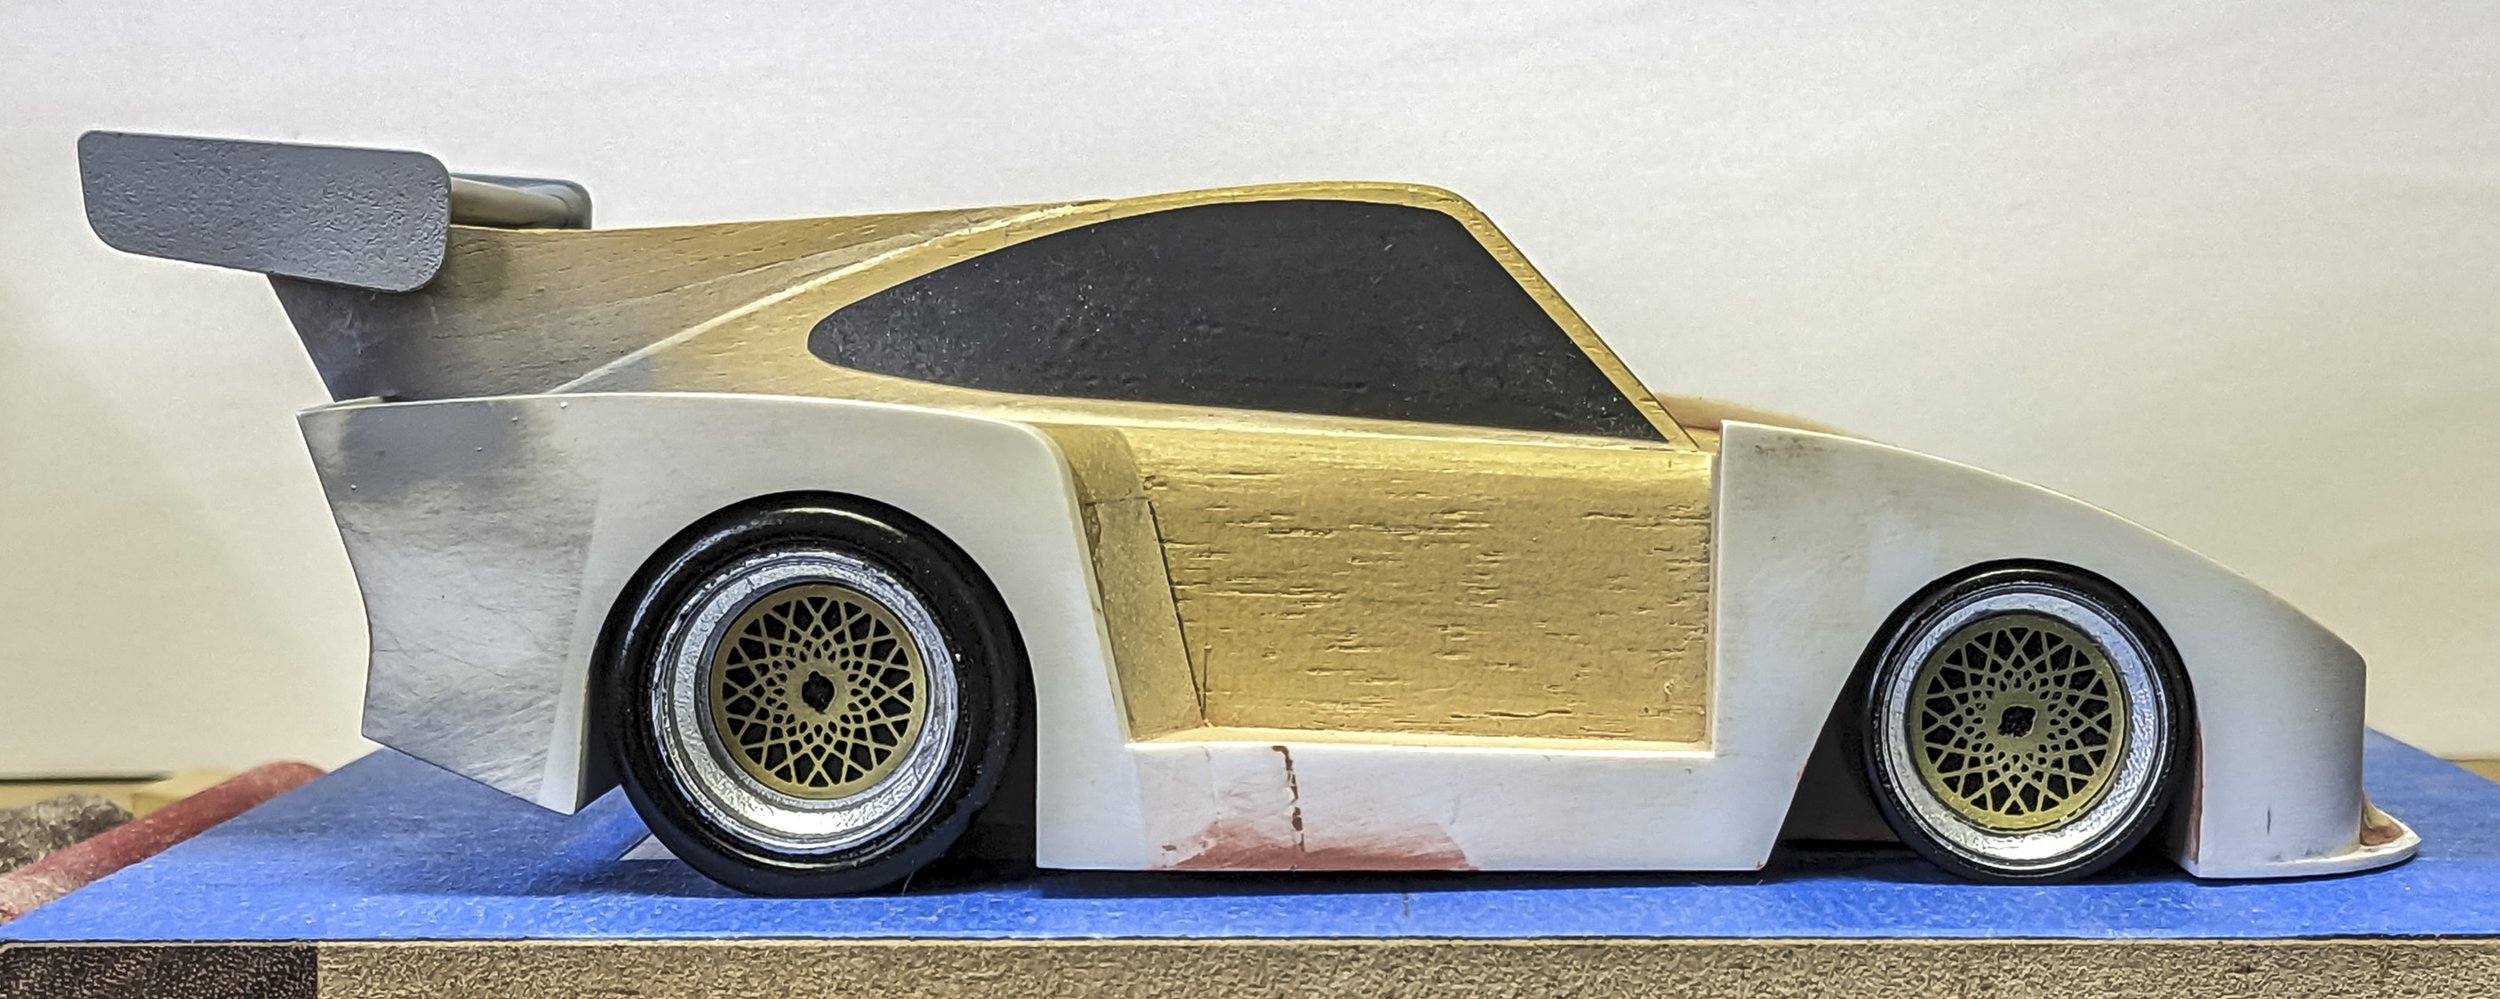
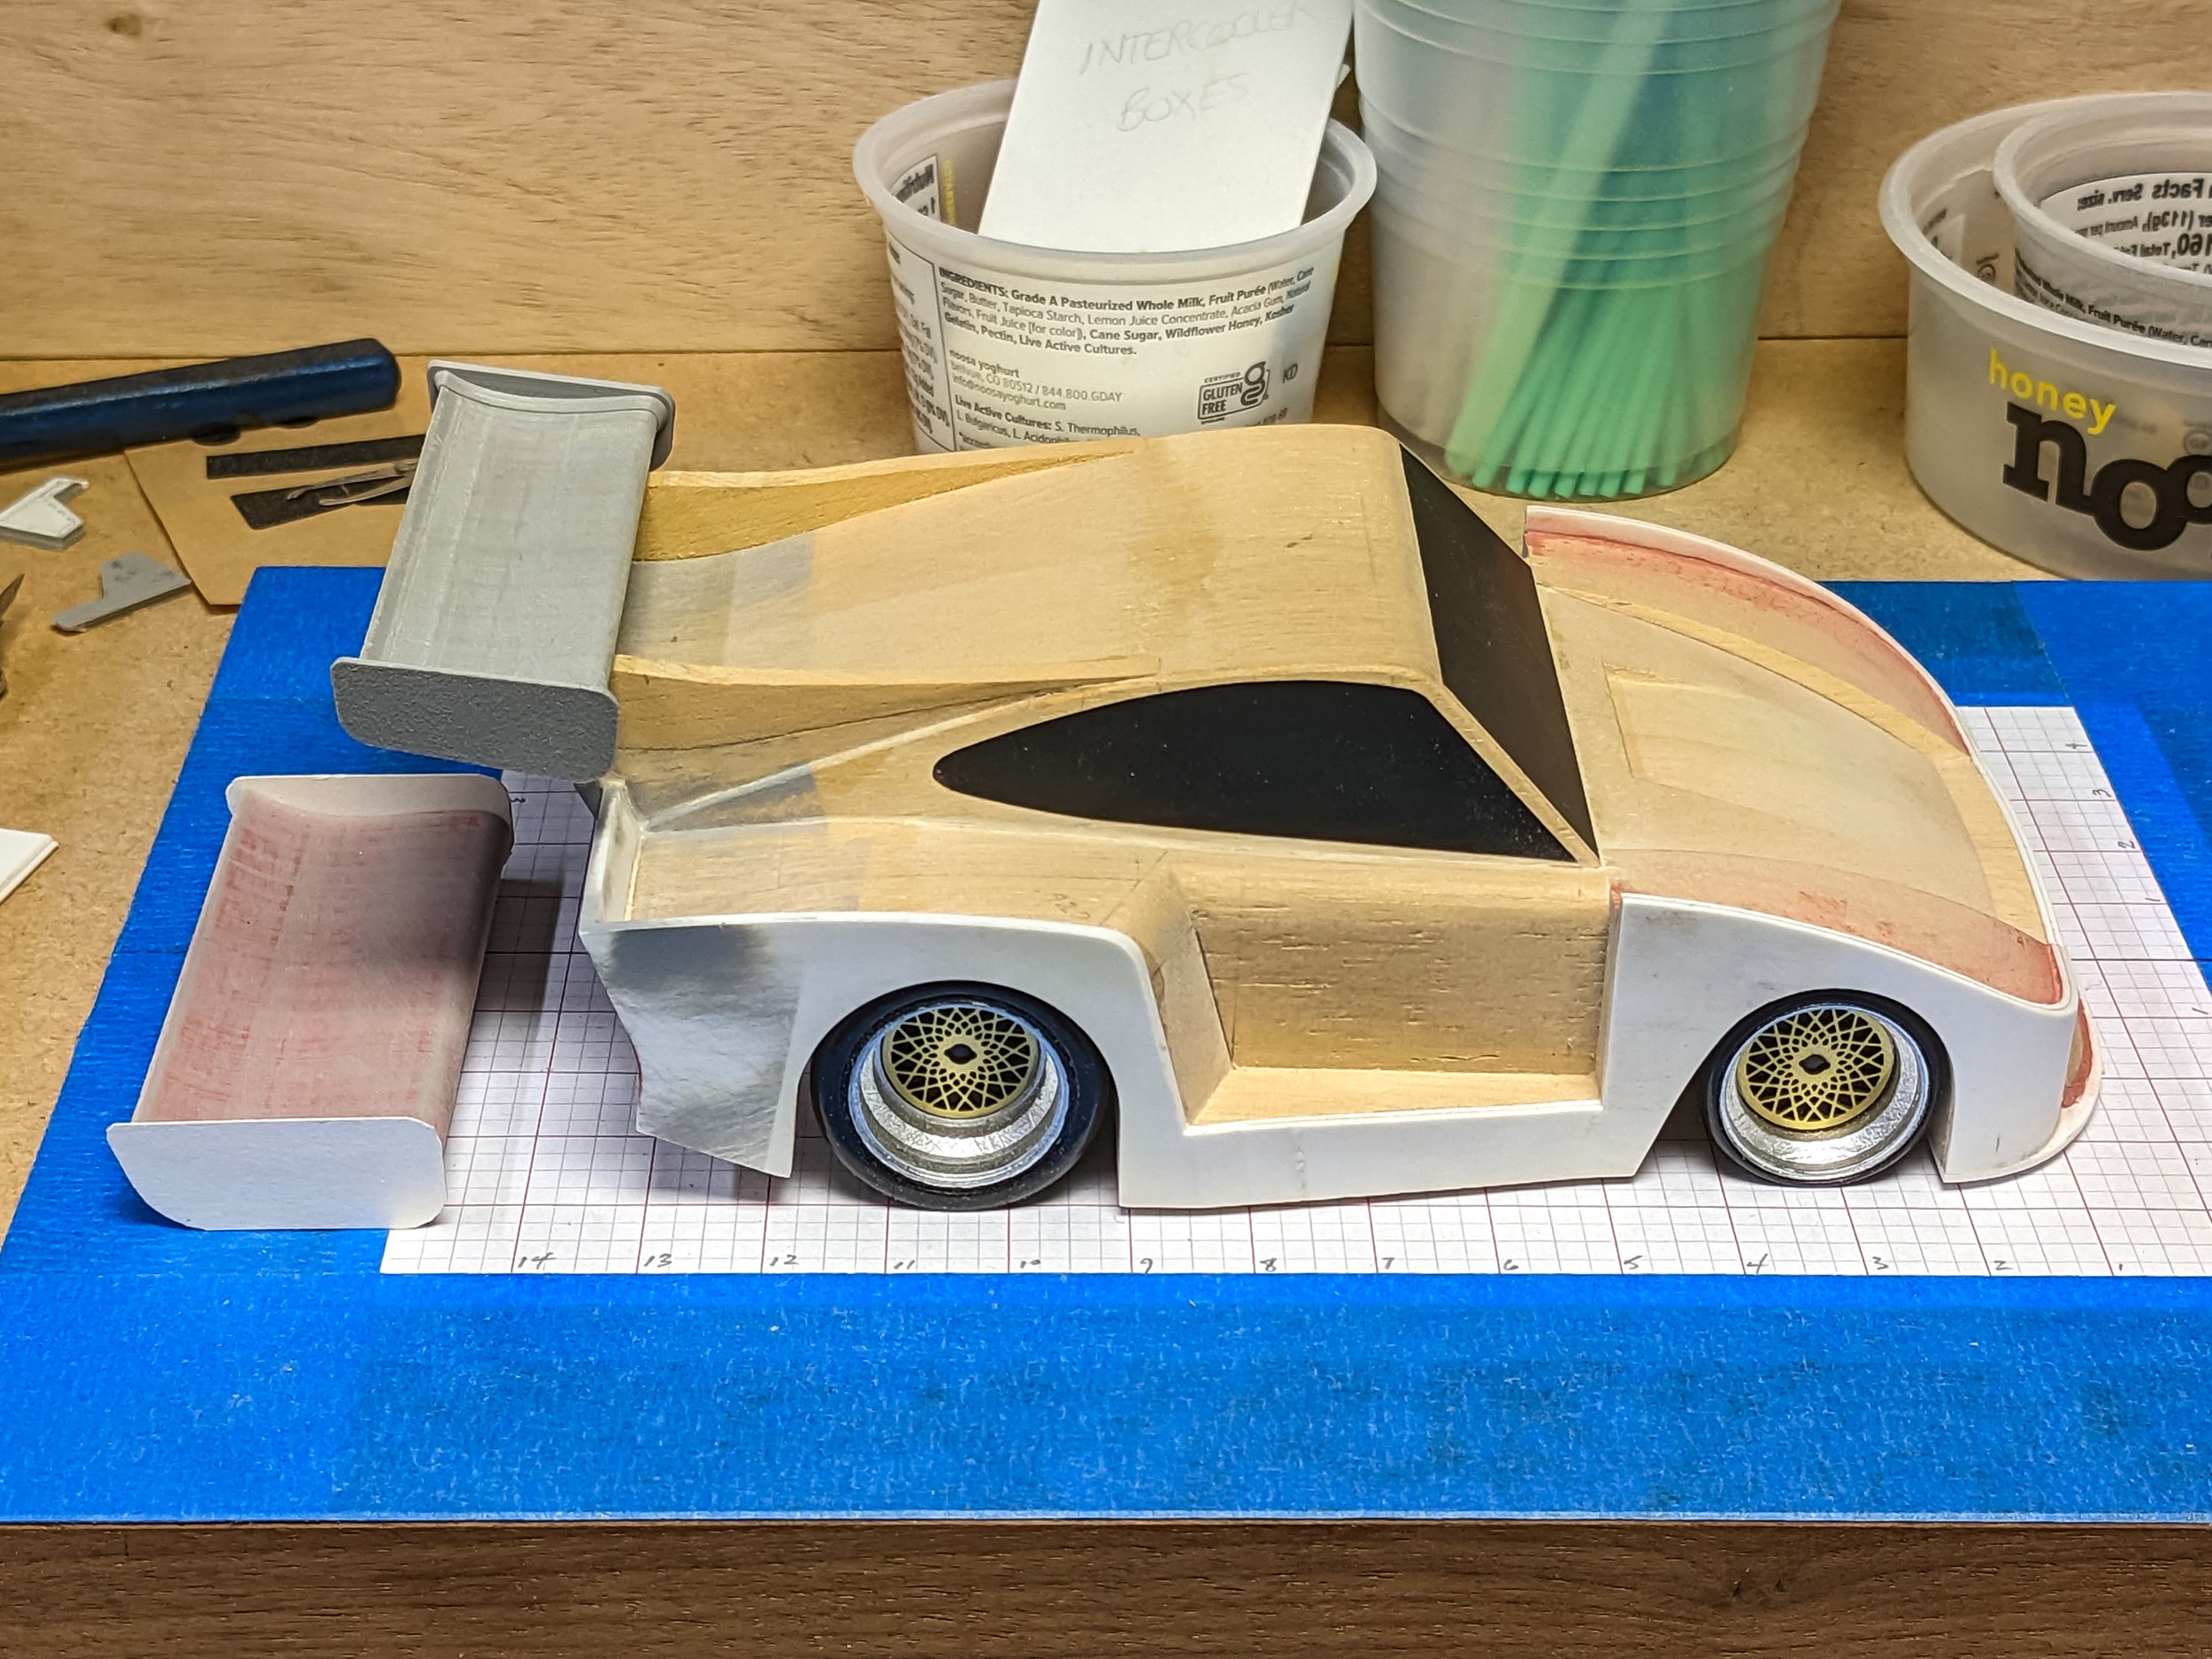
Big progress has been made on the group of four Co-Hog Porsche Restoration cars. The upgraded tire/wheel assemblies are ready to mount. An outside shop originally machined the tires and wheels in 1984 for the Co-Hog Porsche 956/962 series, but they required some serious tuning to bring them up to snuff.
Read MoreSpecial Edition - Ferrari Dino 308 GT4
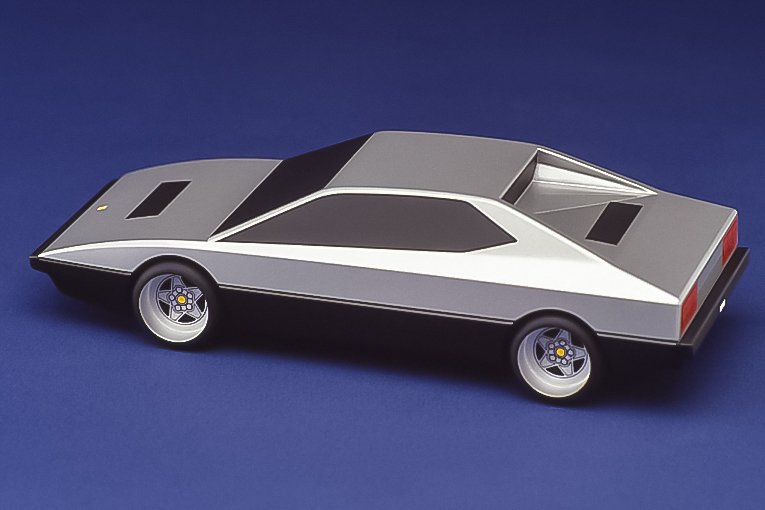
This handmade Co-Hog Special Edition Ferrari 308 GT4 was introduced in late 1982 and only four were made. This example, made for Bob Russell, is the third constructed and was completed in October of 1983. It's about 6 1/2" (16.5 cm) long and is constructed from jelutong and maple with my silkscreened interpretation of the Ferrari wheels.
Read More40 Years On - Going Strong
In late 1982 Dr. Shane T. Maa ordered an almost complete collection of Co-Hog Catalog toys and a select group of Special Editions. Once they were all delivered in early 1983, it became one of the largest US Co-Hog collections. 40 Years later they still look great.
Read MoreFerrari 312 T F1 Prototype
Due to their innovative flat V12 engines and transverse gearboxes (and fantastic drivers, of course), the Ferrari 312T series of F1 cars brought dominant success back to Maranello. From 1974-1979 they won 27 races, 4 F1 Constructor's Championships (their first since 1964) and 3 F1 Driver's Championships. Niki Lauda earned two Driver's Championships - 1975 & 1977, and Jody Scheckter won it in 1979.
Read MorePorsche G935 - 016 - Engine Bay Progress
The noisy end of a Porsche 935 is also the most complicated part - full of intense, power-producing, ear-splitting loud bits that makes it go like the Dickens. The Co-Hog G935 engine bays are certainly far quieter, but still filled with parts. They've been moved along considerably and it’s time to show some progress.
Read MoreCo-Hog BMW & Lotus - Tiny Handfuls
Most of us love race cars that are only a tiny handful. Something about the size turns us into kids and we want to have fun, complete with loud noises and crashes! These little Co-Hog racers were a blast to make. "Production" was limited to 1980-81 and only 44 BMW's and 74 of the Lotus were finished.
Read More1980 Co-Hog Porsche Restorations
While rummaging through the boxes of surprise goodies back in December, I found four Co-Hog Porsche bodies from early 1980. They were complete but in pretty sad shape. The happy realization that I could restore them to better than new felt great. I could also do something I've wanted to do for a long time - try replacing the wooden tires with the wheels and tires from the Co-Hog 956/962 series with aluminum rims and etched brass centers. Game on!
Read MoreJack-in-the-Box of Memories
Digging deep into the back of the closet below the stairs. Finding dusty boxes with desiccated cardboard, peeling tape and cryptic content descriptions. All indications of long hidden troves of who knows what. The mystery contents of two boxes turned out to be part of my hoard of Co-Hog prototypes and maybe-finished pieces from the late 70's into the mid-80's. The first was full of semi-finished bodies and other bits and pieces of long ago projects.
Read MorePorsche G935 - 015 - Fender Fandango
Porsche 935/G935's should look mean and aggressive - like they do at full speed and under heavy downforce. That's why I keep going on about stance. If the stance is right, the whole car looks better. Front fender thickness is a major determining factor in rake and therefore stance. I've been doing a lively fandango trying to get the right balance. My original front axle height proved to be too low to allow enough rake for a proper stance.
Read MoreSpray Booth Progress - Part 2
It's been over five months since we took a look at progress on the spray booth. A lot of things have happened and the booth work has been interwoven with all of them. It's certainly not done, but I'm ready for some serious spraying. Warning - this is a long post - you may need additional sustenance before the end.
Read MoreCo-Hog Ferrari & Ferrari Racing Teams
Everybody loves a red Ferrari.
It was a different time in the very early 1980's when these Co-Hog Ferraris were made. Electricity was for your light bulbs, clutches were de rigueur and shifters had gates. Ferraris were hairier and more fun. But toys were still toys, big and small, and they still helped bridge the gap between our dreams and our daily striving.
Co-Hog made this Ferrari street car, a race car and one- and two car racing teams. They were all made by hand, piece by piece from wood, glued, sanded and painted and finished with hand-cut graphics. I waited for my magazines to arrive with the absolute latest news. I typed letters on three part carbonless paper to correspond with my collectors. It all seems so ancient yet was delightful for not knowing the relentless pace of technology being unleashed.
'Transportation for the Imagination' was Co-Hogs tagline and it's still true. The joy of toys is their ability to leap from here to there instantly and make your dreams come true in your own private world.
From late 1979 to 1983 a total of 120 Co-Hog Ferraris, 59 Ferrari Racers, 5 Ferrari One Car Racing Teams and 3 Ferrari Two Car Racing Teams were made and sent out to bring pleasure. I hope most of them are still doing the same almost 40 years later.
Information about the Co-Hog Ferraris, Ferrari Race Cars, One Ferrari Racing Teams and Two Ferrari Racing Teams has been added to the Original Co-Hogs page (please scroll down a bit to see the Ferraris).
Information about the other marques in the original Co-Hog series will be added as I develop the graphics from archived materials.
Your Co-Hogs - Long-Lived Long Island Beauties
Many Co-Hogs have been treasured for decades and are now being passed on and appreciated by a second generation. Thank you to Stephen T. Lobosco from Long Island in New York for sharing his photos of some of the Co-Hogs he has received from his father.
Co-Hogs were then being sold exclusively at specialty shops and galleries around the country. These examples were most likely purchased from Engel Pottery in East Hampton on Long Island. The Engels were fantastic people with a delicious shop overflowing with hand made delights.
The Lamborghini Countach was the first Special Edition that Co-Hog made starting in April 1982 as a new line to complement the catalog vehicles. New marques and models were frequently requested and the line eventually grew to 20 different editions. Stephen’s father’s medium gray metallic Countach is #9 of 33 built and was completed in June of 1982.
The Ferrari 512 BB always looks dressed to the nines in black and ready for anything. This example is either #21 or #22 of 45 - one of the two Boxers in black that I made in December of 1982.
Stephen also received his father's black 4X4 Jeep from the original line of Co-Hogs.
This is the only Co-Hog 4X4 Jeep I've seen in the wild and is #2 of a total of 29. Stephen's father acquired it in 1981 and has kept it in immaculate condition since then.
No Moab wheeling for this one!
Your very own Co-Hog family belongs on this page having fun with other Co-Hogs!
Send me your memories using the form on the Contact page and we'll add them to the party!
Porsche G935 - 014 - The Wing
It's time to work on the shape, size, position, angle of attack and stronger mounting for the rear wing. In particular, the wing size and end plate shapes vary quite a bit on 1:1 935's so I need to work out my interpretation.
Just like the real wings, it's fussy work that makes a big difference.
The wing support strut (the part in blue) curves in two directions - one for the side view profile and one for the plan view profile.
The first step was making the side view roof line template. An old-school contour gauge worked just fine to transfer the shape to MDF. Major shaping was done with a tall sanding drum on the drill press and then finish shaping by hand.
The finished template was used to transfer both the passenger and driver side support strut roof line profiles at the same time before more shaping.
The greenhouse plan view profile was done with an even older method. Paper is taped in place, the centerline is marked and then the edge of a pencil was used to crease the paper and mark the edge at the same time.
Since each G935 is just slightly different, this method works beautifully.
The plan view greenhouse profiles were attached to the already side roof line profiled blocks and shaped again on each side starting with the drill press.
This provided a sufficiently large flat surface to keep them vertical during power shaping. They were then finished by hand to match each side of the intercooler box.
Next, the final thicknesses were marked top and bottom, followed by a lot of finicky hand-shaping to make them even all along the curve.
Then, after final fitting, both struts were glued in place.
Shaping of the upper curves of the struts is critical since they will determine the position of the wing both vertically and lengthwise in relationship to the main body.
Preliminary guidelines are in place and coarse chiseling has removed some of the waste. This shaping will continues to be refined throughout wing development with finer and finer tools.
The first wing and end plates were too big, so after a little CAD work, a new one was made, also using 3D printing.
When I recently received the generous gift of many of my earlier pieces (please see the previous post for details), it was easy to see that the wings were the mostly likely to suffer damage over the years and decades. I'm working to improve that for these G935's and future pieces.
If you look closely at the left end plate junction with the wing, you can see the blended flange that makes the bond to the wing itself much stronger.
Here it's much easier to see the 0.080" (2.0 mm) deep blended pockets on each end plate. I was amazed that the CAD data and 3D printer worked together so accurately. Each piece slides on with nary a gap!
Also in the works are 3D printed driver and passenger wing connection brackets to give a stronger joint between the wing and the support struts.
The wing and its positioning are getting closer to being right.
Next up - 015 - Fender Fandango - Working on the rake requires some fancy dancing on the fenders.
For more of the story click on any of the following links:
- You’re here in the list.
012 - 2nd Skins Layer-Splitters
Kindness, Generosity & Friendship
Kindness, generosity and friendship are to be treasured. Last week brought a wealth of all three together in the Co-Hog world.
Hank Hammer and Paul Allen have been two of Co-Hogs most saintly patrons over the many decades. As far as I know, they never met, but both have found joy in all things Porsche.
Sadly, Hank has passed on and the world lost a big heart and a true gentleman. In due course, parts of his Co-Hog collection came up for auction. Paul found and purchased them.
Paul's own collection over the decades has been quite extensive and he has generously been returning some of my favorite pieces to me. He has sagely called it "Sending the children home." - much to my delight.
With Paul giving Hank's Co-Hogs a new home, he added at least 22 pieces to his own collection. Within that group he now has four additional special Porsche's that have two eminent collectors in their pedigrees.
The #8 Marlboro and #7 Newman 956's are in this lineup while the Special Edition Porsche #1 911 SC and #3 911 T stayed with Paul.
Now comes the amazing part. As Paul continues to winnow his collection to keep only his favorites, what would he do with the ones he was moving along. As someone who always sees the best of any situation, he amazingly chose to pass them back to me.
I, too, now have a real Co-Hog collection and the remembrances and stories that came from making each of them and interacting with their owners. I'm hugely grateful for Paul’s friendship and his generosity.
Thank you Paul!
These photos show part of my pumped up collection as I sort, fix and clean them. The two 956's I mentioned and the 4X4 Pickup will be thoroughly gone over, fixed and returned to Paul along the with a prototype Rabbit to add to his existing group which includes one of only three Rabbit convertibles that we made.
Specific items in this group will be featured in future posts. History that I had forgotten bubbles up all around them and must be shared.
Be kind, be generous, your friendship will be rewarded in many ways!
Bologna, Italy - Sharpening the Saw
Must feed the creative juices with more than cars and trucks. Journeys into other realms help make the home scene crisper and keeps things in perspective.
The Orange House was an eye-popping surprise.
Vibrant. Friendly. Delicious. Bologna was a savory treat for us during our recent visit.
Eschewing the major tourist magnets for the delights of Bologna was a wise choice. Our days were spent wandering, eating and enjoying the essence of Italy.
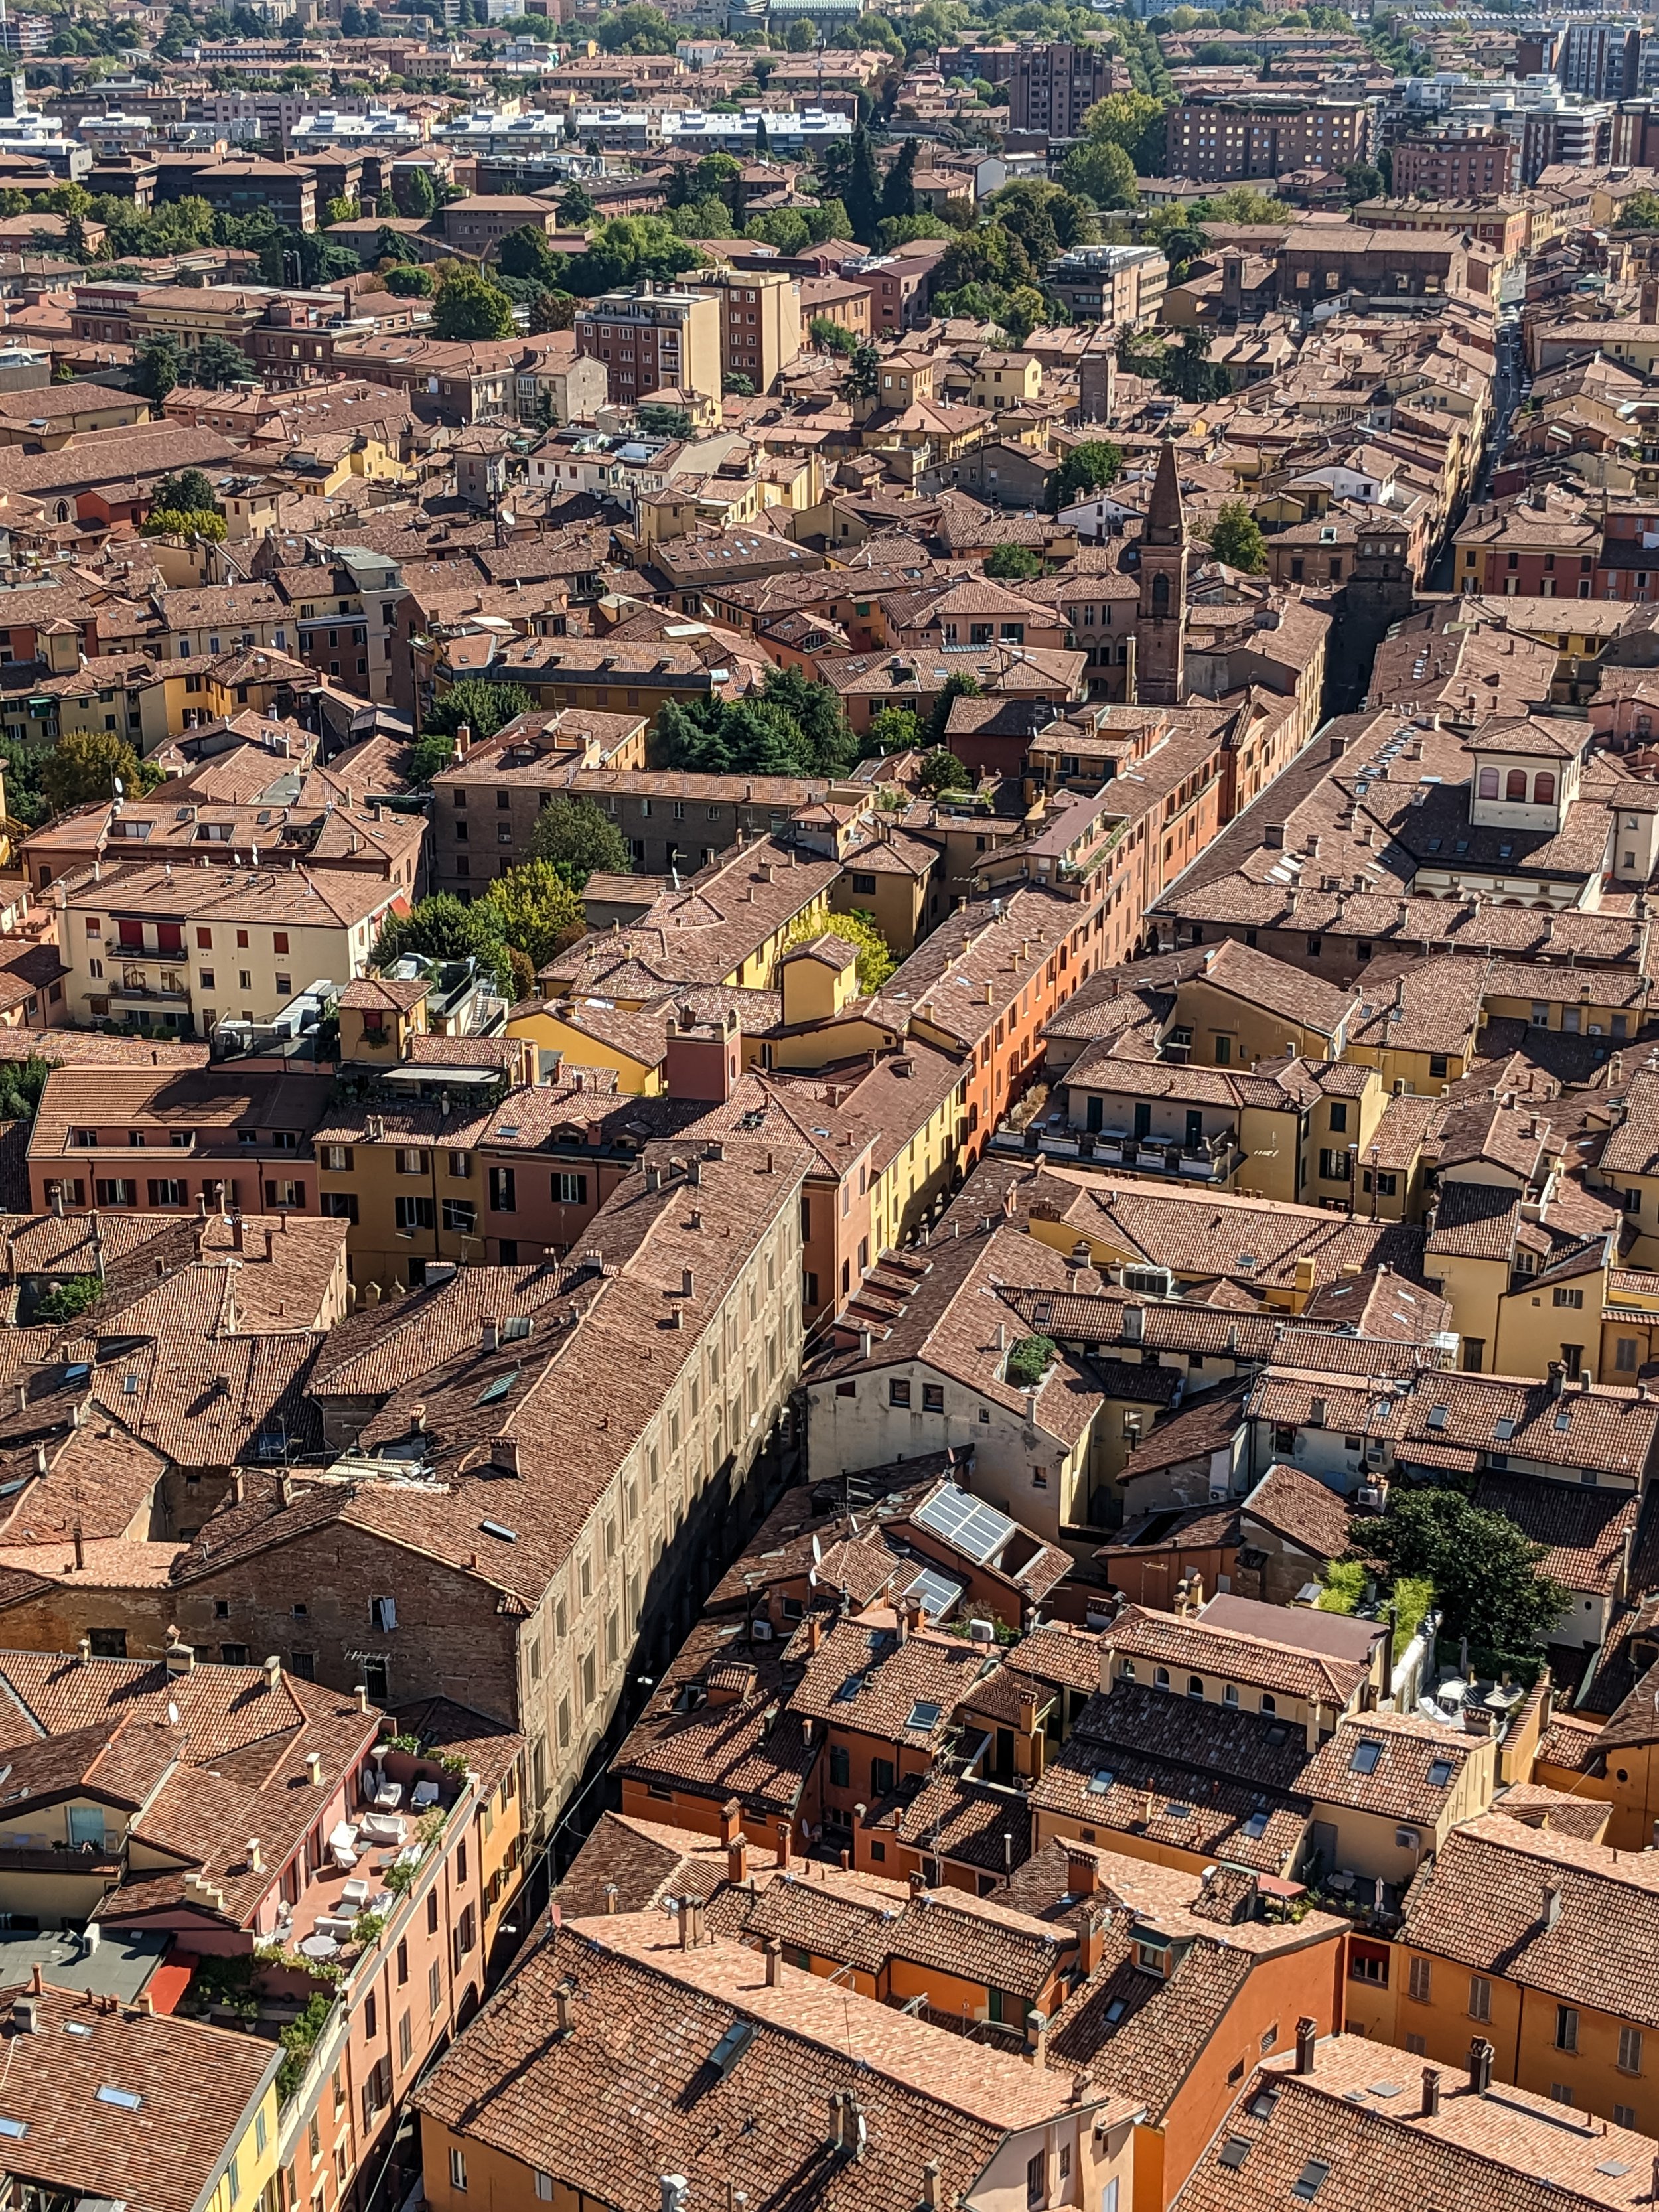
A view from the Due Torri gives some clues to the adventures that awaited us.
Museums to feast on, the oldest university in continuous operation in the world and a variety of unique districts to explore made the joy of discovery just a few steps from one to the next.
The MAMbo Museo d'Arte Moderna di Bologna even had its own towering treasure paying homage to the Due Torri.
Porticoes help define the uniqueness of the city. Twenty-four miles of porticoes made walking everywhere a pleasure and surprises with every step added to the many centuries of history.
The Yellow House.
We just made up these official titles for this and the Orange House. They deserve them.
Even the smallest street was a treat.
This one was jammed with at least 50 scooters and motorcycles under the overhanging security of stonework from many centuries ago.
Yes! We enjoyed it!
Porsche G935 - 013 - Nose Shaping
The Co-Hog Porsche 935 Artist's Proof (AP) has provided guidance throughout the process of creating the G935 group. The aero shaping of the nose is one subtle area where it is especially helpful to see how I had already worked out shapes and details.
Because there's a lot going on in a small area with the lights and various inlets - being developed with graphics over the compound surfaces - it's important to work things out now to make sure it all goes smoothly during final assembly.
The G935’s surfaces and forms are meant to be more direct and fun. The 935 AP is more subtle.
Working out the lights and inlet details with prototype graphics helps finalize blending of the jelutong transition aero wedge. The black vinyl is less flexible over compound curves so avoiding creases is important. Once the aero wedge is filleted in place it will all be much smoother.
The jig plate has been covered with custom graph paper I laid out and printed to aid in shaping lines and features symmetrically. It's easier to compare points side-to-side and top to bottom with the reference points clearly called out.
I also made new adjusted prototype wheel/tires, still in maple and painted using the new spray booth as planned. The booth is not done, but each practical use helps prove out the basics.
Early working graphics were quickly made using super flexible yellow tape. Once the shapes and graphics were worked out, the shapes were transferred to the black vinyl and checked out for a proper fit.
It's important to plan ahead since the sizes and positions are so important. Vinyl will blend only so far over compound surfaces without creasing. It is thicker, 0.004" (0.102 mm) vs 0.003" (0.076 mm), than the yellow tape and it is also stiffer.
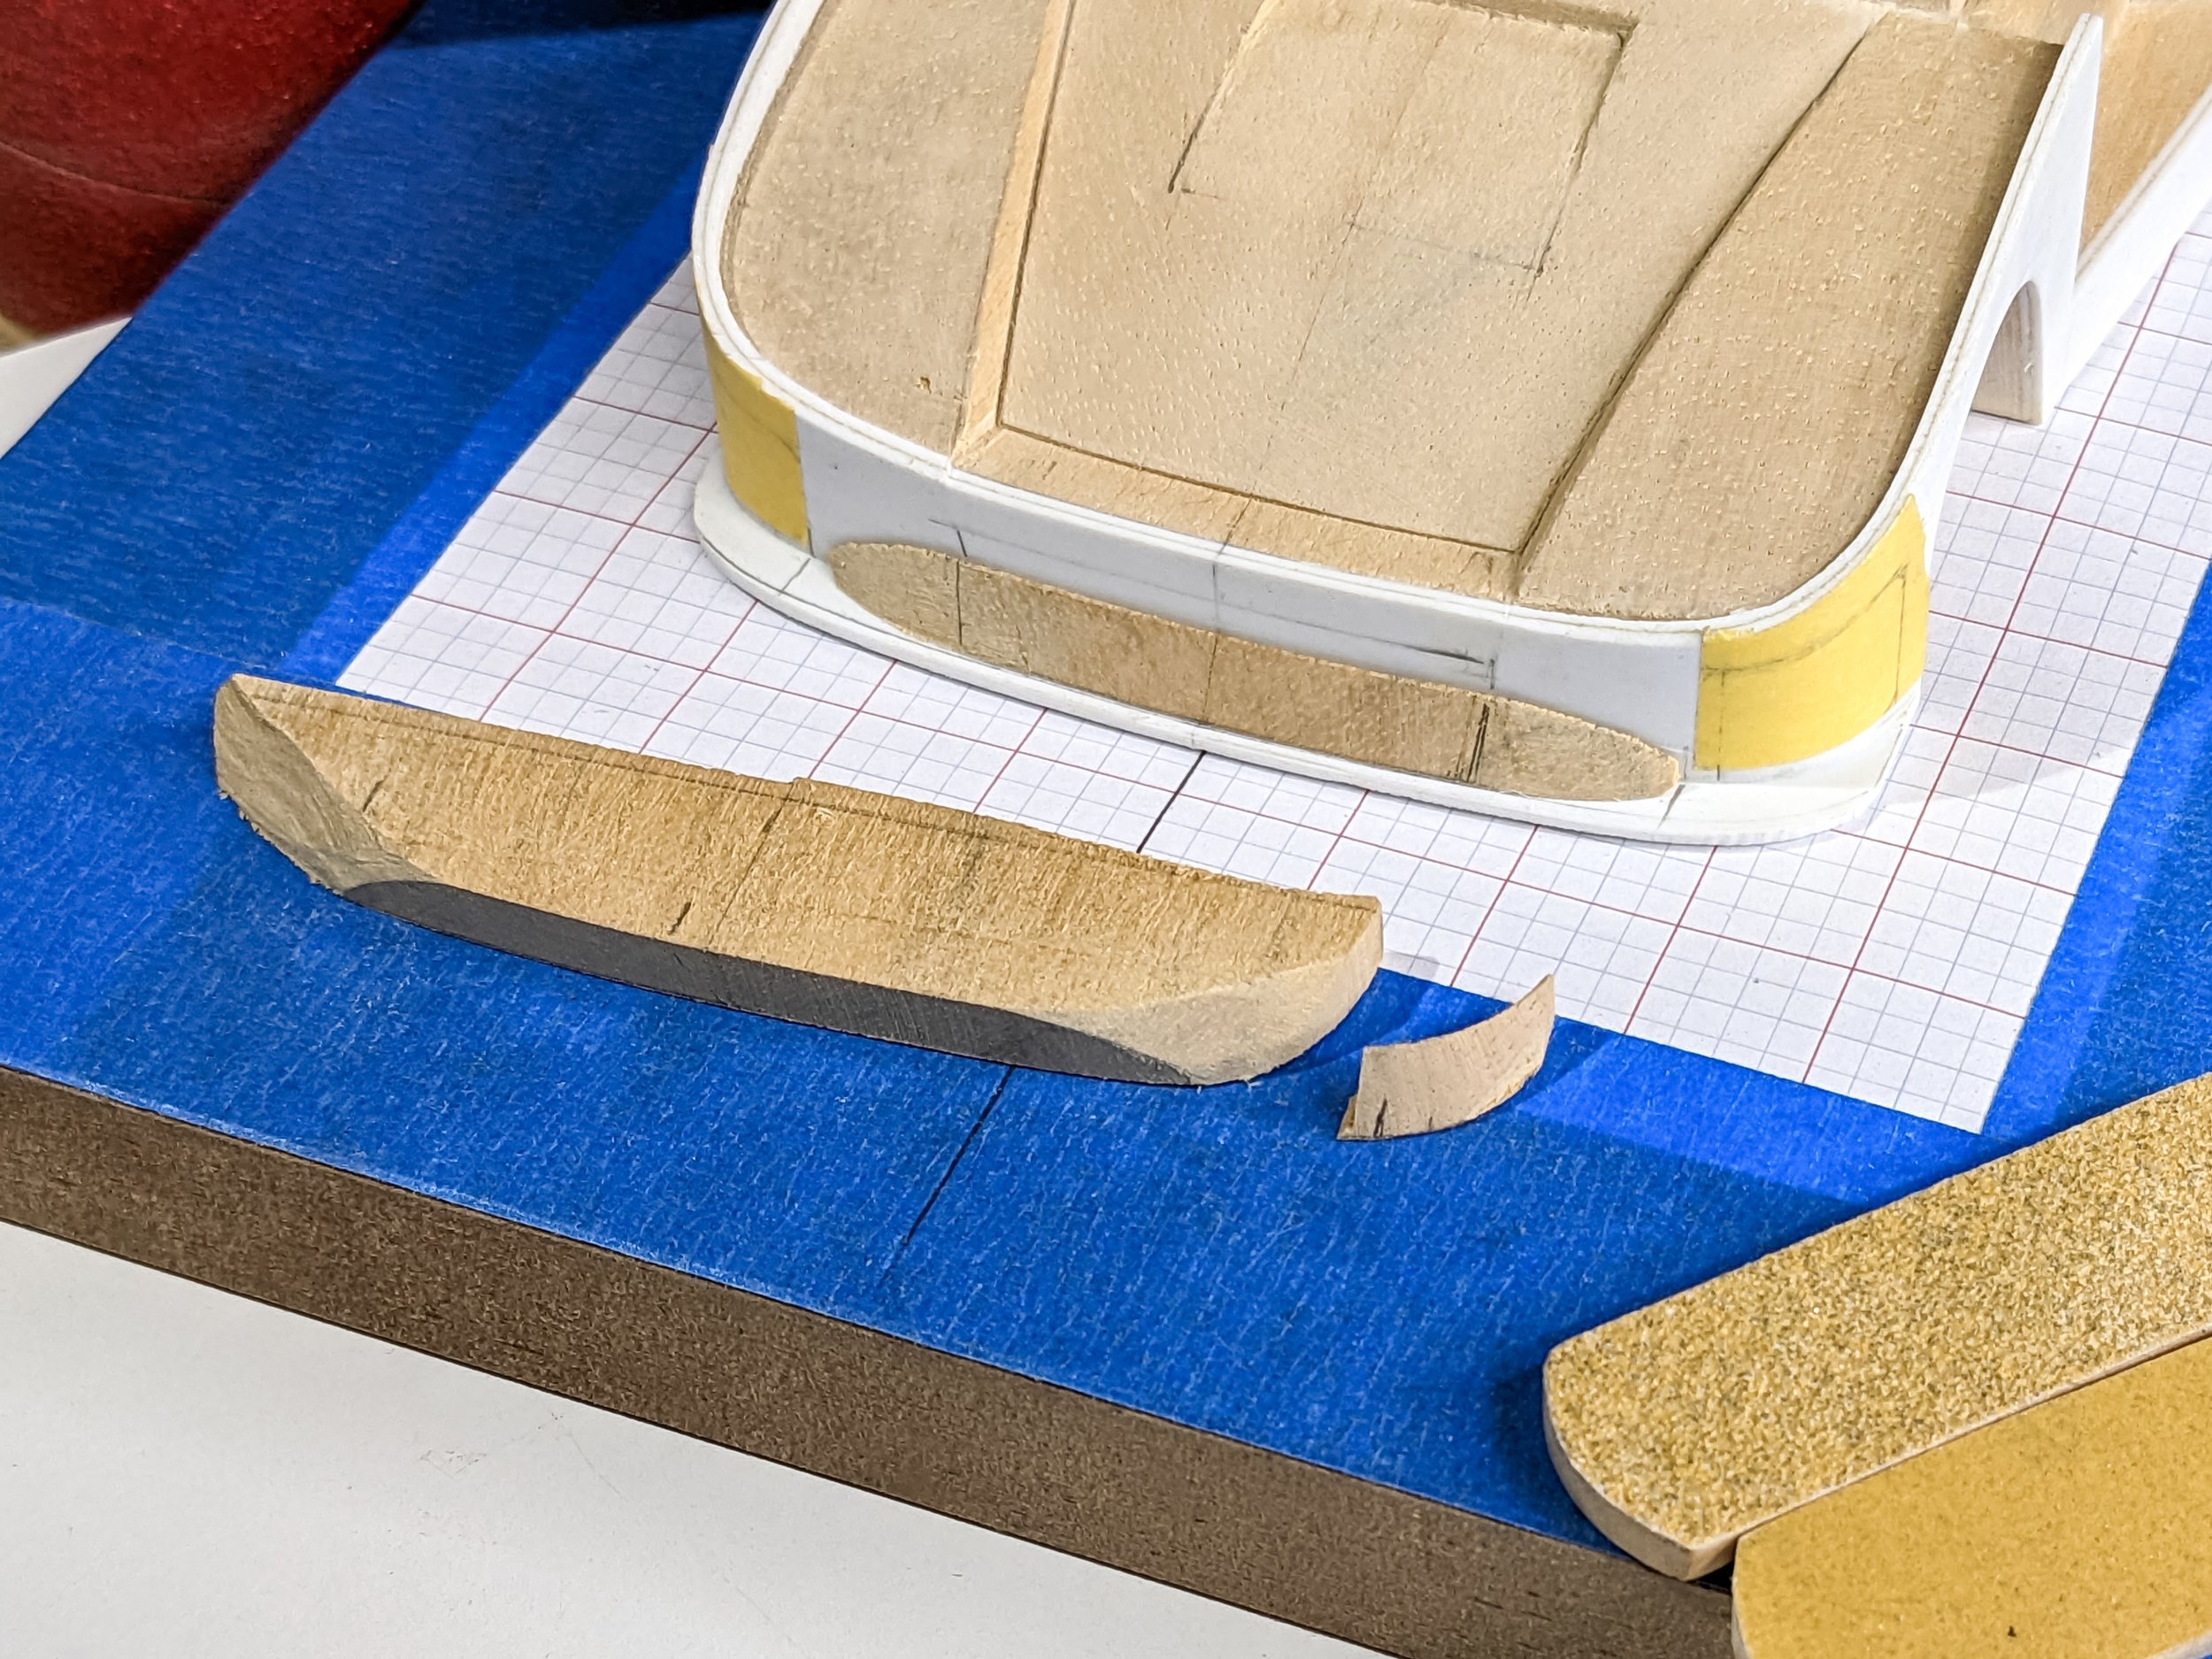
The jelutong aero wedge is nearing it's final size and form. There's not much left after sanding using the shaping jig to support the delicate piece. It still broke twice, requiring careful repairs.
The graph paper came in particularly handy on such a small, curvaceous piece.
A full width piece proved to be unnecessary - that's a good lesson learned for the other G935s.
To shape the blending angle, the rough blank is double-face taped to a thin piece and slowly worked on the 5" disk sander. A helper block is needed since the sander plate can't move to the required angle without the part being upside down with the guide line not visible.
To blend from the splitter into the front wall requires a piece shaped to fit the profile of the nose and angled to make the blend.
As successive adjustments were made on the drum sander, the areas to be worked on are quickly marked with tick marks. Each adjustment's ticks have a different end style to keep things moving along. Final fitting was done by hand.
A butterfly-cut and glued blank has been thickness planed and sanded to the height of the aero wedge. Shaping to the template was done with quick bandsaw cuts and then shaping with the drum sander.
To start, the nose profile was traced, scanned into CAD, offset and printed as a template for removing material.
The G935 group is progressing as I work out each area on the first one and transfer lessons learned to the rest.
I finally couldn't stand having just a two dimensional messy desk so I added a set of yet-to-be-completed shelves along the back. Now the chaos can multiply even further.
Next up - 014 - The Wing - It's time to work on the shape, size, position, angle of attack and stronger mounting for the rear wing.
For more of the story click on any of the following links:
- You’re here in the list.
012 - 2nd Skins Layer-Splitters
Your Co-Hogs - Texan Porsche 935 & 956
This wonderful pair of well-cared for Co-Hogs spans two eras in Porsche racing history and two distinct Co-Hog periods as well. The metallic red Porsche Racer, #110 of 114 made, loosely based on the Porsche 935, was completed in early December, 1982 before being sent to its new home in Texas. This particular Co-Hog really stands out in my memory - a great new home and a gorgeous color.
Almost five years later, on 9/9/1987, the 50th Co-Hog Porsche 956 was finished and sent to the same home! It is the 17th of 21 done in the Rothmans livery. About 33 years later the owner sent this photo showing the Co-Hogs' excellent overall health. I have certainly enjoyed seeing them again!
Both the 935 and 956/962 Porsches have become racing legends and the gentleman who owns these two Co-Hogs certainly chose wisely.
If you have any Co-Hog Toys pictures or stories that you'd like me to feature here, please use the Contact Me page to send me your contact info.
1975 Hesketh 308 - Commission →
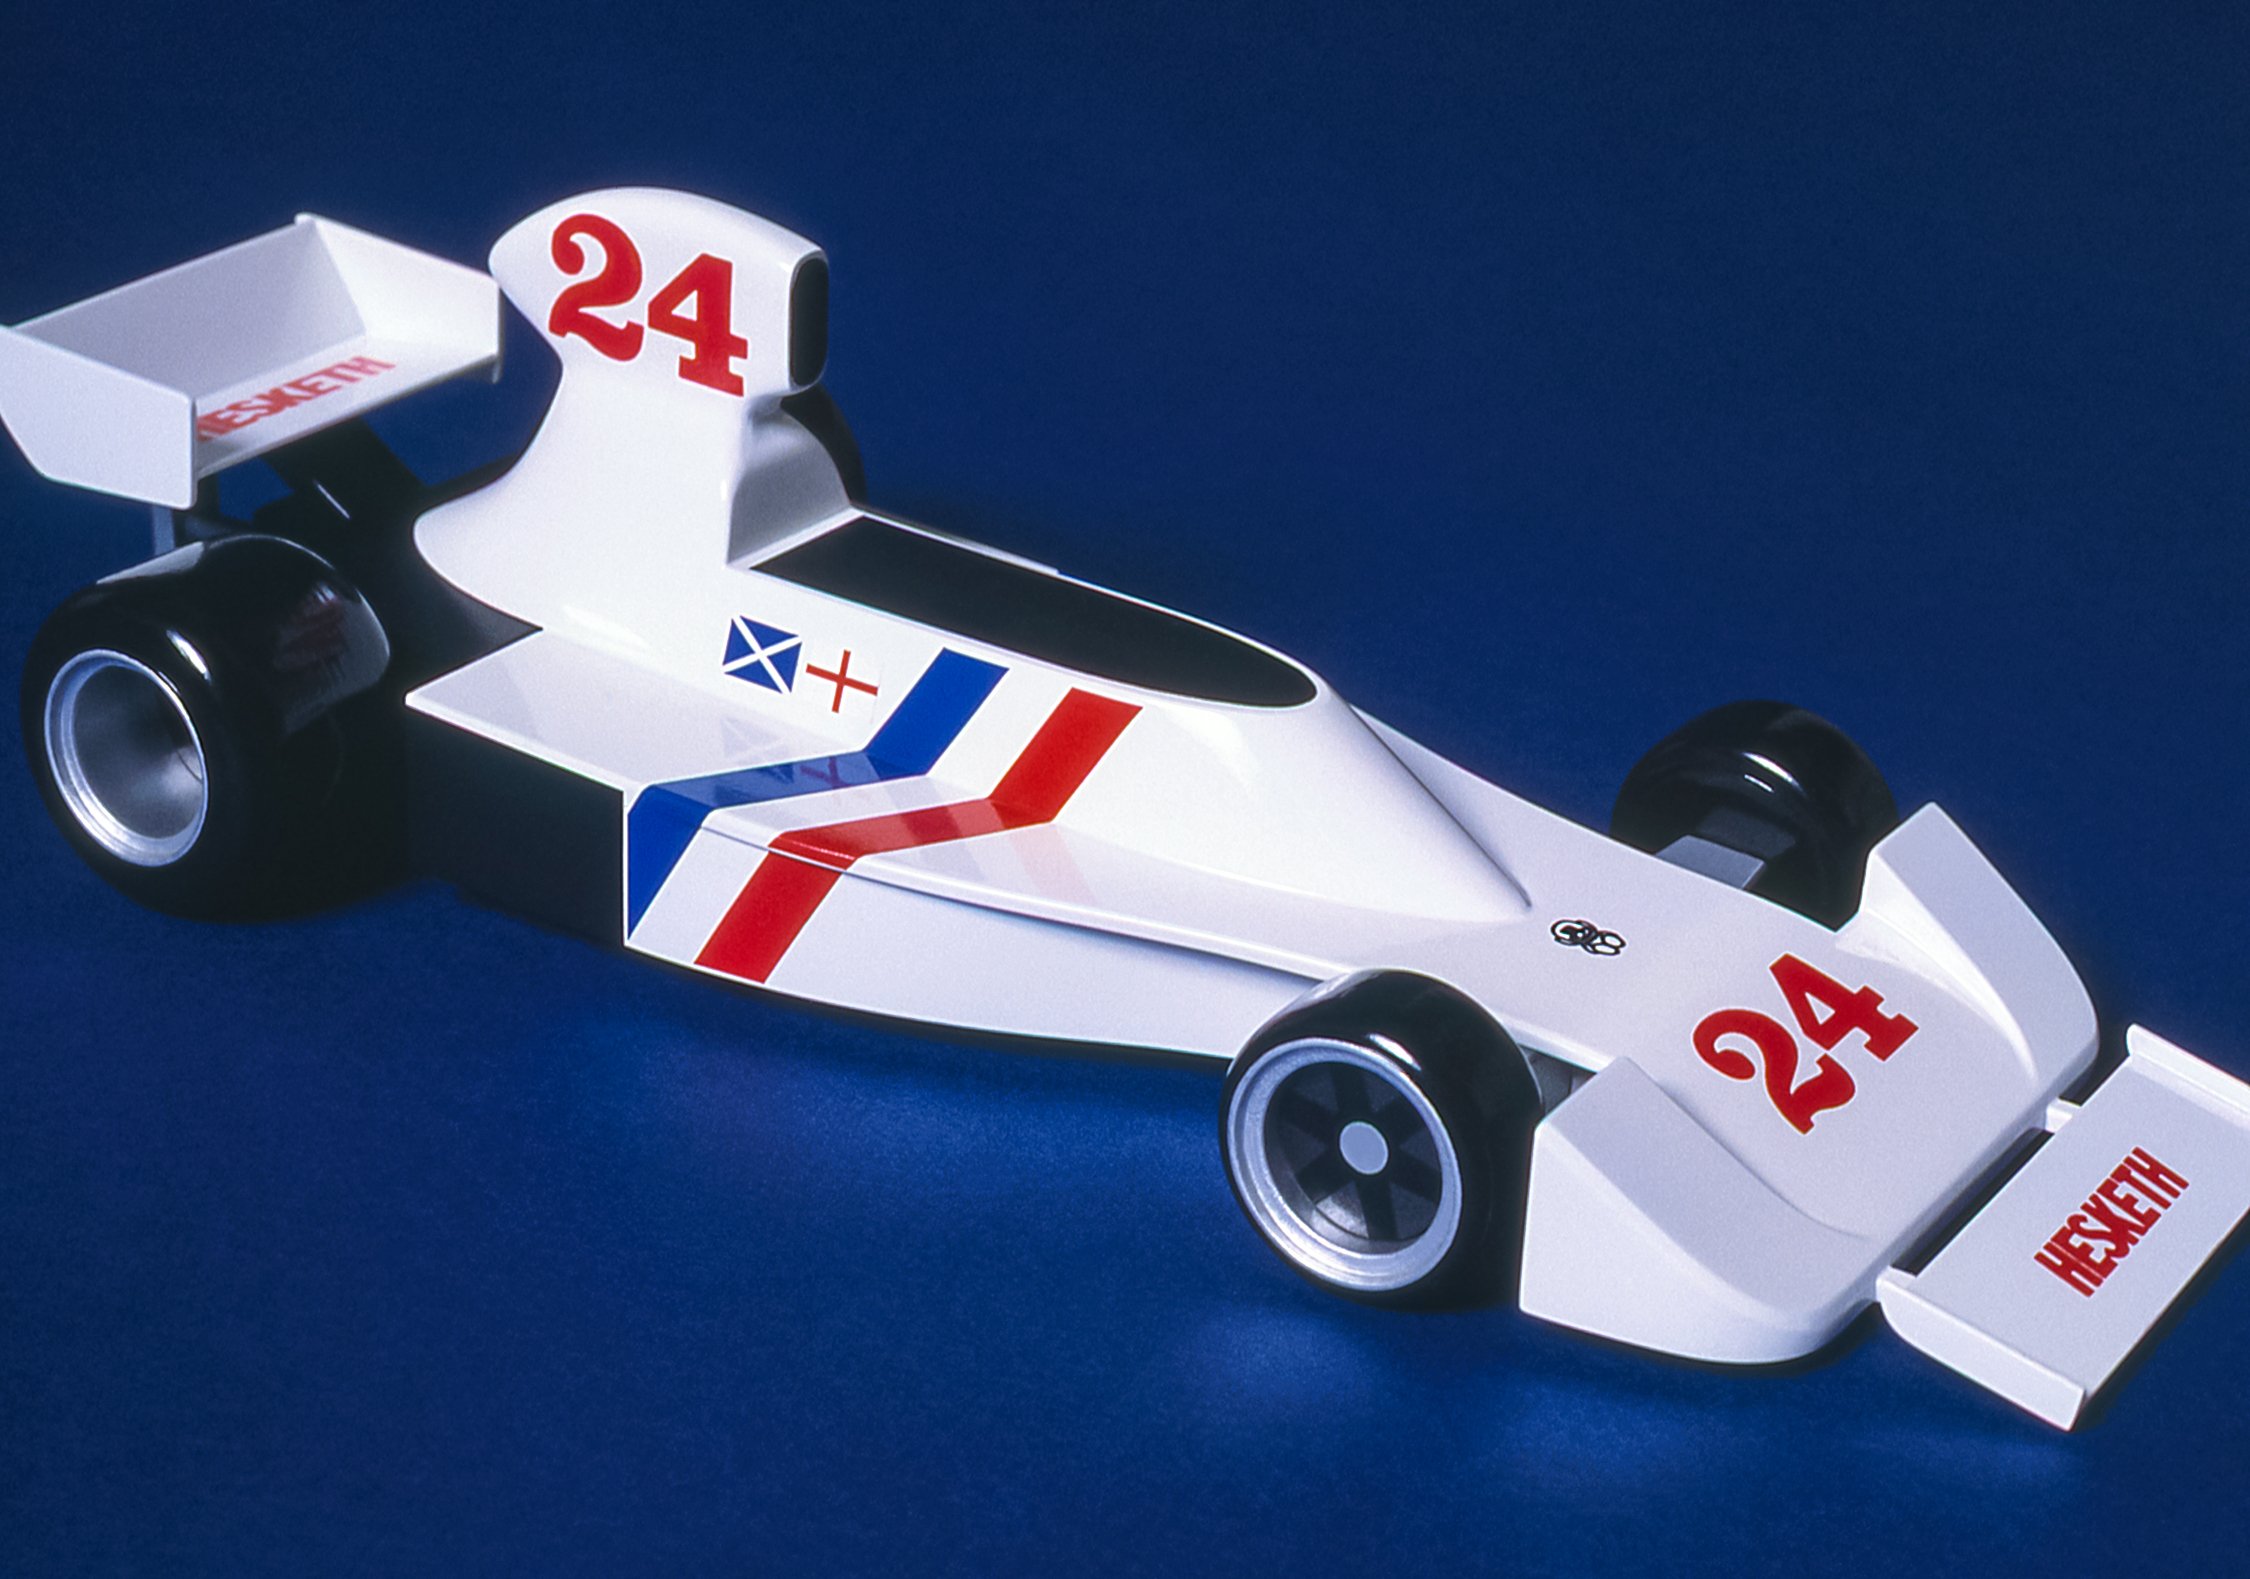
Hesketh Racing and James Hunt will long be remembered as the team that gave F1 a needed stiff jolt by having a great deal of fun while still winning races. In fact, they won the 1976 F1 World Championship.
1976 was meant to be Ferrari and Nikki Lauda's year, but his horrendous crash at the Nurburgring and following miraculous recovery fell just one point shy and Hunt was the Champion.
Read MorePorsche G935 - 012 - 2nd Skins Layer-Splitters
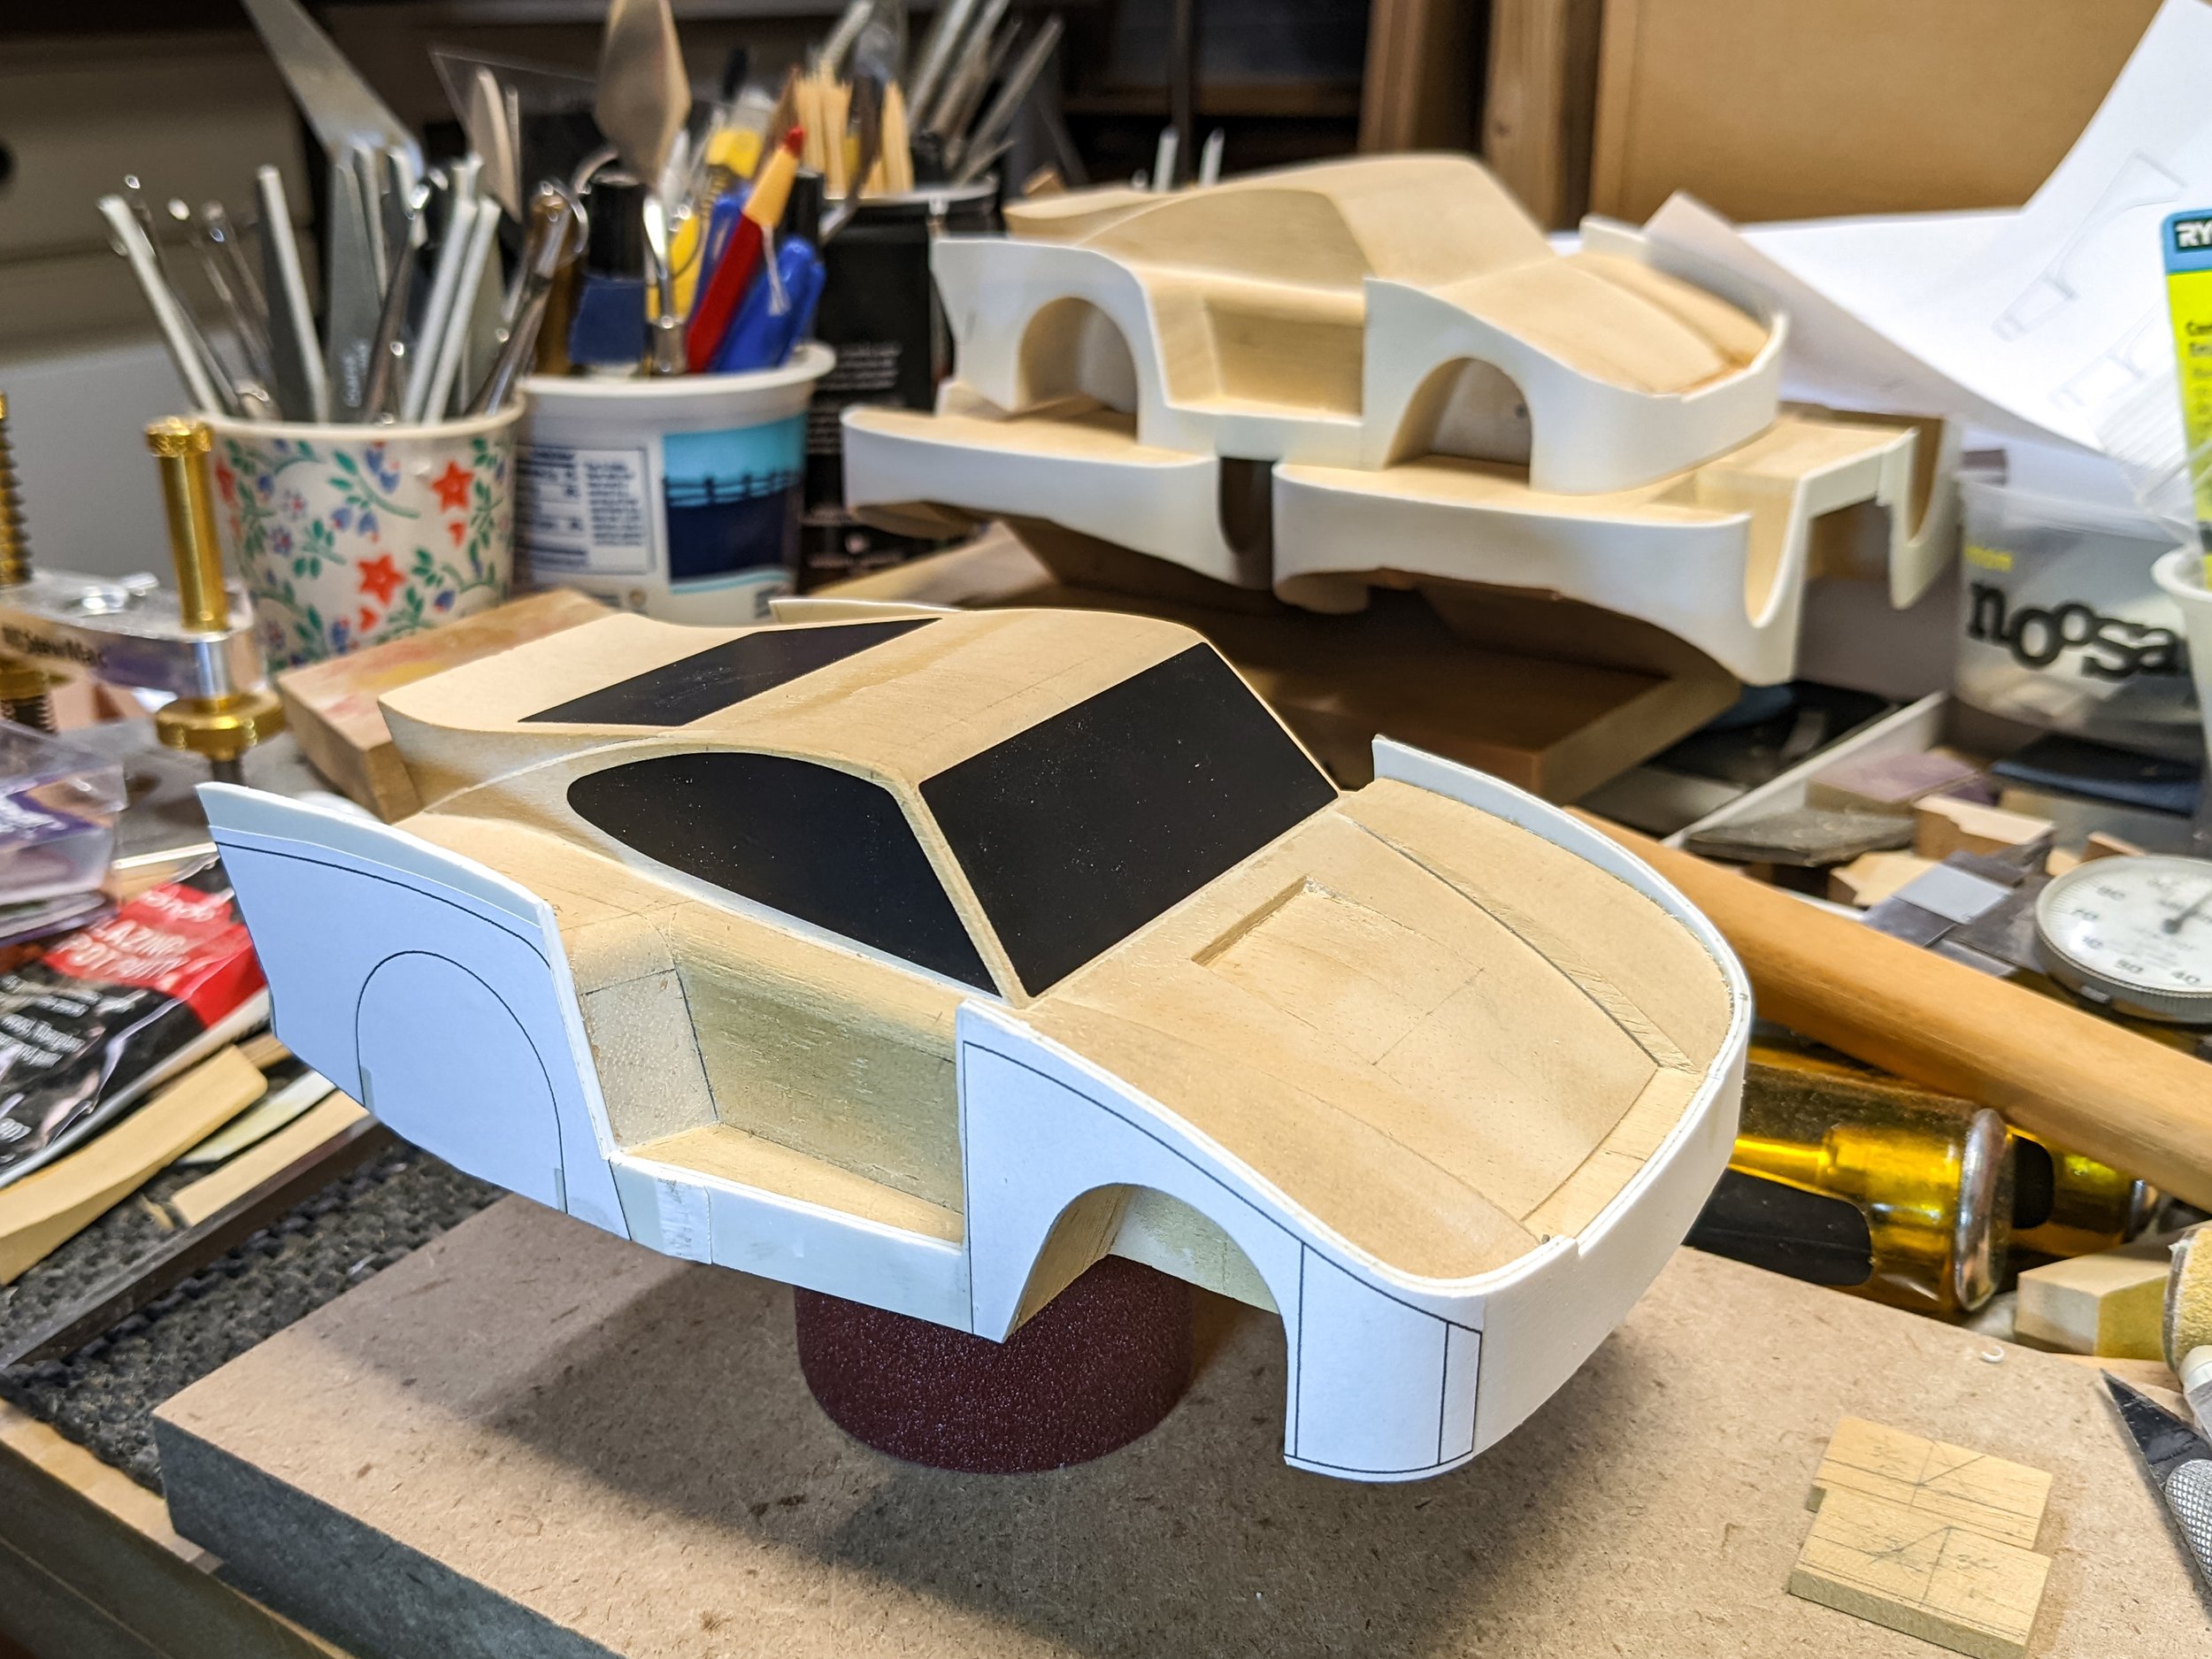
It's looking a lot more like a race car now. I added some preliminary graphics to get a better feel for overall progress.
Lots of progress on adding the first and second skin layers. I'm finding that the combination of materials is harder to work with than desired - jelutong is soft and shapes easily, whereas the polystyrene requires more force but has the needed flexibility and flat surfaces.
However, it is a plus having two layers which leaves an automatic center line to work to during final shaping. The contact cement has great holding power but is difficult to remove in tight spots.
Showing some preliminary splitter profile shaping. The splitter wedges that blend the horizontal plates into the vertical fronts are in the works.
The rear fenders have their back edge aero plates in place now.
The shape of the rear wheel wells is close to done. They'll be fine tuned along with the stance. The second skin layer provides some tire overlap which helps get the stance closer to what I want.
Splitter recesses have been dadoed into the front of each G935 and the first splitter is in position. At 0.045" (1.14 mm), the splitter is just a bit thicker than each skin layer.
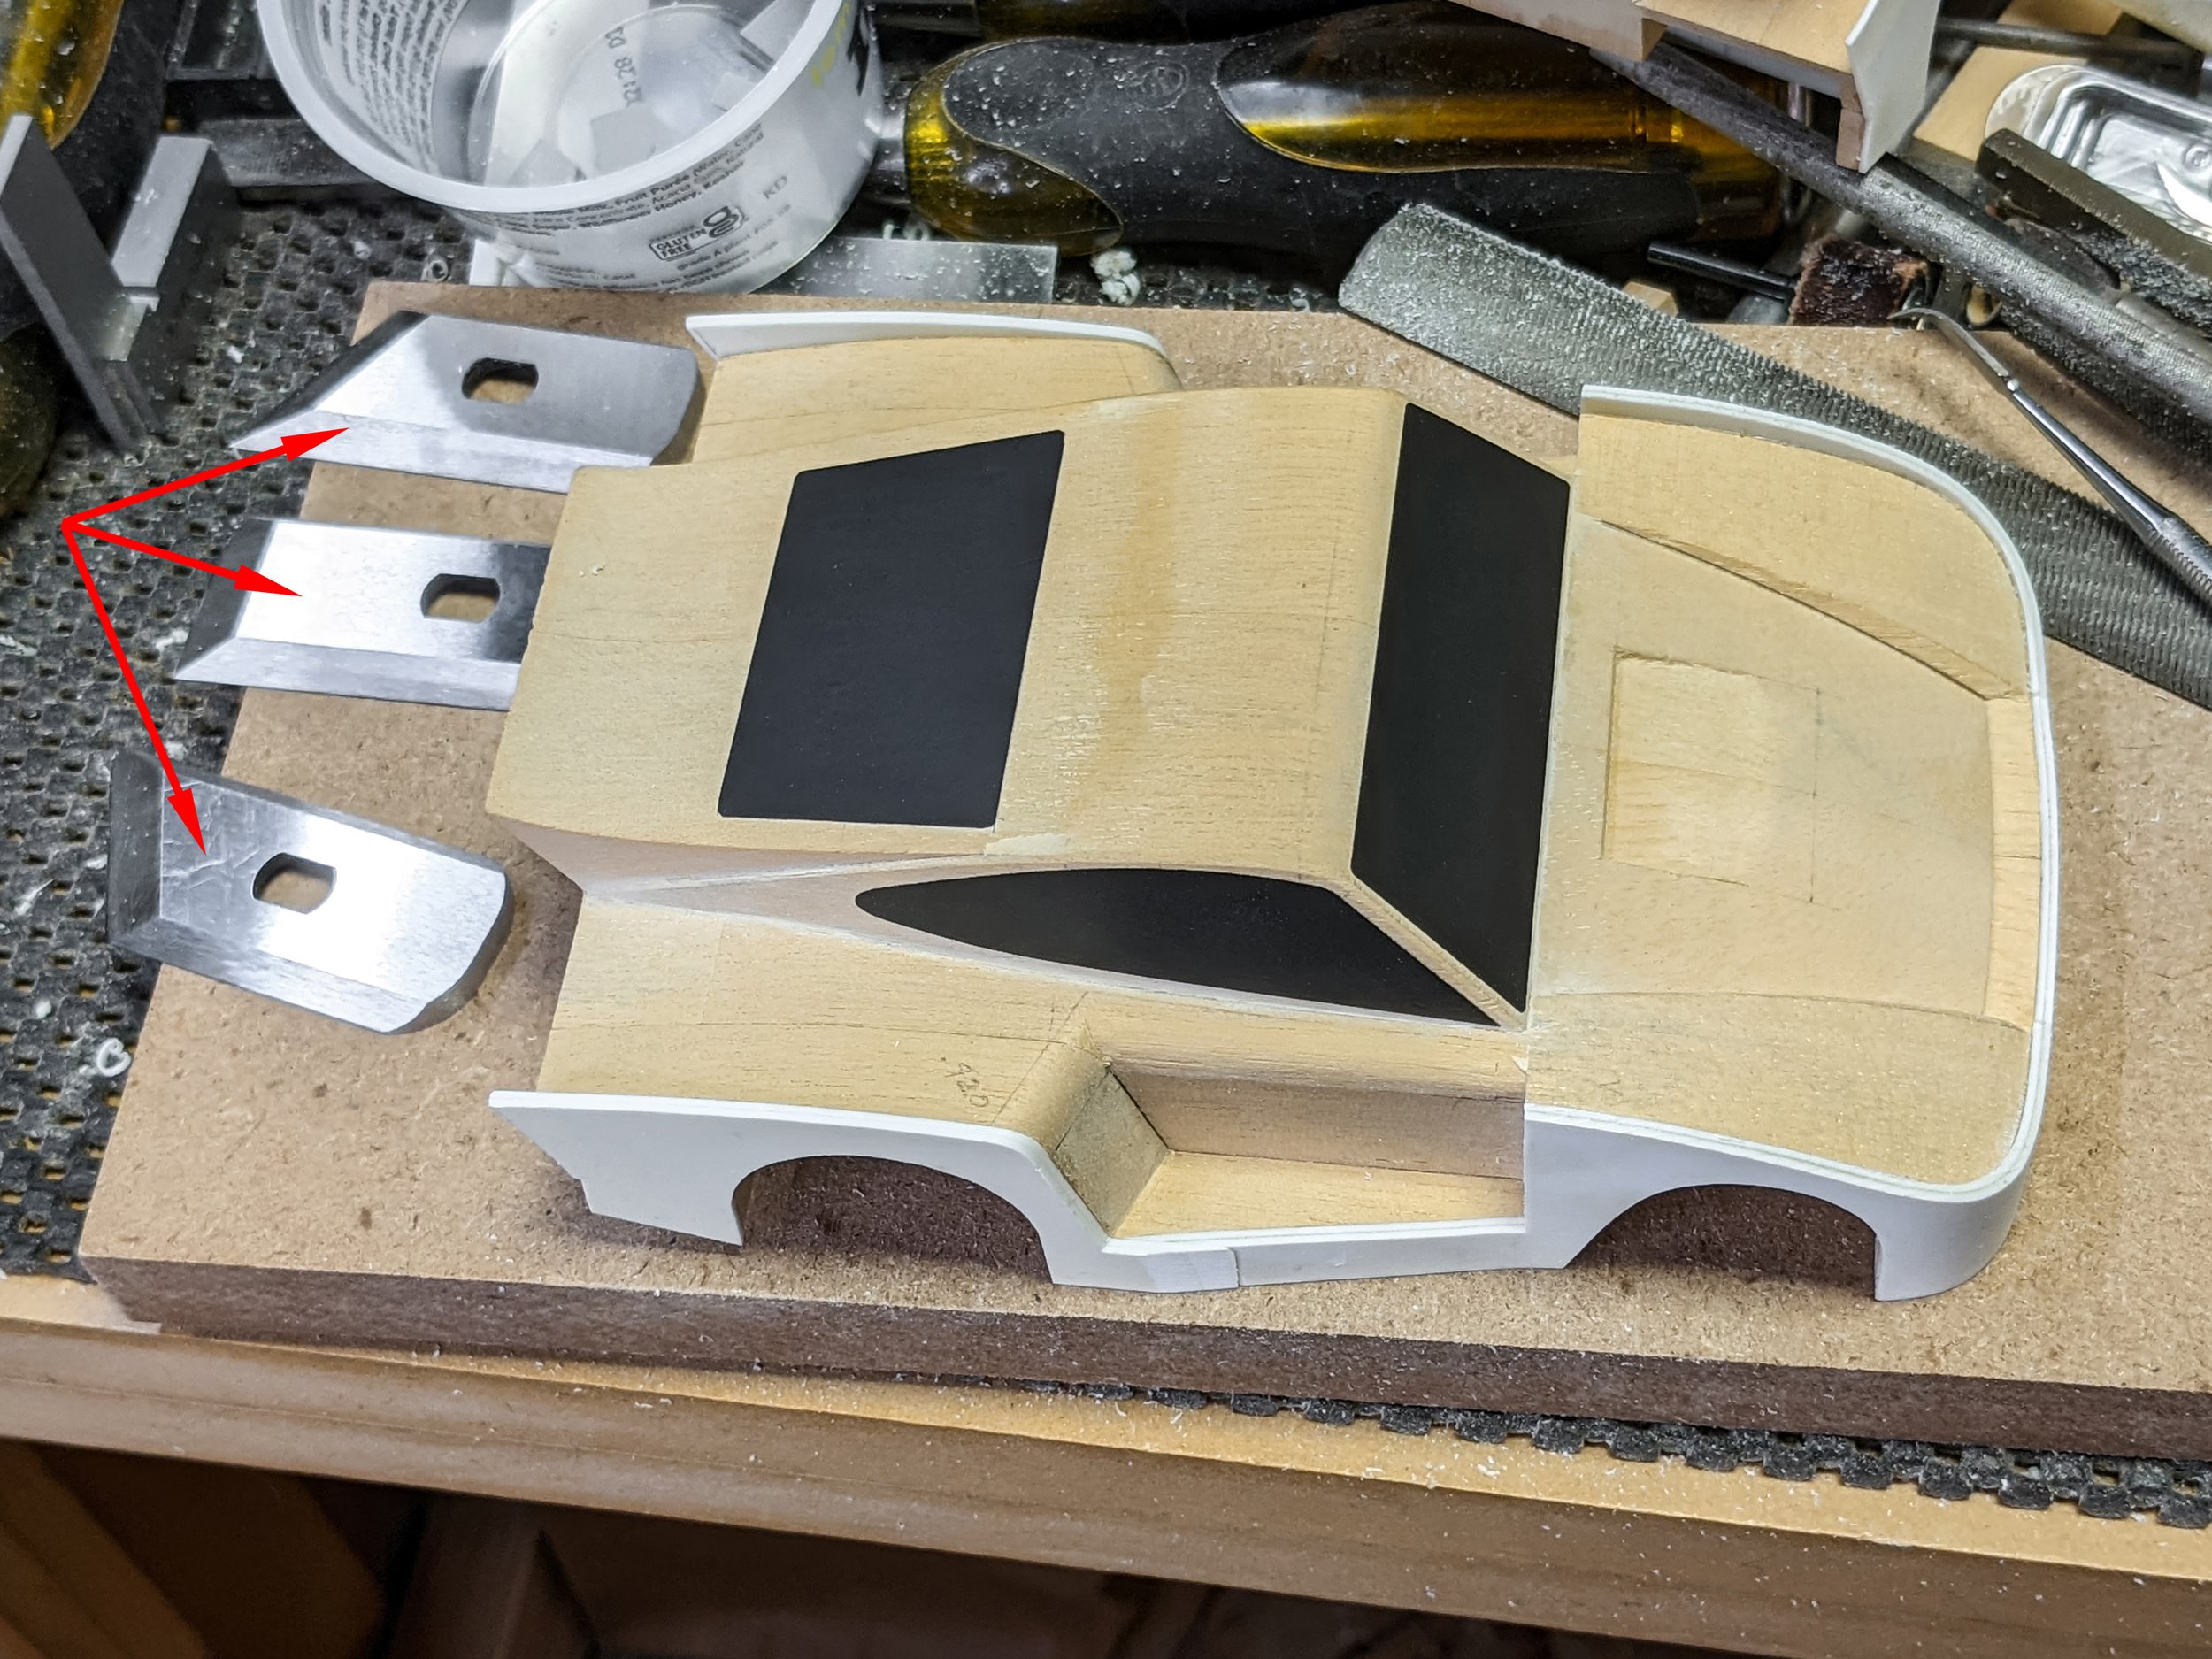
All skins are in place and side profile shaping is closer to done. The trio of StewMac chisel planes are great (after some serious sharpening) for really fine work, especially trimming the skins flush with the jelutong surfaces.
Each plane also has a well-sized spherical handle that screws on to give more leverage for heavier work.
The second rear skin layers are on. Templates printed from CAD data are in place for the rear wheel well and fender top profiles.
The first rear skin layers are in place.
Looks like Batman would like it!
Now both skin layers are on the front. Lots of trimming and shaping are still needed.
The rear fender profile tips have been glued on, I couldn't add rear skins until these were in place.
To complete the rear fender profiles tiny fender tips were made and glued on.
Hand-forming of the front skins was done using this highly technical jig. A piece of brass rod held in a vise provided just the right strength to gradually form each piece into a much better shape for more accurate placement during gluing.
This front skin is ready to mount. Each body's skin had various slots and relief cuts added as I learned where the stress lines were.
Next up will be 013 - Nose Shaping - the nose and splitter start to take shape.
For more of the story click on any of the following links:
- You’re here in the list.
Spray Booth Progress
The biggest fiasco during the construction of the Co-Hog Porsche 935 Artist's Proof was the so-called spray booth. Removing debris from paint and final clear coats added up to significant delays. Plans to replace the booth were already underway, but it was going to be major undertaking in such a tightly packed shop. More than a year later, I'm still working on it between all the other projects, so here are some images and explanations (in the photo comments) to bring things up to date.
Read More
