The Co-Hog Porsche 935 Artist's Proof (AP) has provided guidance throughout the process of creating the G935 group. The aero shaping of the nose is one subtle area where it is especially helpful to see how I had already worked out shapes and details.
Because there's a lot going on in a small area with the lights and various inlets - being developed with graphics over the compound surfaces - it's important to work things out now to make sure it all goes smoothly during final assembly.
The G935’s surfaces and forms are meant to be more direct and fun. The 935 AP is more subtle.
Working out the lights and inlet details with prototype graphics helps finalize blending of the jelutong transition aero wedge. The black vinyl is less flexible over compound curves so avoiding creases is important. Once the aero wedge is filleted in place it will all be much smoother.
The jig plate has been covered with custom graph paper I laid out and printed to aid in shaping lines and features symmetrically. It's easier to compare points side-to-side and top to bottom with the reference points clearly called out.
I also made new adjusted prototype wheel/tires, still in maple and painted using the new spray booth as planned. The booth is not done, but each practical use helps prove out the basics.
Early working graphics were quickly made using super flexible yellow tape. Once the shapes and graphics were worked out, the shapes were transferred to the black vinyl and checked out for a proper fit.
It's important to plan ahead since the sizes and positions are so important. Vinyl will blend only so far over compound surfaces without creasing. It is thicker, 0.004" (0.102 mm) vs 0.003" (0.076 mm), than the yellow tape and it is also stiffer.
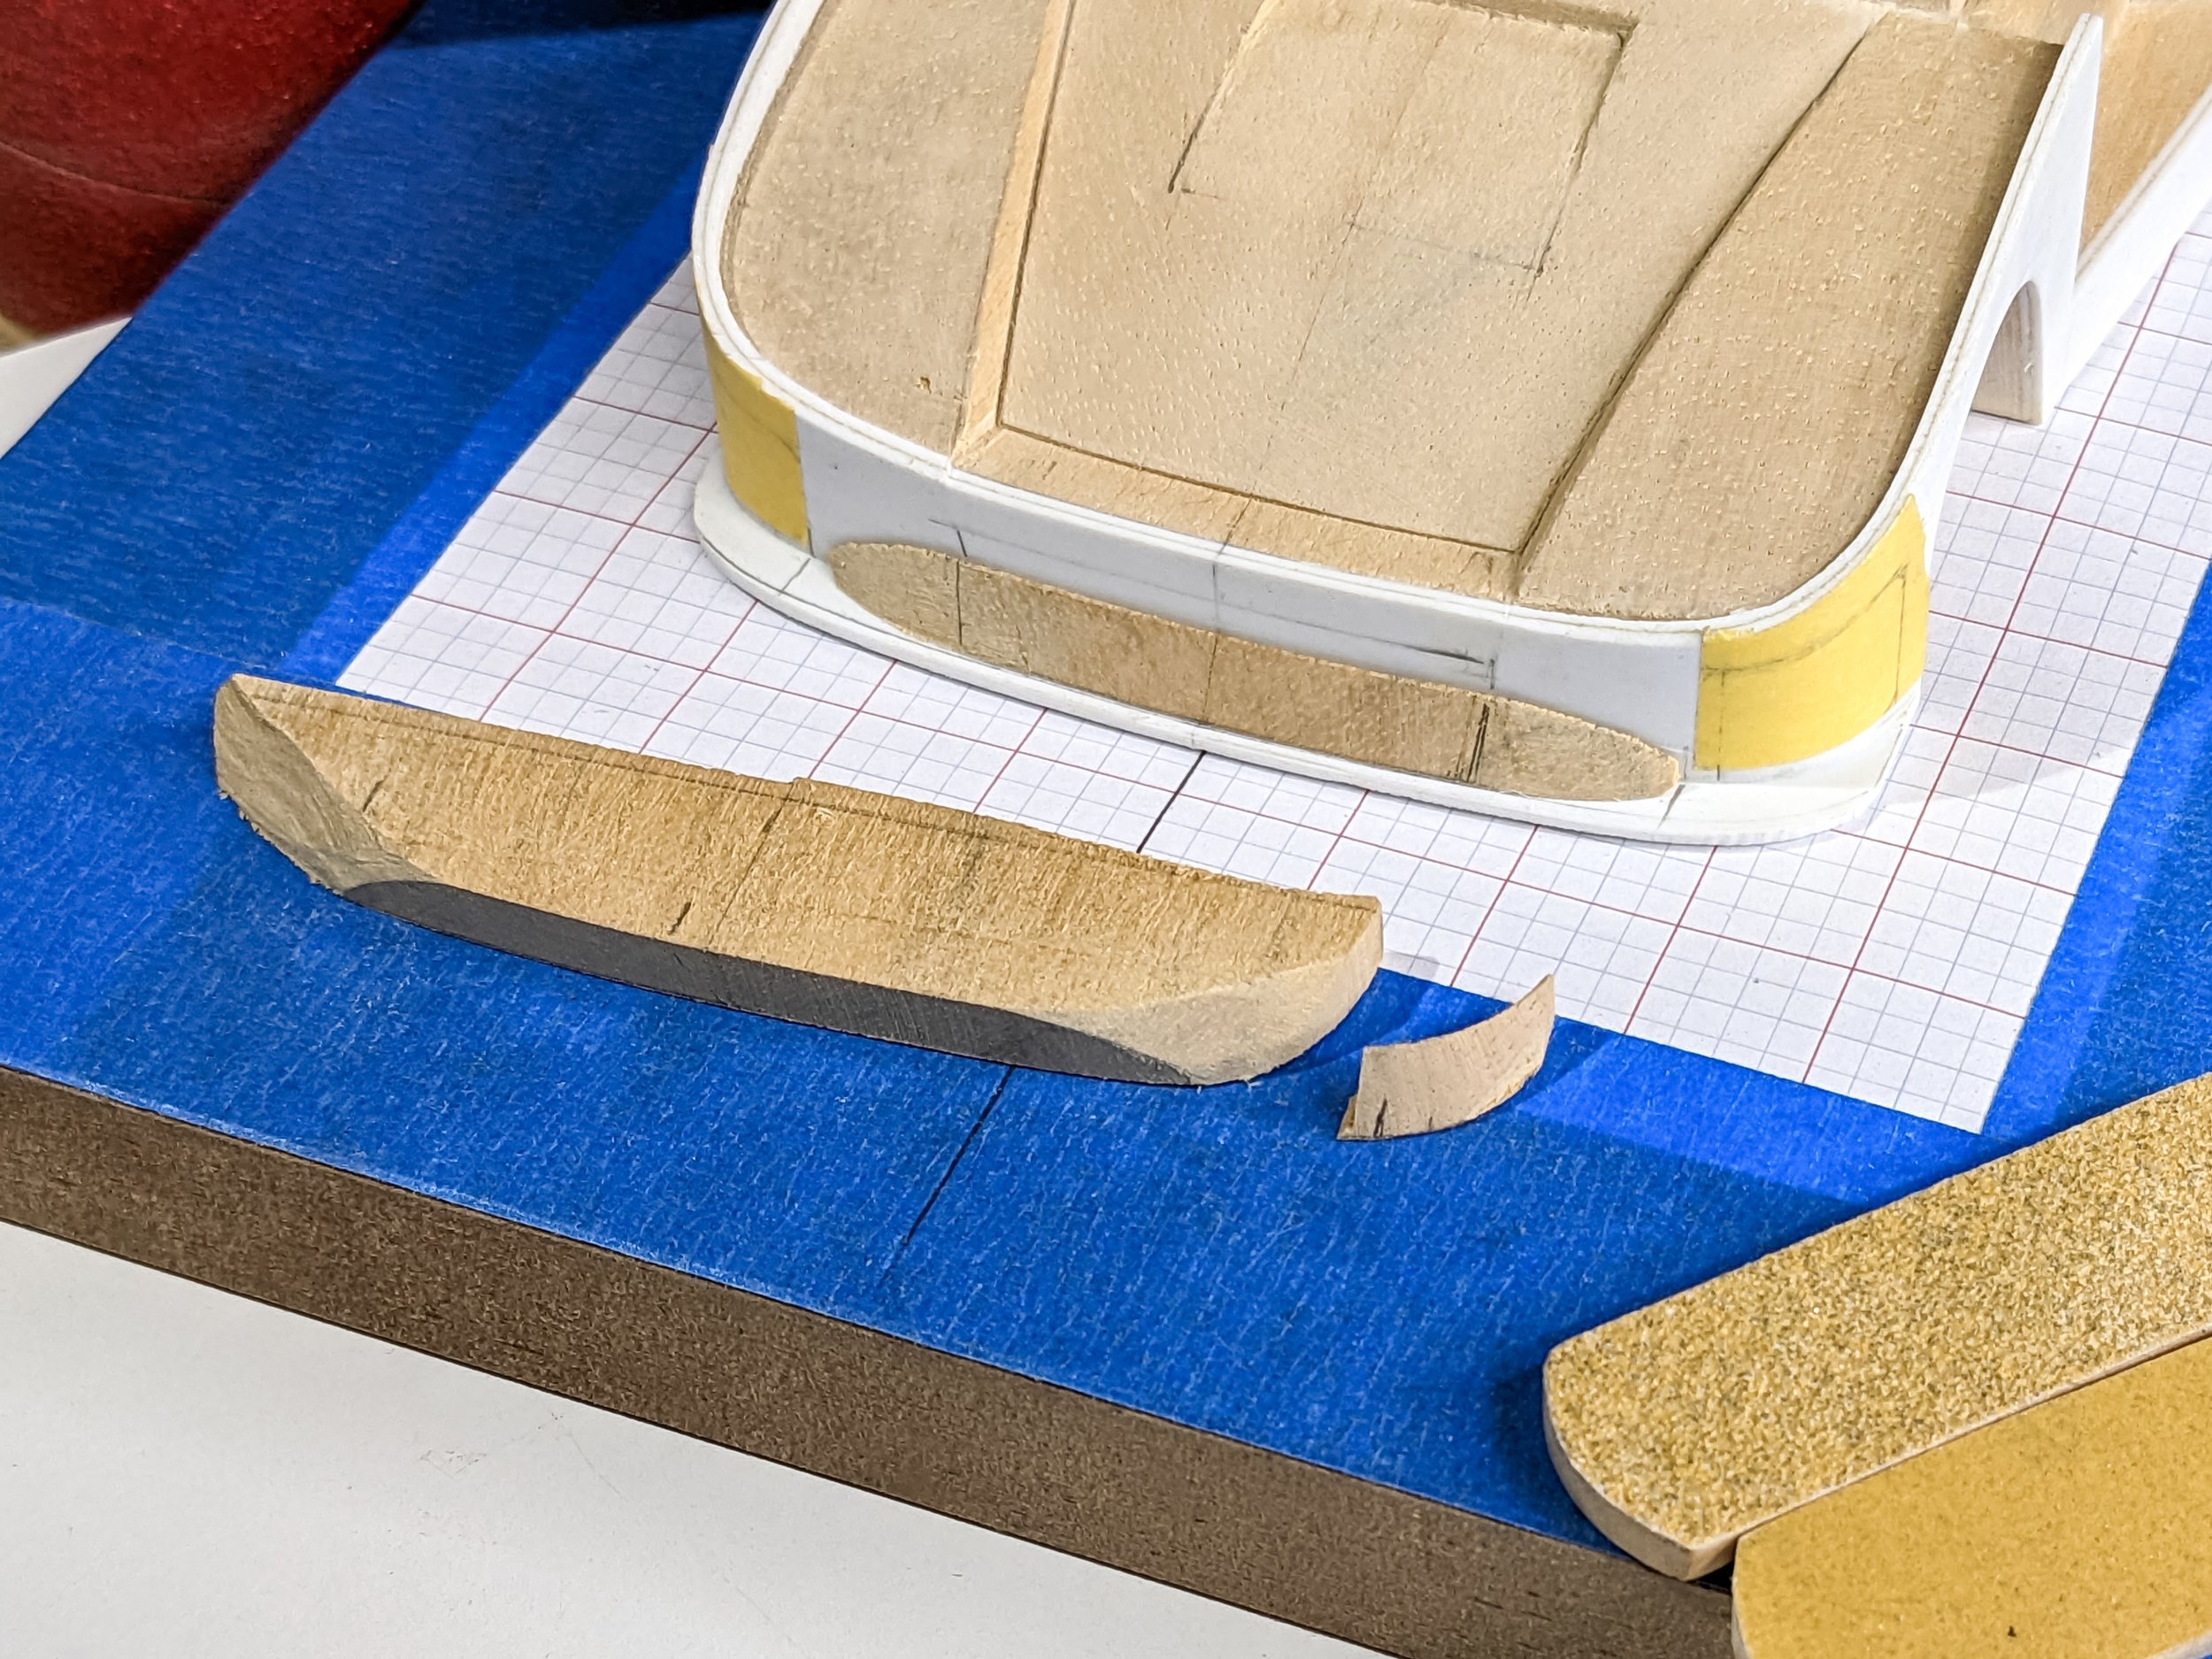
The jelutong aero wedge is nearing it's final size and form. There's not much left after sanding using the shaping jig to support the delicate piece. It still broke twice, requiring careful repairs.
The graph paper came in particularly handy on such a small, curvaceous piece.
A full width piece proved to be unnecessary - that's a good lesson learned for the other G935s.
To shape the blending angle, the rough blank is double-face taped to a thin piece and slowly worked on the 5" disk sander. A helper block is needed since the sander plate can't move to the required angle without the part being upside down with the guide line not visible.
To blend from the splitter into the front wall requires a piece shaped to fit the profile of the nose and angled to make the blend.
As successive adjustments were made on the drum sander, the areas to be worked on are quickly marked with tick marks. Each adjustment's ticks have a different end style to keep things moving along. Final fitting was done by hand.
A butterfly-cut and glued blank has been thickness planed and sanded to the height of the aero wedge. Shaping to the template was done with quick bandsaw cuts and then shaping with the drum sander.
To start, the nose profile was traced, scanned into CAD, offset and printed as a template for removing material.
The G935 group is progressing as I work out each area on the first one and transfer lessons learned to the rest.
I finally couldn't stand having just a two dimensional messy desk so I added a set of yet-to-be-completed shelves along the back. Now the chaos can multiply even further.
Next up - 014 - The Wing - It's time to work on the shape, size, position, angle of attack and stronger mounting for the rear wing.
For more of the story click on any of the following links:
- You’re here in the list.
012 - 2nd Skins Layer-Splitters


