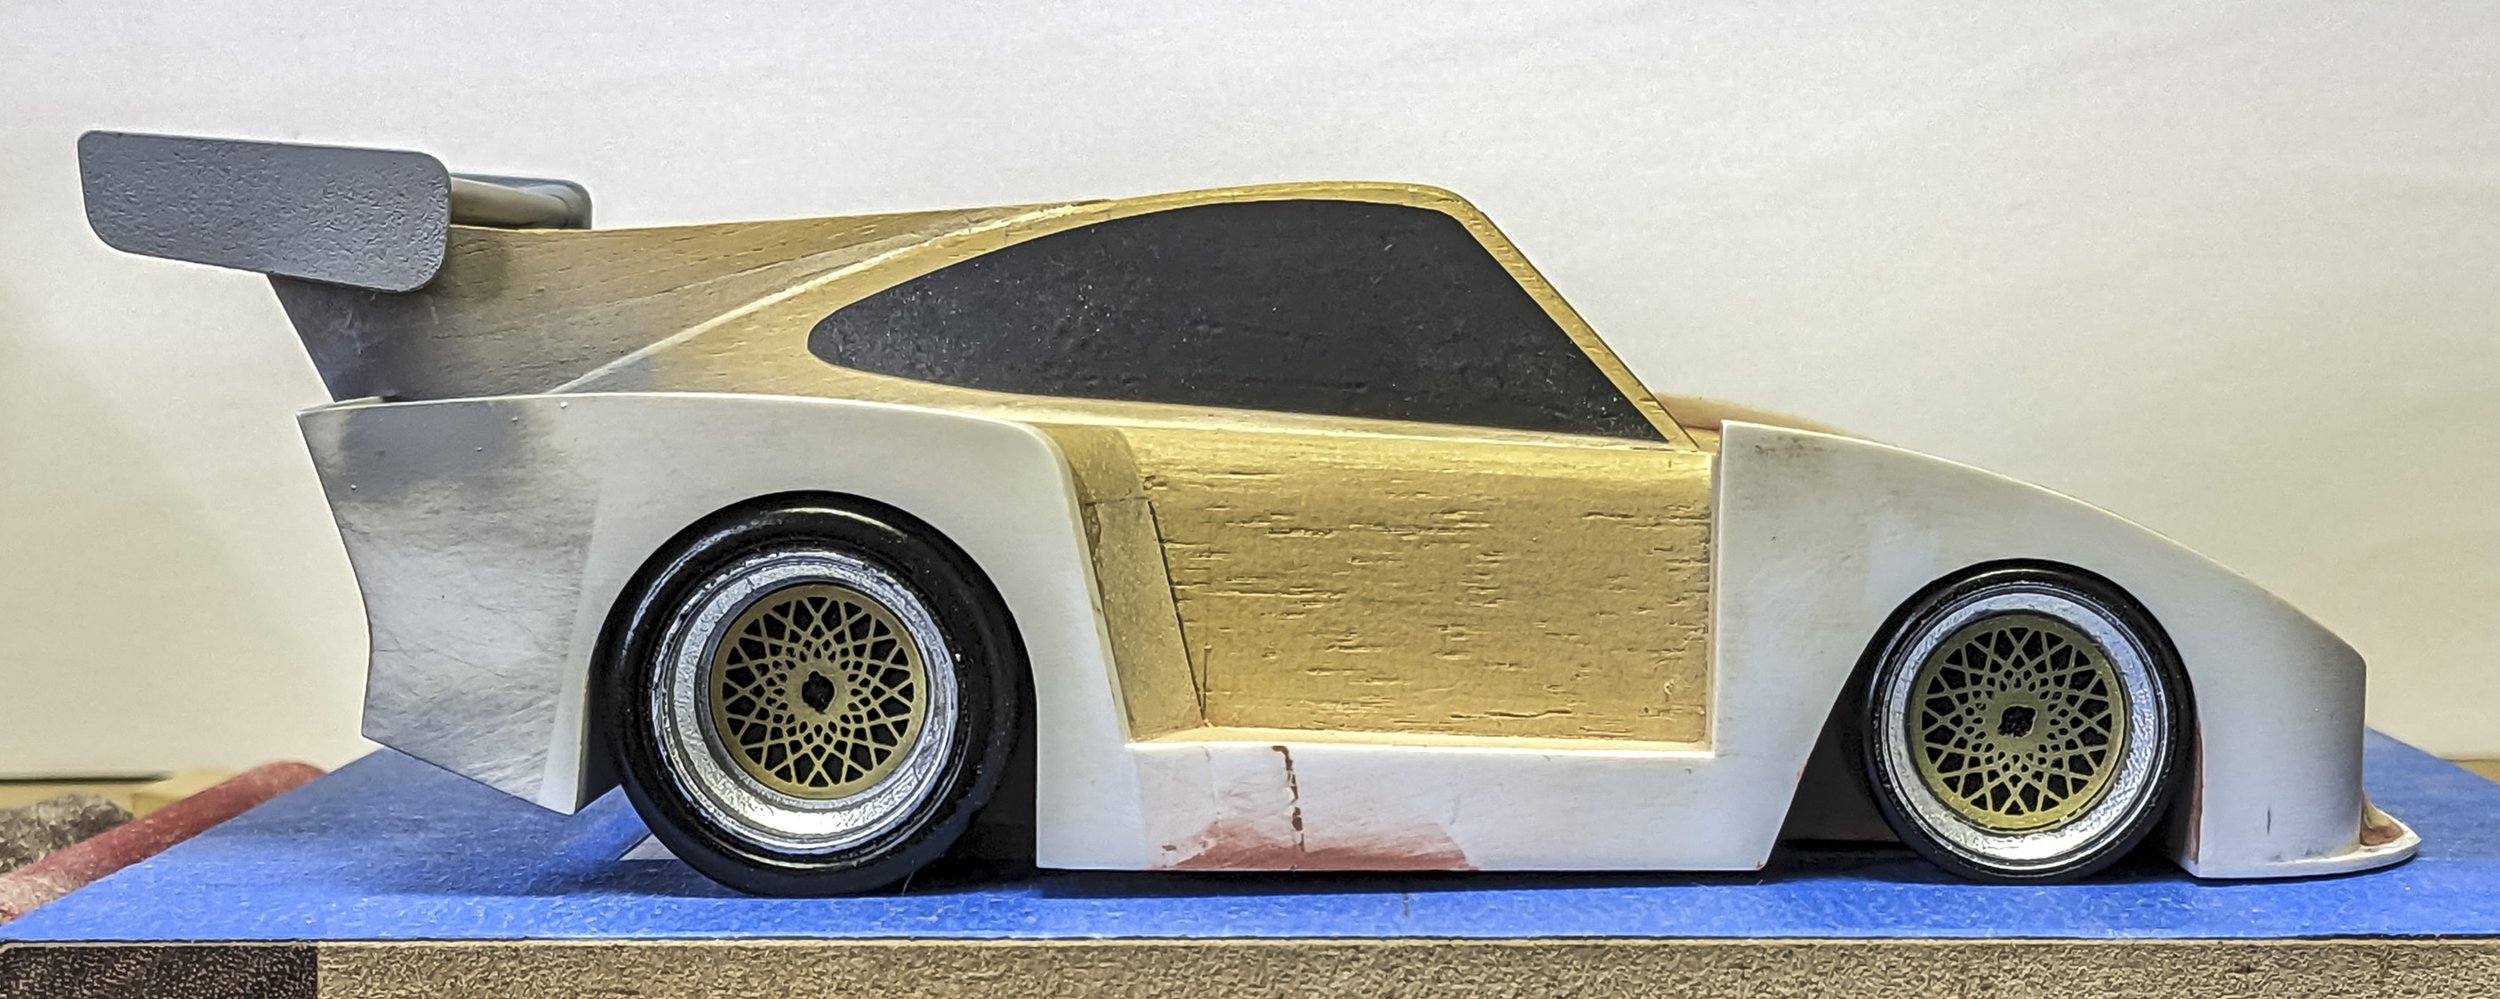
Porsche 935/G935's should look mean and aggressive - like they do at full speed and under heavy downforce.
That's why I keep going on about stance. If the stance is right, the whole car looks better.
Front fender thickness is a major determining factor in rake and therefore stance. I've been doing a lively fandango trying to get the right balance. My original front axle height proved to be too low to allow enough rake for a proper stance. That means opening up the wheel wells to thin out the fenders.
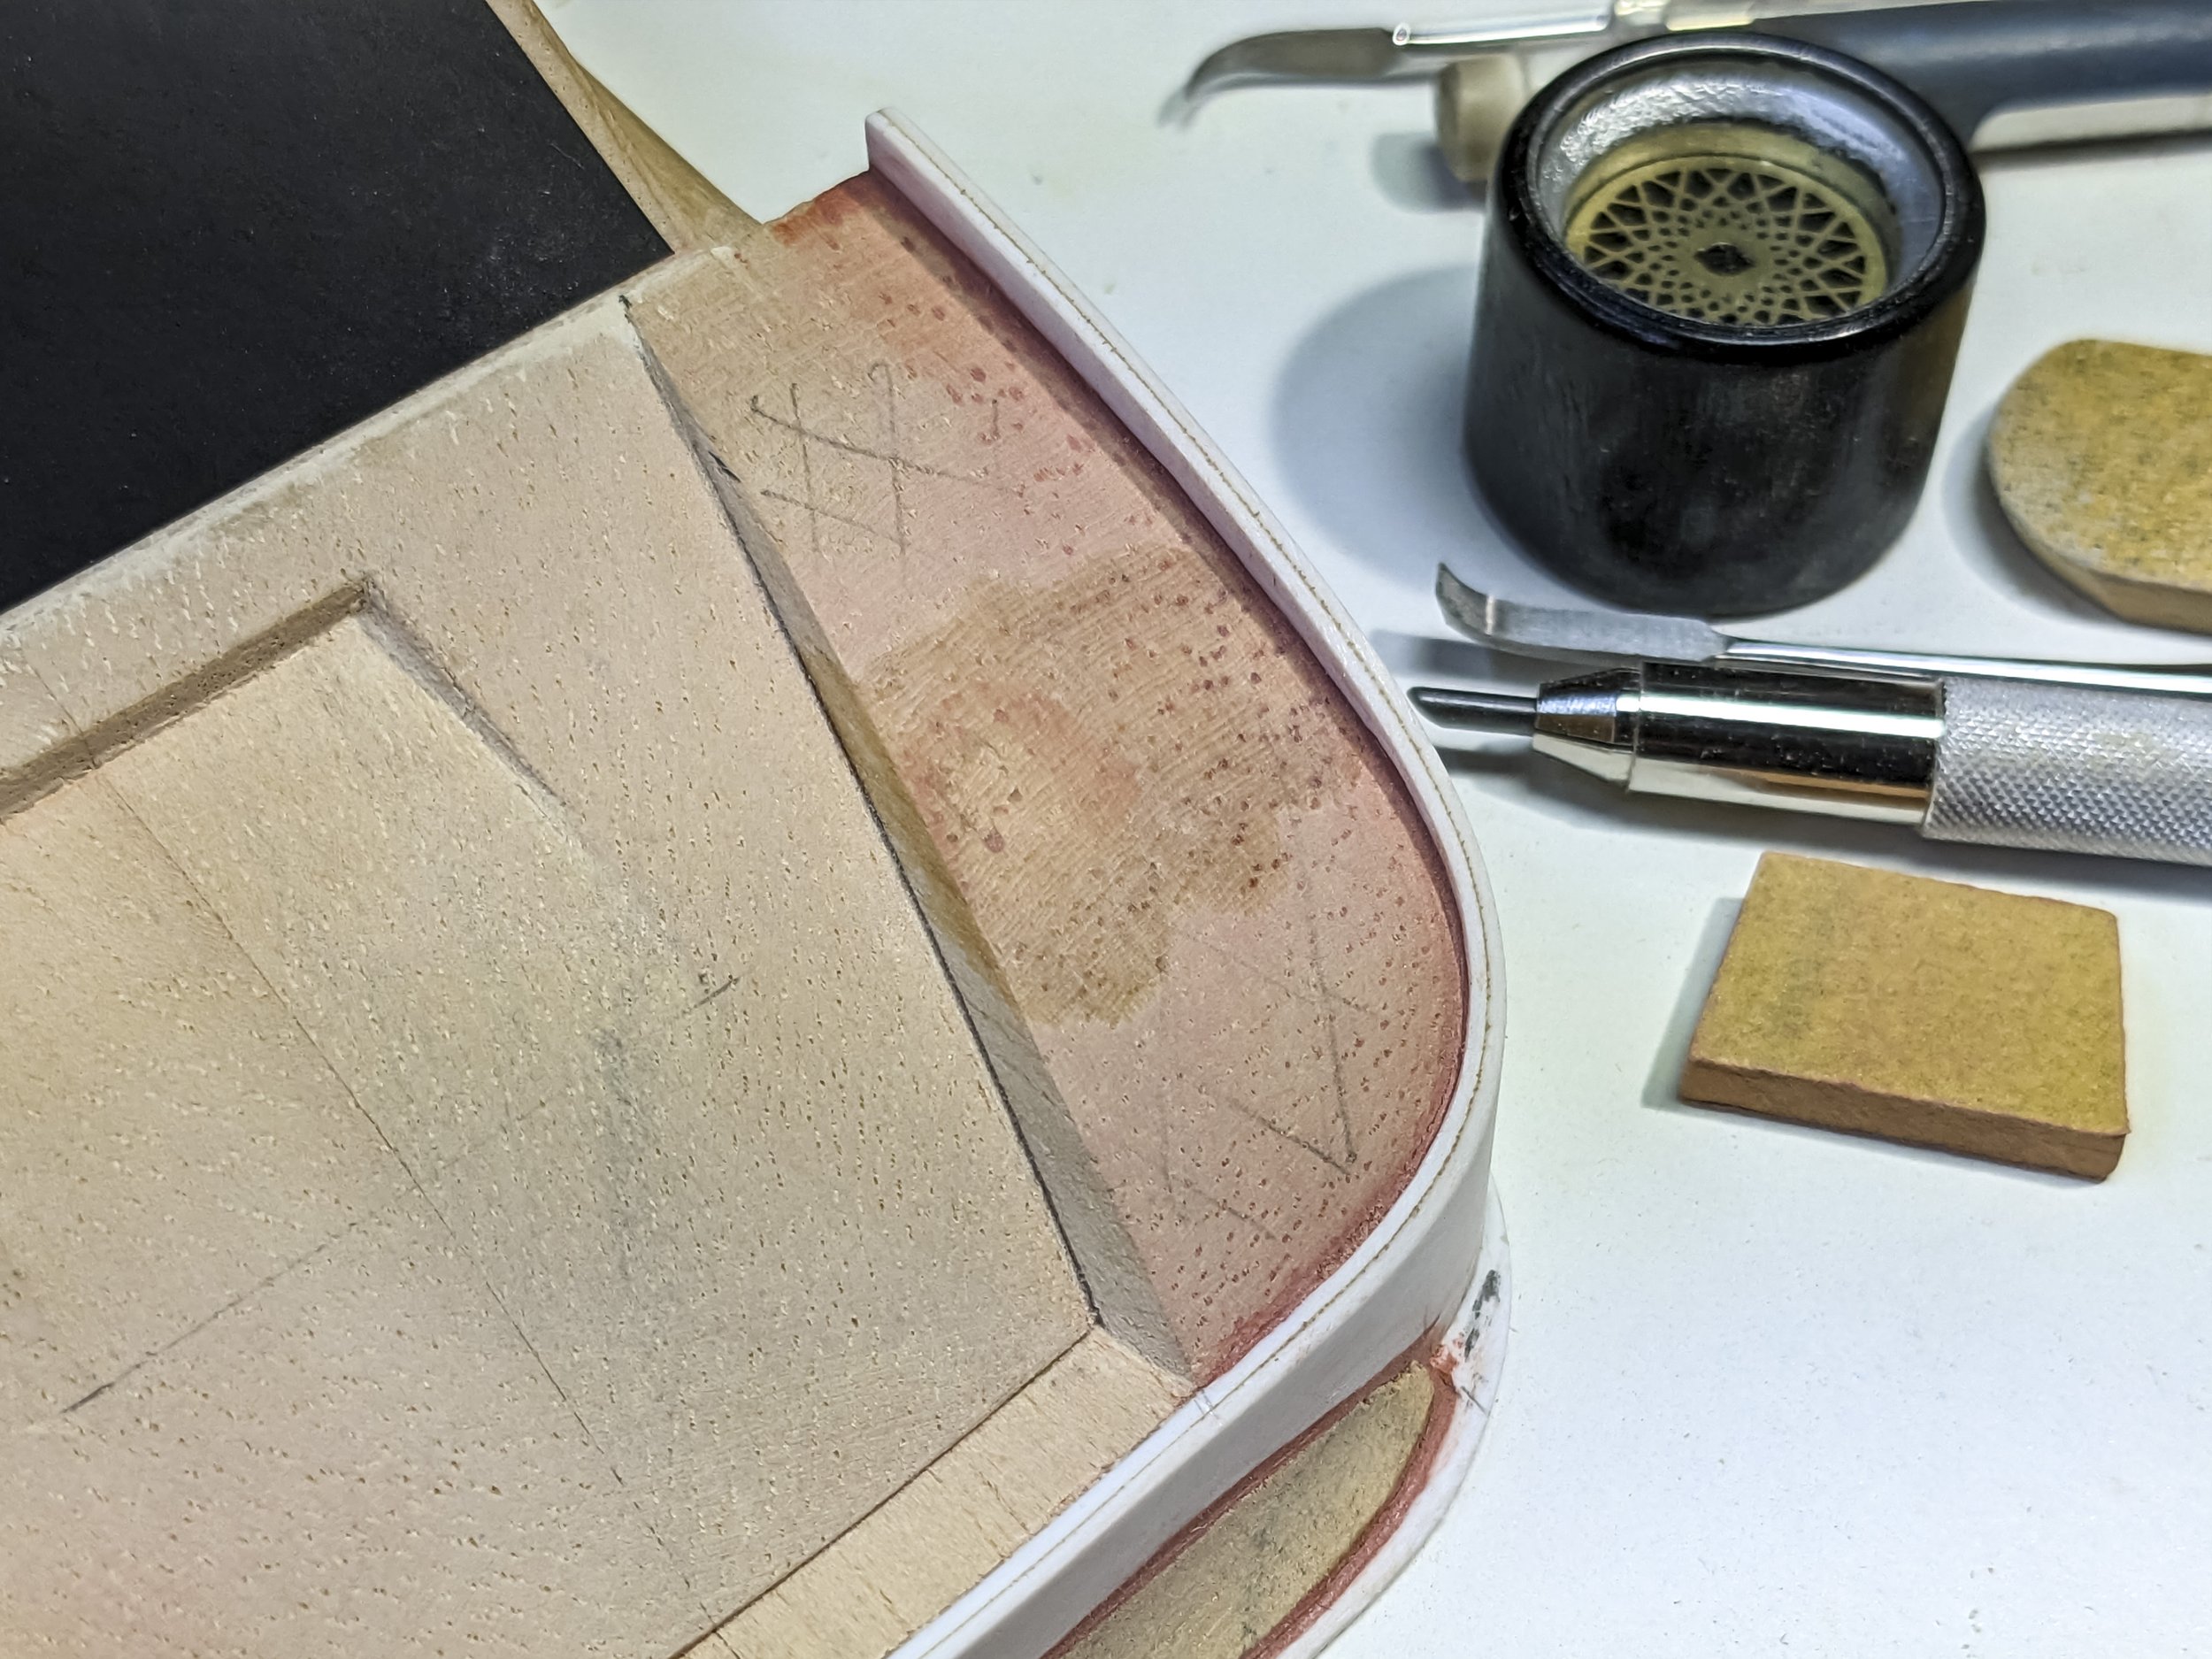
A delicate application of Dremel magic removed most of the needed material and the remainder was thinned and rough shaped with the highly sophisticated sandpaper-on-a-dowel method. That's the easy part.
What's left is a tiny styrene fender lip to clean up and final wheel well shaping. That’s the hard part.
Working with the already thin and fragile jelutong, soluble styrene and intractable contact cement results in new 'challenges'.
Making the jelutong even thinner makes breakthroughs more likely.
Taking off just a crescent moon sliver from one 0.030" (0.8mm) layer of styrene inside the fender lip leaves contact cement stringy boogers that are almost impossible to remove. Just removing the styrene is tricky - lots of tiny chiseling and scraping work.
Apply just a tiny bit too much pressure on any tool and a breakthrough gives the heart a real jolt!
A breakthrough means time to make a repair with wood glue, wait, sand inside and out, stabilize the wood by soaking with cyanoacrylate (superglue), wait, fill with glazing putty, wait and sand some more. Then, finally, back to shaping.
And meanwhile, there's another breakthrough on the other fender.
Jelutong is made up of long tubular pores which carry the sap (white latex) thoughout the tree. This makes it light and strong in lengthwise compression, but terrible for side loads - when it is thin. Soaking it with cyanoacrylate fills the tubes, makes it almost solid and stronger all around. The darker areas have been soaked both inside and outside of the wheel well.
Once the jelutong and styrene were removed, it was time to deal with the remaining contact cement. Cutting, scraping, filing and sanding didn't remove all the springy strands of leftover glue. In tests, solvents didn't work either, but definitely melted the styrene.
Further hair-pulling and testing led to carefully using the spray from an upside down can of electronic duster to freeze them enough to pop most off. The tiniest ones ended up being jammed into a slit opened between the jelutong and styrene, then filled over with putty. Not the most elegant solution, but the best I've found so far.
Both fender breakthroughs have been repaired, strengthened and filled ready for more sanding.
Penciling cross hatching on the fender surface helped visualize what was being removed during sanding in order to keep the shape true.
After all the fancy dancing, I was finally able to get back to making progress on other building and shaping tasks. Here the forming of the front convex curve air dam has been started. The surface curves both vertically and horizontally. Sounds like another fandango!
I've ordered a spare boxcar full of patience to help me out with the fender thinning. Only six more to go.
Next up - 016 - Engine Bay Progress
For more of the story click on any of the following links:
- You’re here in the list
012 - 2nd Skins Layer-Splitters


