Four unfinished, original 1980's Co-Hog Porsche 935's were found last November packed away in a box. They are being restored to better than new condition with a few big upgrades. Visit the blog post to see the beginning of the story.
There are three white cars and one black one in this set The white cars will be sent home to OH, CA and FL when done. The black one stays here in my collection.
The biggest upgrade is from simple maple tires to machined tires, wheels and wheel nuts - with photochemically etched brass wheel centers. An outside shop originally machined the tires and wheels in 1984 for the Co-Hog Porsche 956/962 series, but they required some fine tuning to bring them up to snuff. The etched wheel centers were also done in 1984 but just needed selection, final shaping, polishing and finish coatings.
Tires were machined in black Delrin, the wheels in aluminum and brass hex head screws were modified for the wheel nuts. The wheel centers are two 0.015" (0.4 mm) layers of photochemically etched brass. And there are two punched vinyl graphic elements for each as well.
Wheels, tires and wheel centers were all size matched within 0.002" (0.5 mm) for proper assembly. For four cars I’ve made 20 pieces of each of the seven components that makes up one tire/wheel assembly. It’s always good to have spares.
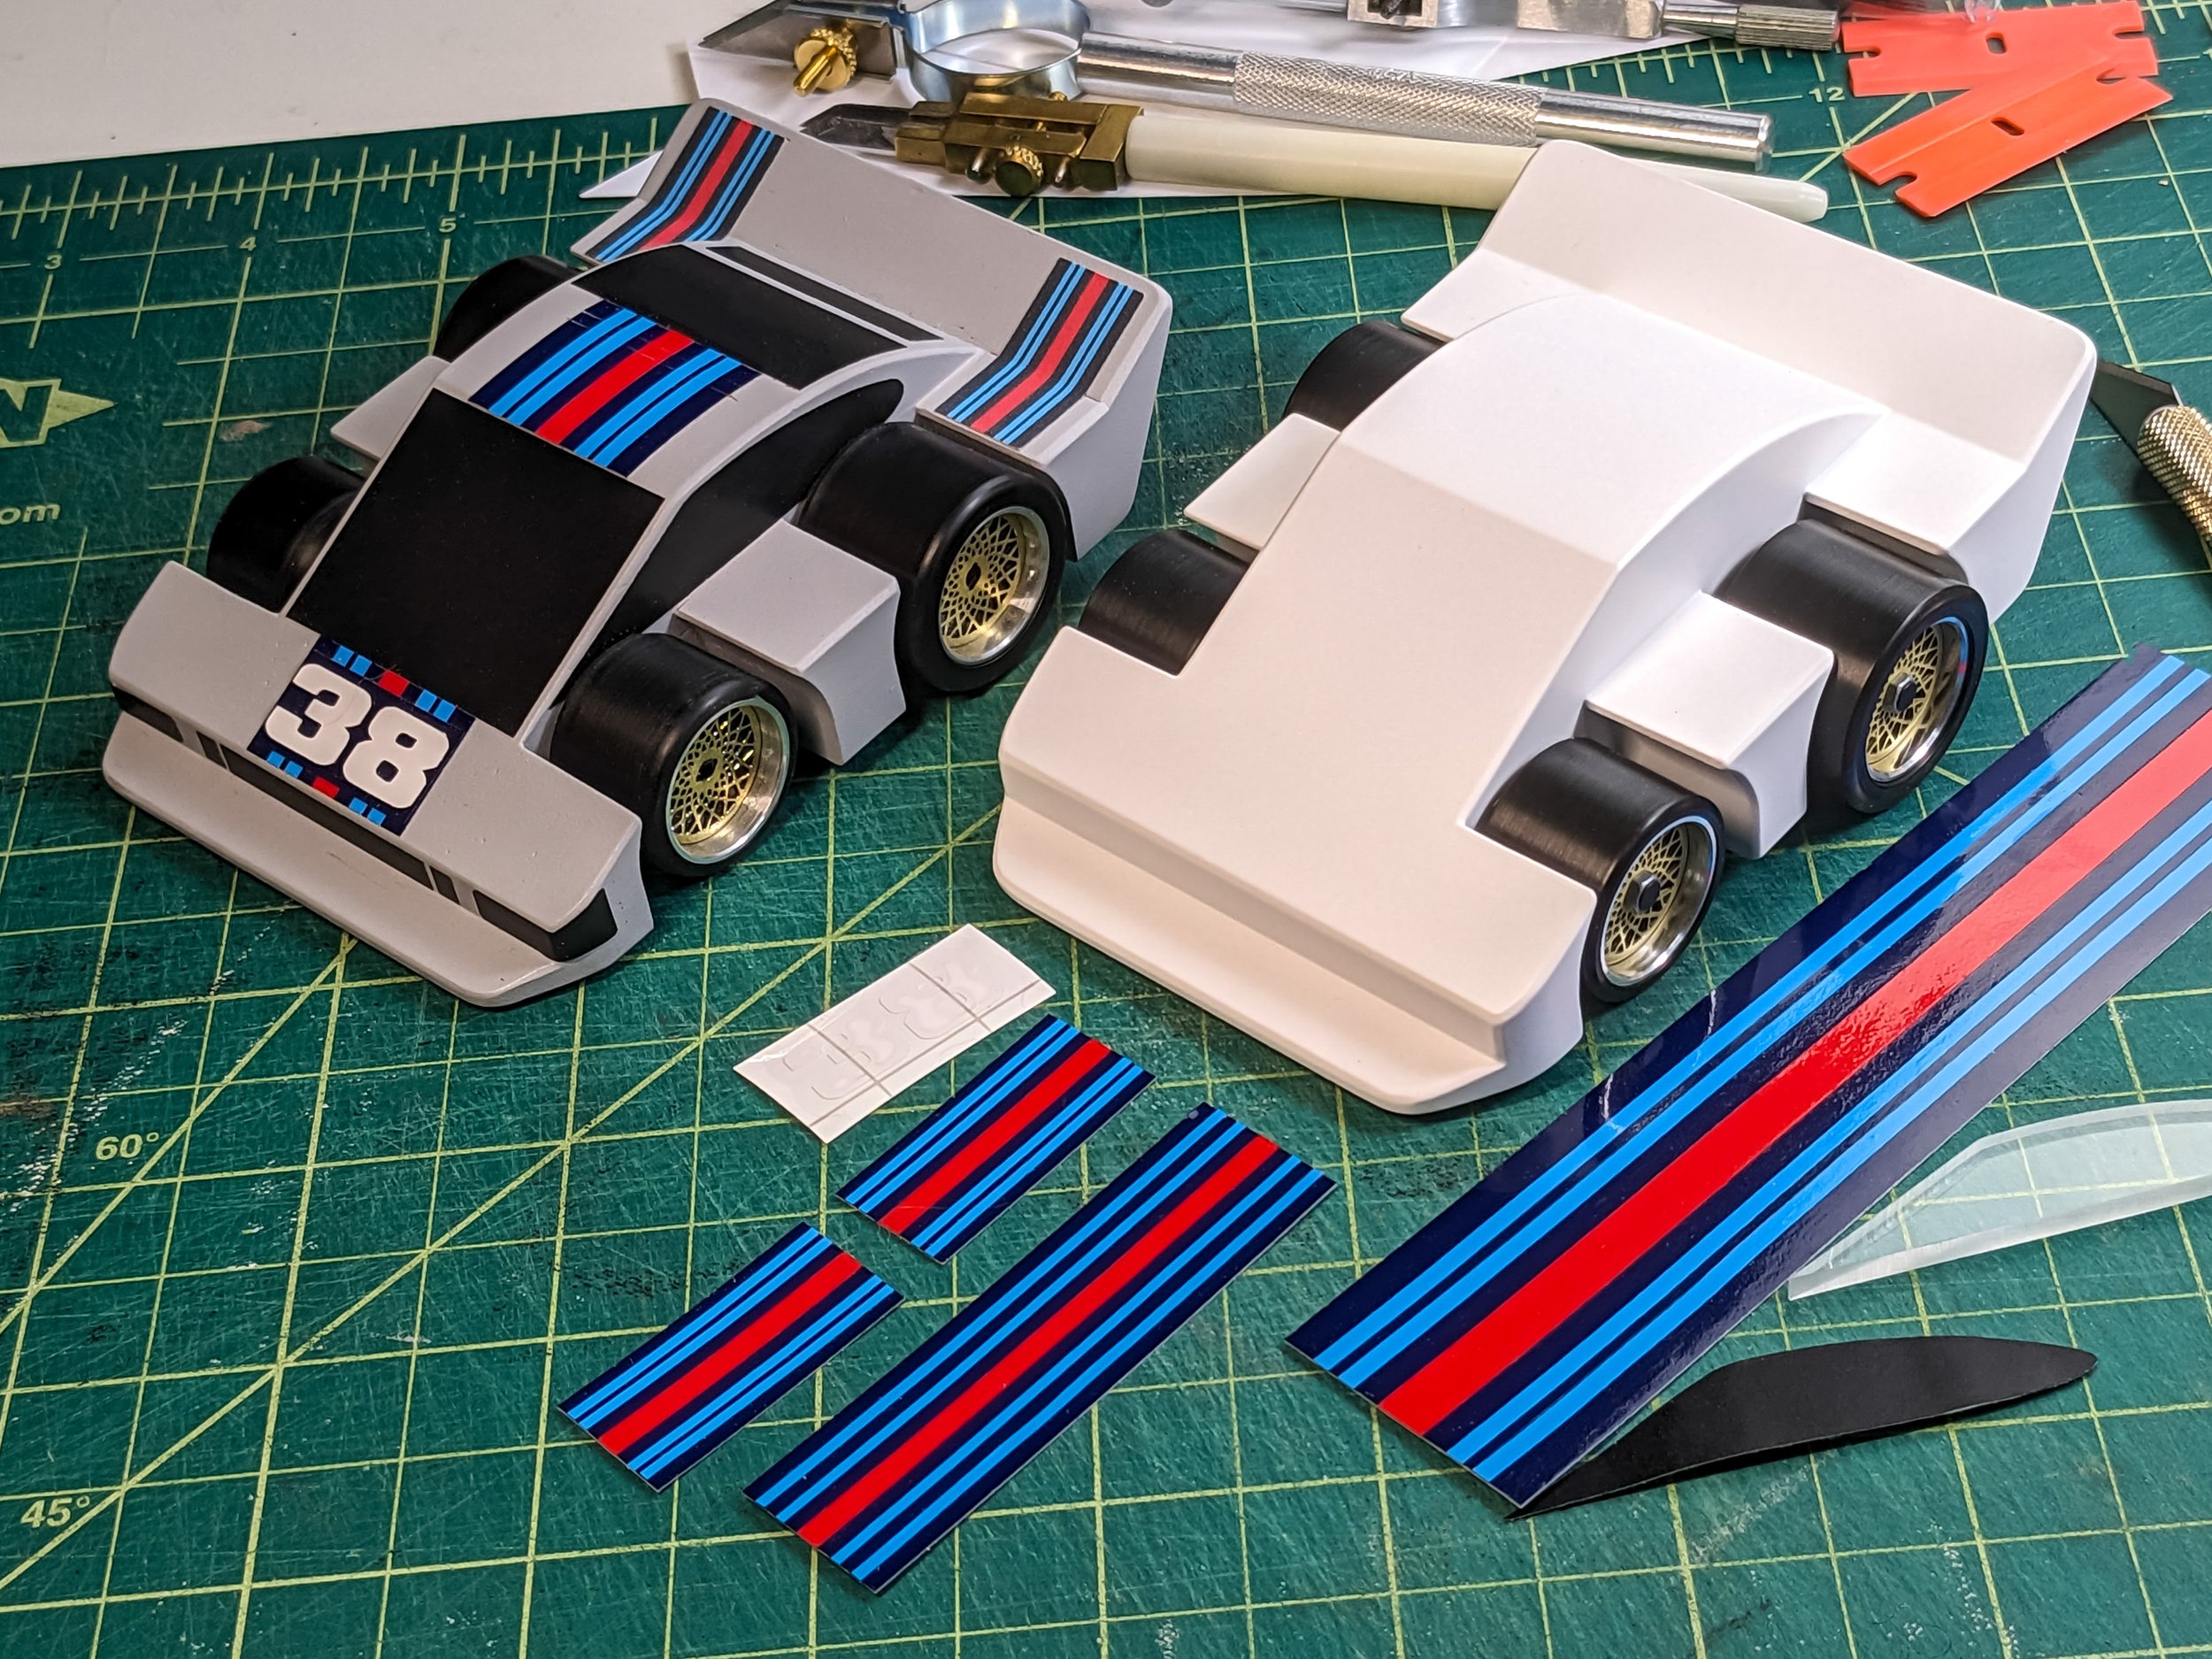
This first image is of the Martini car in process. The final white color has been applied and a few graphics cut. Each individual color stripe is hand cut and positioned to make up a single element. The car numbers were machine cut; I'm crazy, but not nuts. All graphics will be applied before clear-coating to seal in all the tiny stripe pieces.
The culmination of the modifications is these three sets of of completed wheels and tires for the white cars.
The fourth set has been prepared as well, except the wheel centers, which will be five spokes rather than BBS.
Nice and shiny!
Working with multiple existing parts meant it was necessary to create control tools to keep parts concentric during additional turning. The axle holes are the same size on the tires and wheels so that was used as the common starting feature to make them.
1: The tire is attached to one end of the brass tool in order to reduce the OD
2: The other end of the brass tool is used to position the wheel for a facing cut (not shown in following images)
3: The wheel was then fit into the aluminum tool for an ID clean up and a finishing chamfer
Tire mods -
A: Brass tool was centered in the lathe, the tire is mounted and held on with the screw
B: New OD was cut with two passes removing 0.100" (2.6 mm), then cleaned up with green ScotchBrite
Wheel mods -
A: Aluminum tool was centered in the lathe, wheel OD fits snugly in the recess, the screw holds it, then the ID was opened up slightly
B: Tiny inside finishing chamfer was cut before final power polishing
Wheel center mods -
A personal computer was still a dream for me, so I used traditional drafting tools for the layout and pen and ink to draw up the BBS-style wheel centers at 10x size. That was handed over to an electronics component manufacturer where it was reduced, photo step-and-repeated onto a resist coating applied to both sides of a 0.015" (0.4 mm) thick brass sheet and then chemically etched.
A: Using the etched-in notches, each layer was aligned over two pins in the fixture and laminated together with metal cyanoacrylate glue,
B: Each finished lamination was face-sanded with 2000 grit cloth and then given a slight cast appearance and corrosion protection with a sprayed flat clear coating.
The background splatter shows that it does not always go well in the paint booth. There were multiple oaths involved in that session.
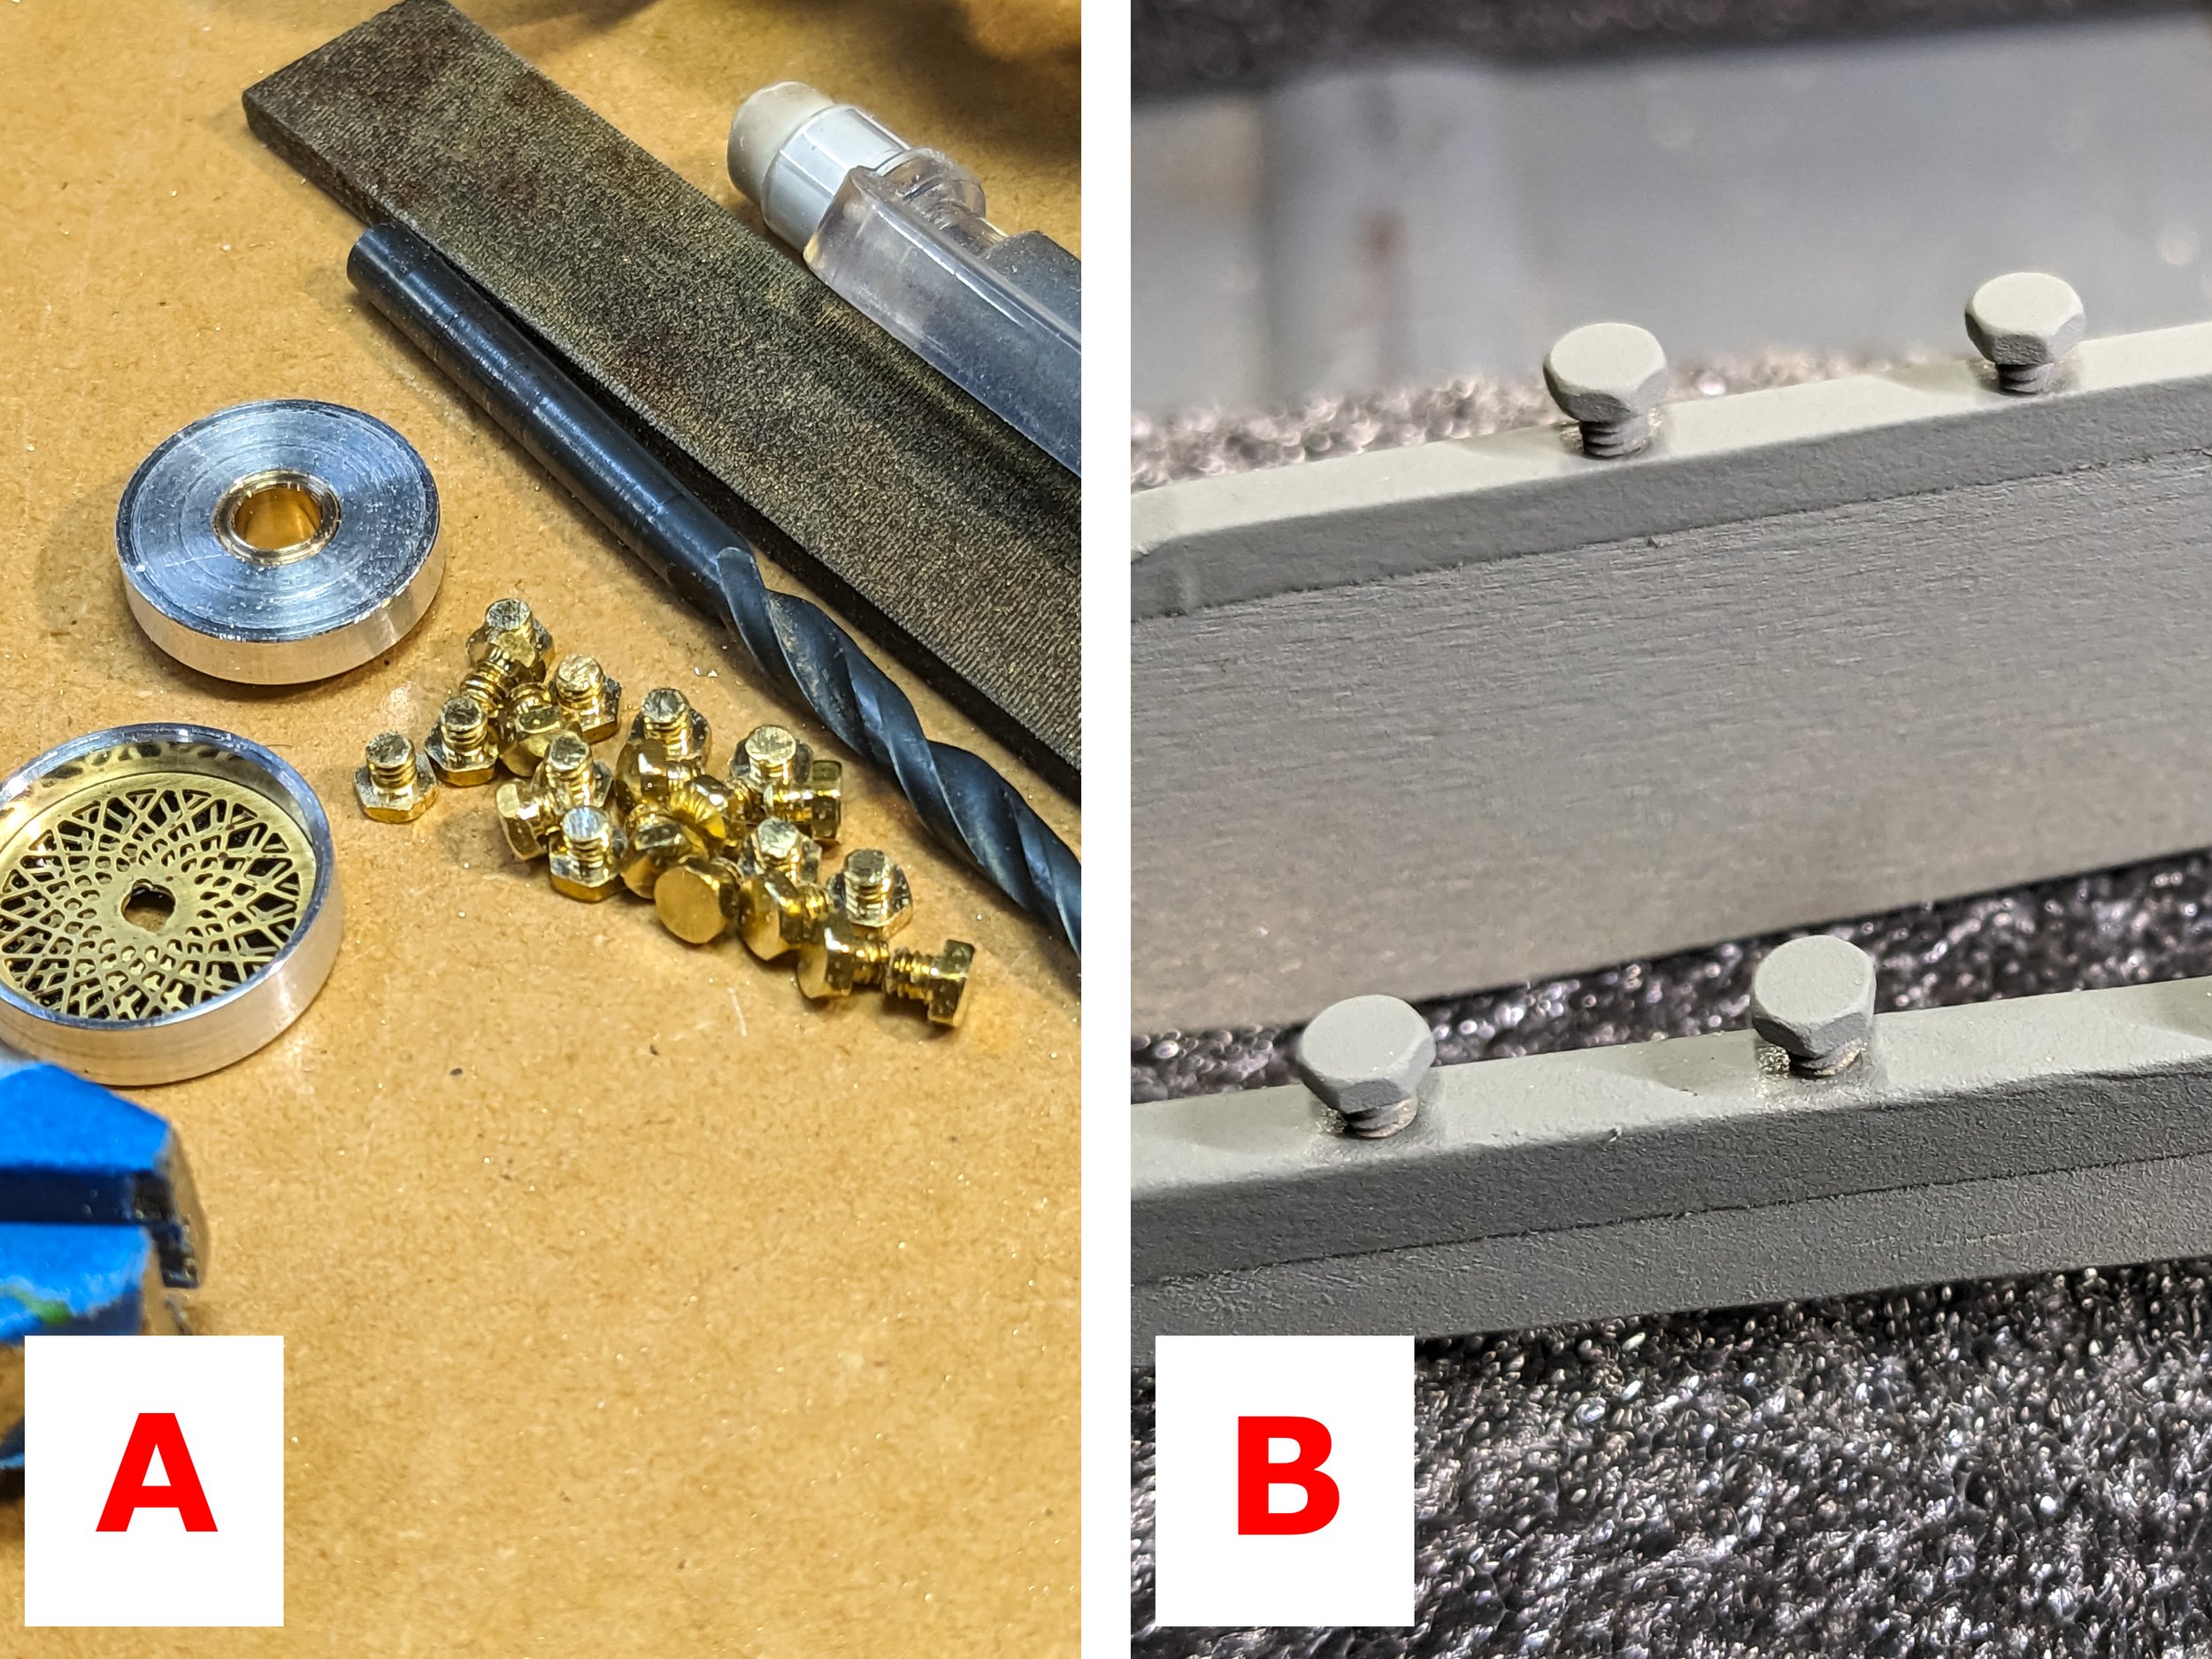
Wheel nuts mods -
Started with purchased 3-48 x 1/4" brass hex head screws.
A: A face cut flattened the head surface and then the chamfer was refiled
B: A parting tool was used to cut the nut to the proper thickness and trim the shaft down to fit within the wheel centers
Wheel nuts finishing -
A: Trimmed to length and acetone washed
B: Two coats of metal etch primer and two coats of color were sprayed
1/8" (3 mm) punched black vinyl centers were used to finish them - see the second photo in this post.
Wheel assembly 1 -
A: The black vinyl wheel center backing was punched with an arch punch and positioned in the wheel. An aluminum centering tool fits inside the wheel and centers the punch for the hole to position the wheel nut
B: Brass wheel nut centering tool was turned and fit into the punch centering tool to center the wheel nut
Wheel assembly 2 -
The wheel center laminate was glued into the wheel and the wheel nut was then positioned, and glue applied from the rear. The centering tool was inserted so the brass sleeve in the jig made sure the nut was centered.
Finally, the finished wheels were glued into the waiting tires and they’re ready for axles and final assembly.
You deserve a lot of credit if you actually read all of this! It took a long time to piece together, but it’s rewarding to share the process. I hope you enjoyed it.
Check out the first post on the Co-Hog Porsche Restorations in case you missed it.


