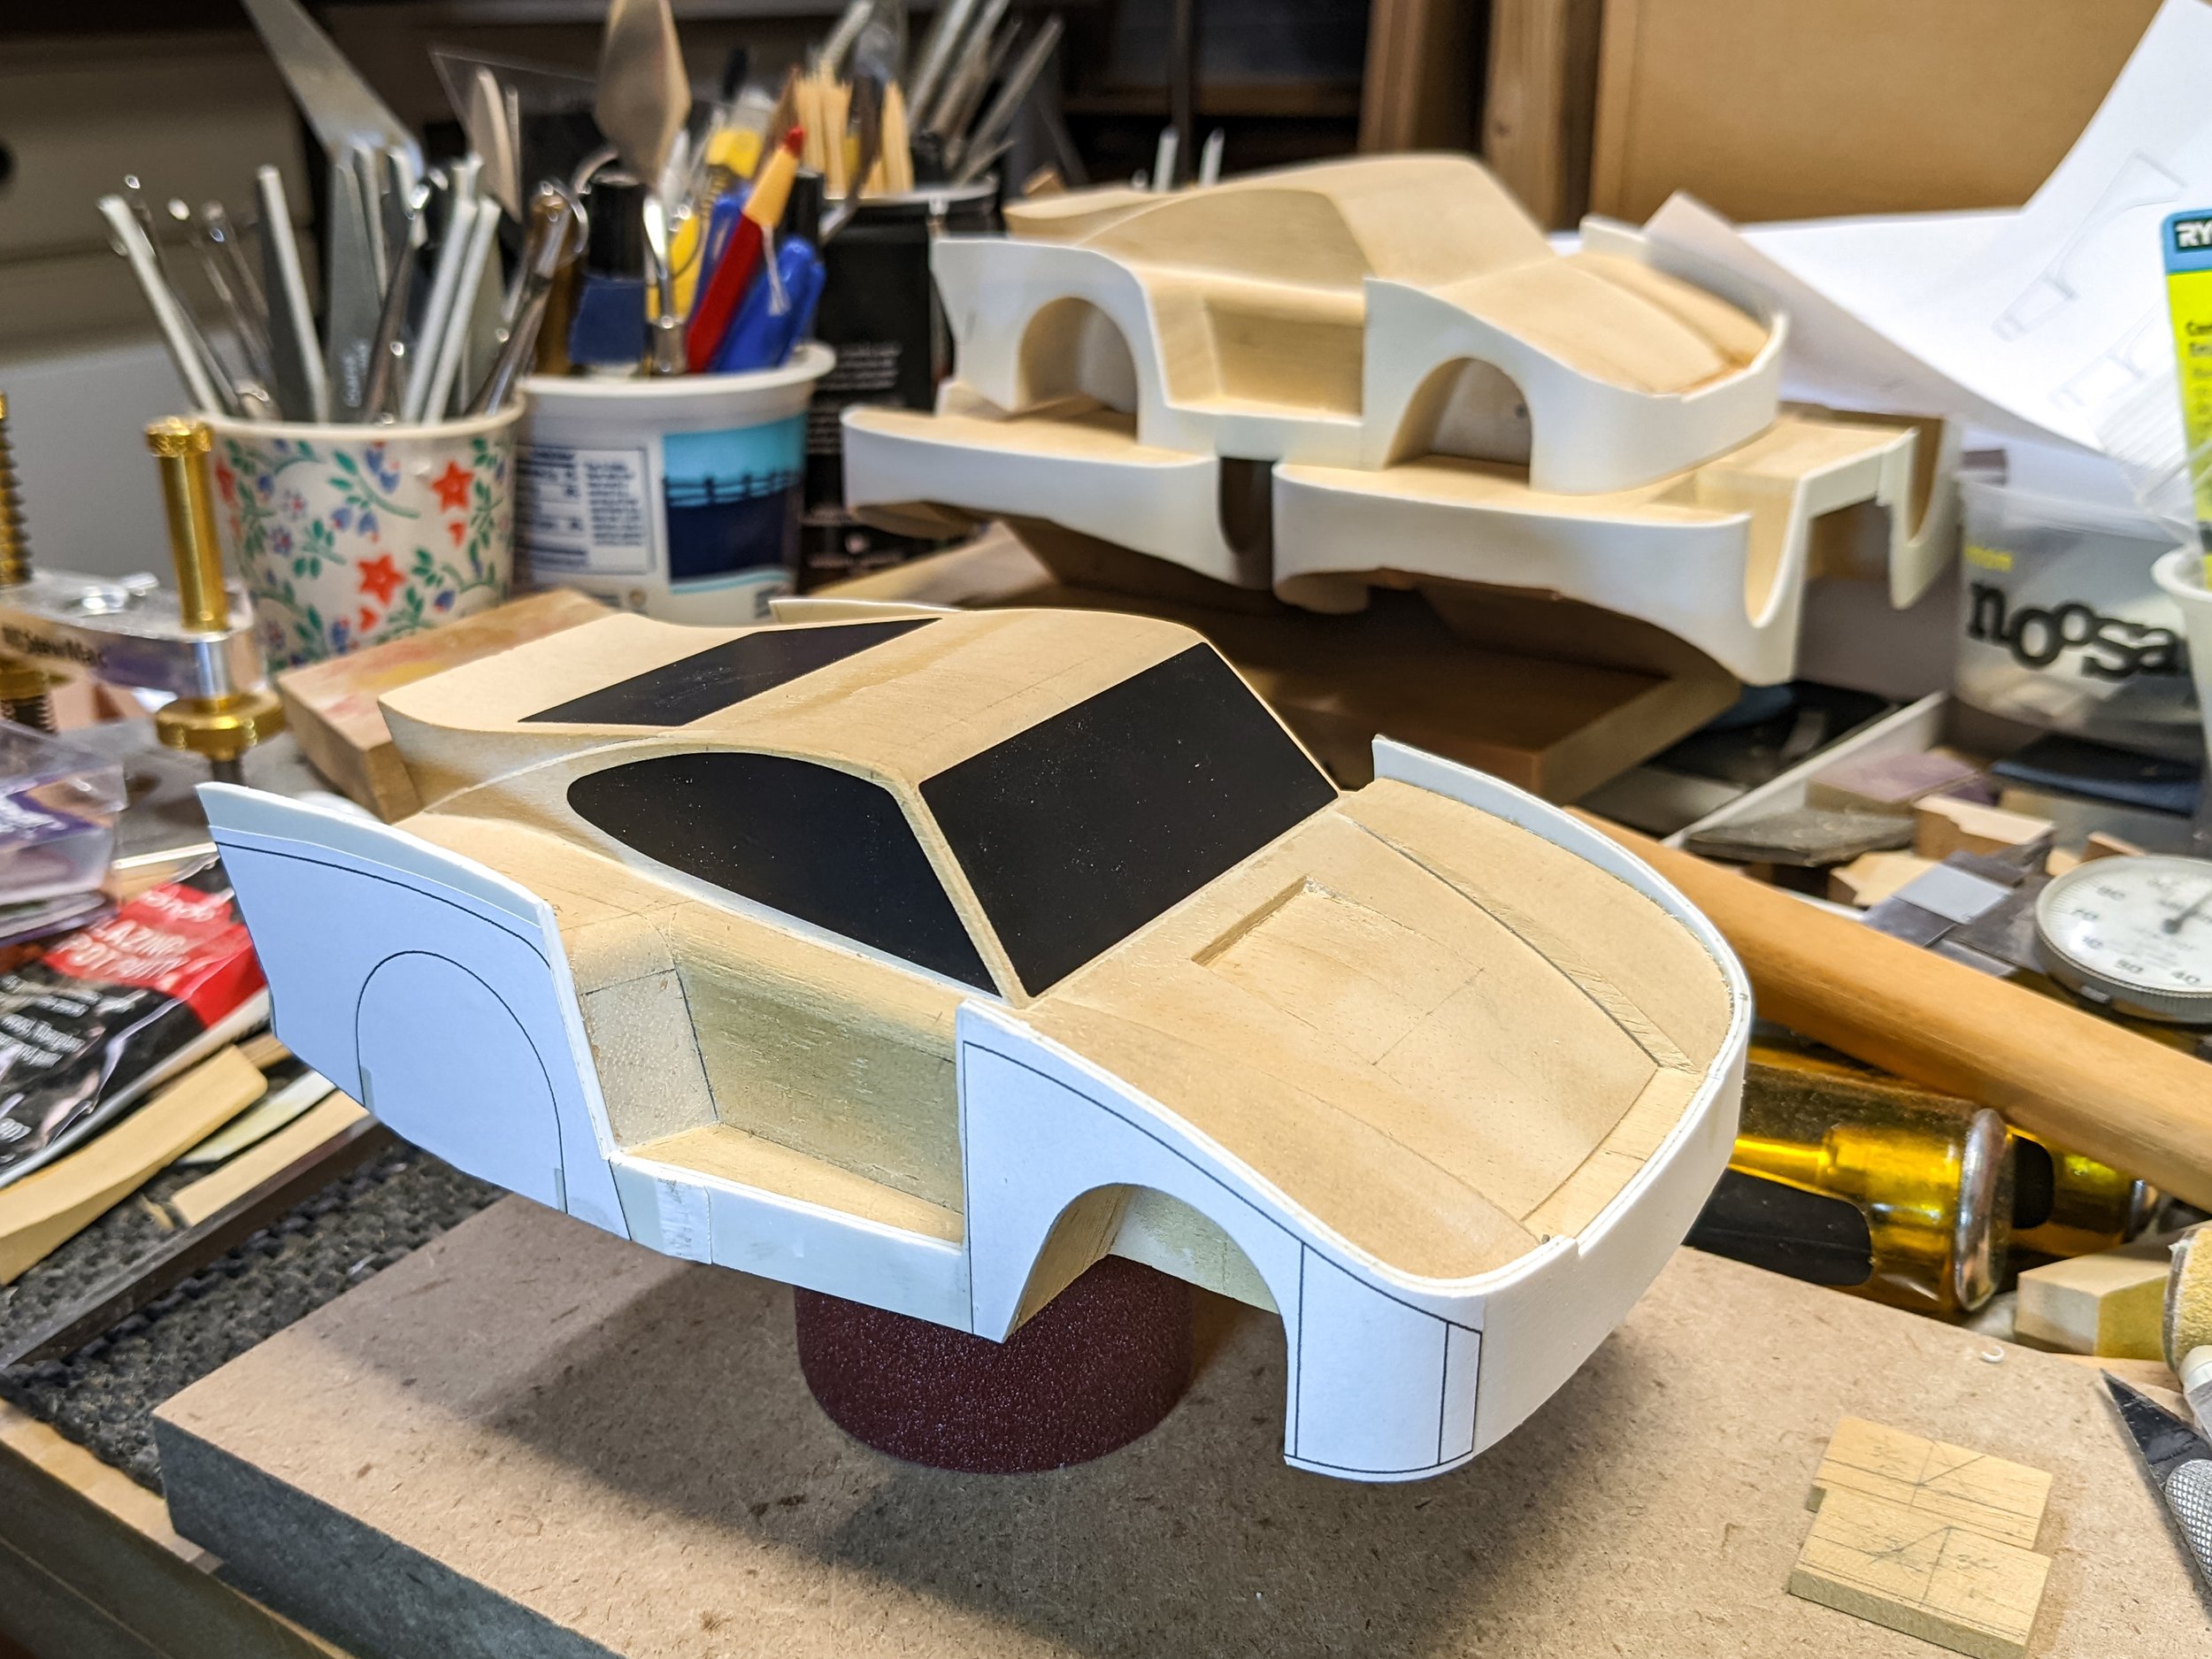
It's looking a lot more like a race car now. I added some preliminary graphics to get a better feel for overall progress.
Lots of progress on adding the first and second skin layers. I'm finding that the combination of materials is harder to work with than desired - jelutong is soft and shapes easily, whereas the polystyrene requires more force but has the needed flexibility and flat surfaces.
However, it is a plus having two layers which leaves an automatic center line to work to during final shaping. The contact cement has great holding power but is difficult to remove in tight spots.
Showing some preliminary splitter profile shaping. The splitter wedges that blend the horizontal plates into the vertical fronts are in the works.
The rear fenders have their back edge aero plates in place now.
The shape of the rear wheel wells is close to done. They'll be fine tuned along with the stance. The second skin layer provides some tire overlap which helps get the stance closer to what I want.
Splitter recesses have been dadoed into the front of each G935 and the first splitter is in position. At 0.045" (1.14 mm), the splitter is just a bit thicker than each skin layer.
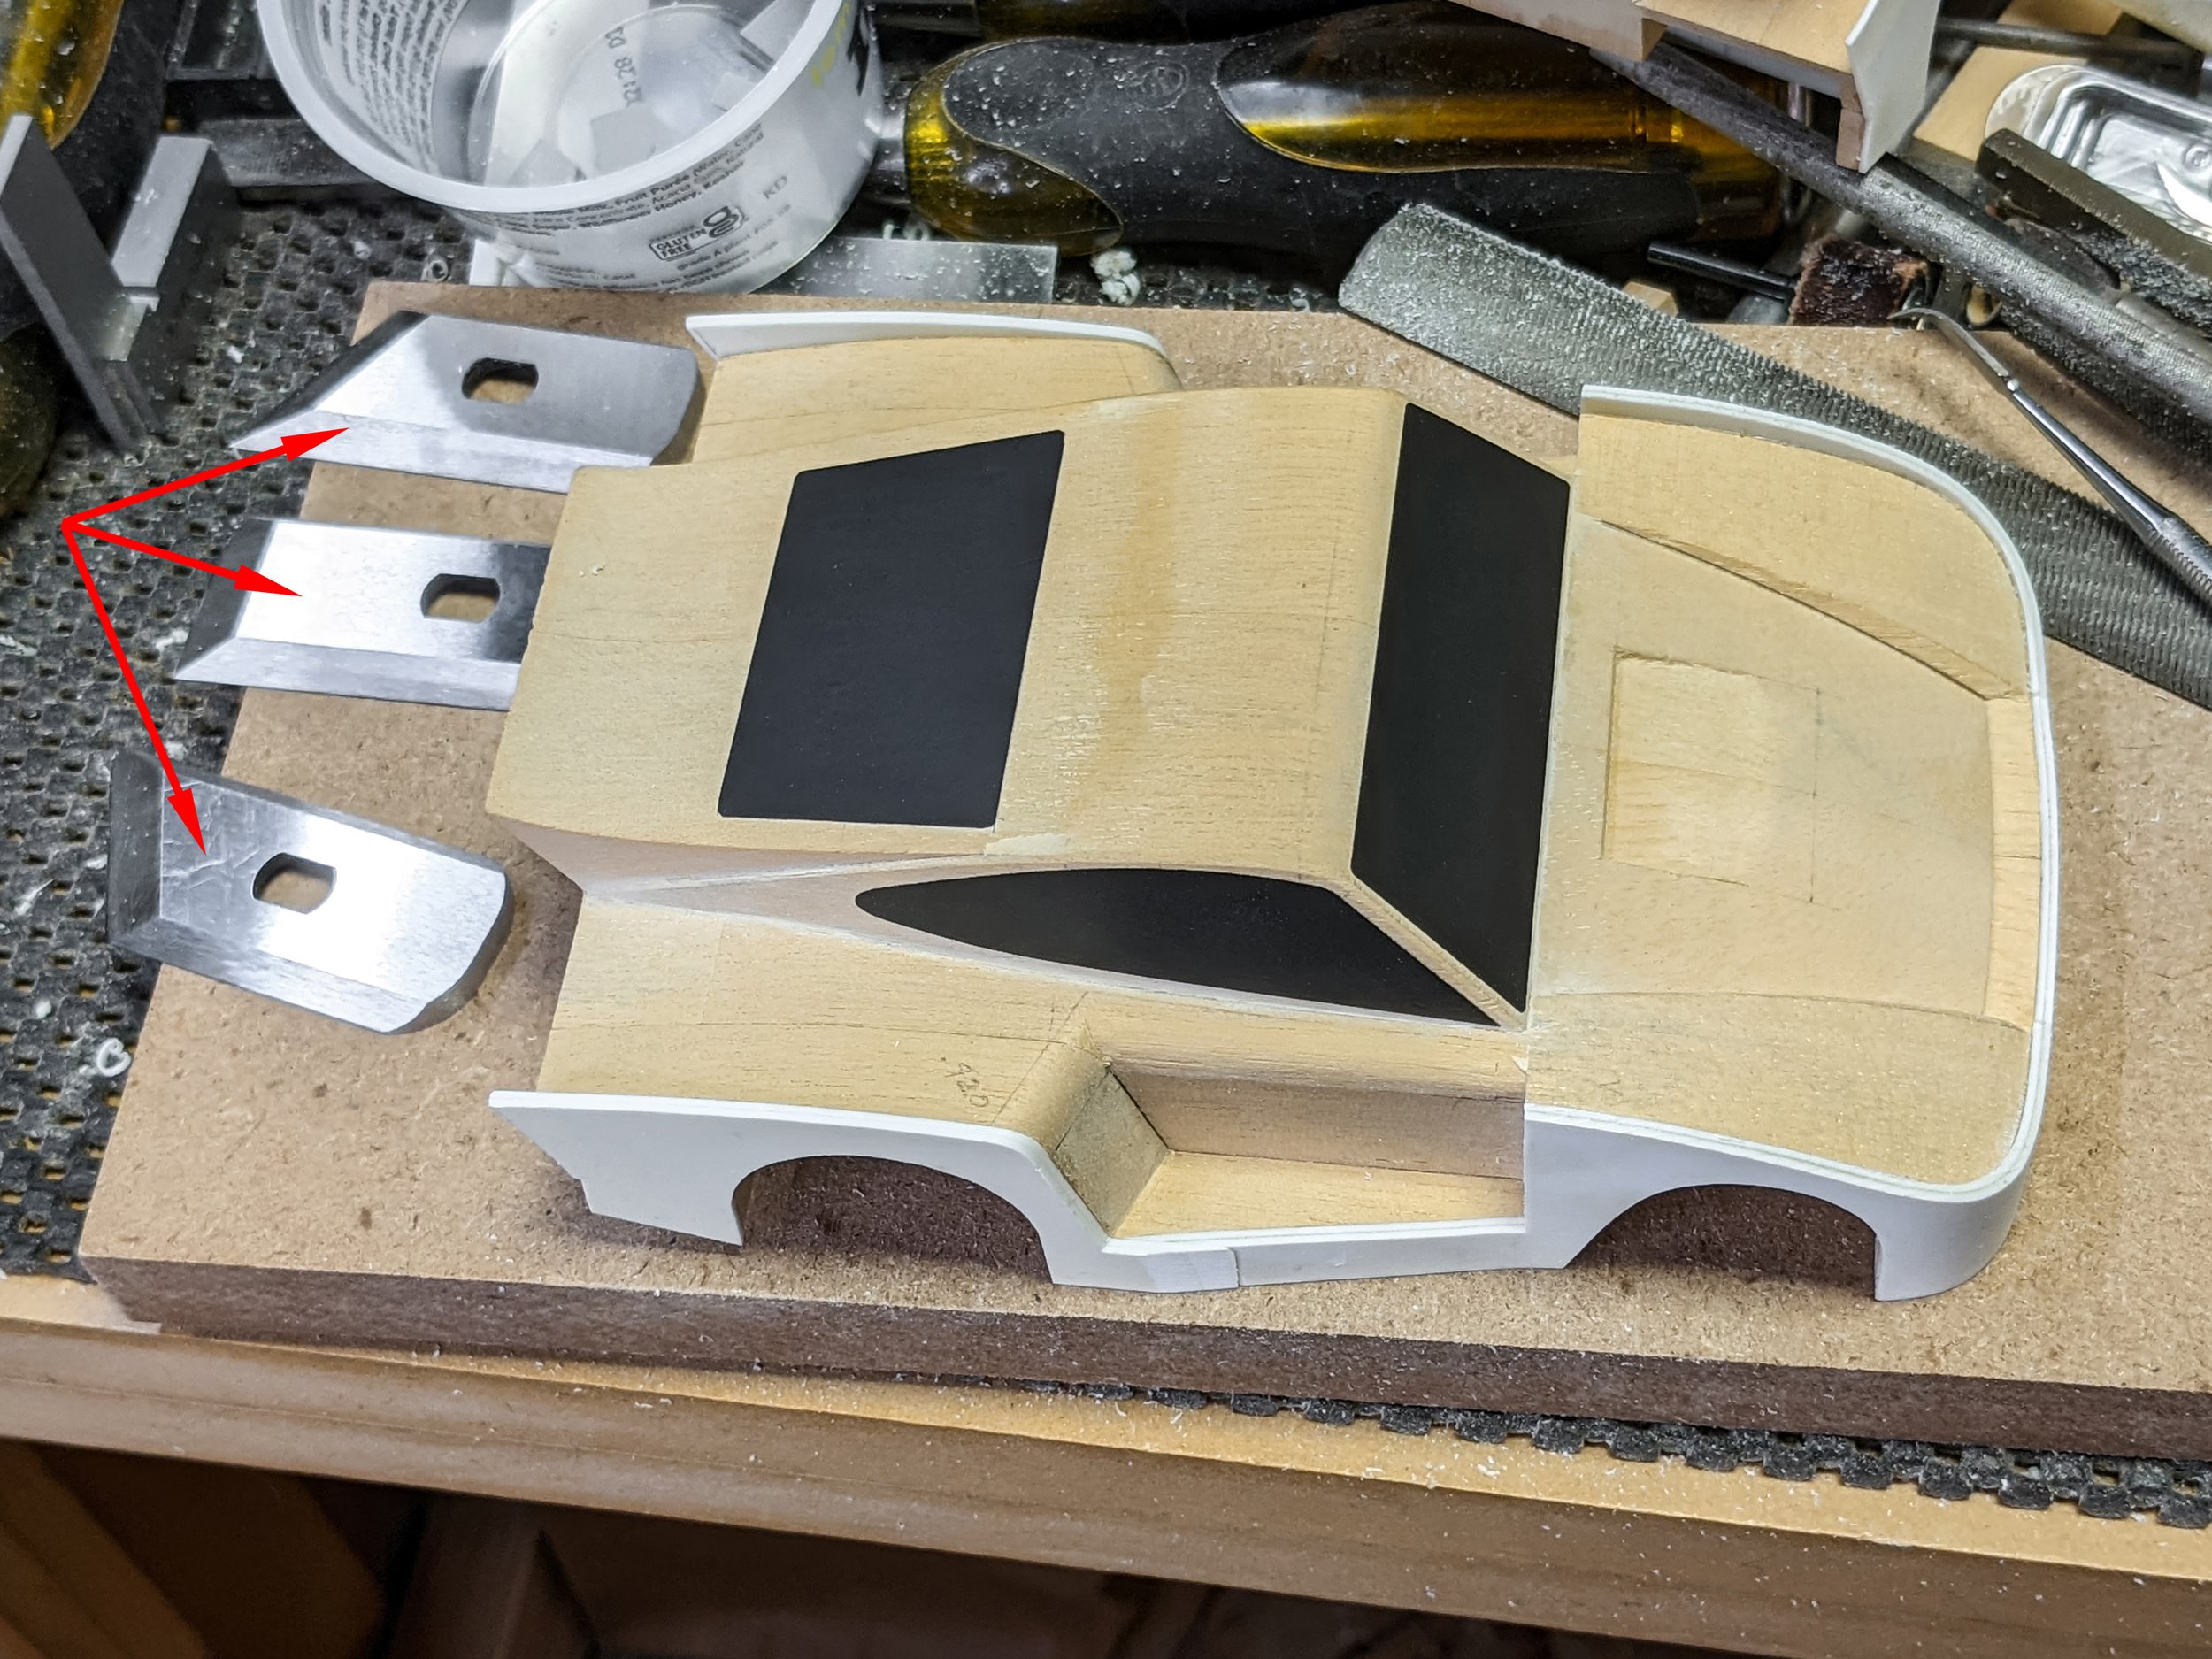
All skins are in place and side profile shaping is closer to done. The trio of StewMac chisel planes are great (after some serious sharpening) for really fine work, especially trimming the skins flush with the jelutong surfaces.
Each plane also has a well-sized spherical handle that screws on to give more leverage for heavier work.
The second rear skin layers are on. Templates printed from CAD data are in place for the rear wheel well and fender top profiles.
The first rear skin layers are in place.
Looks like Batman would like it!
Now both skin layers are on the front. Lots of trimming and shaping are still needed.
The rear fender profile tips have been glued on, I couldn't add rear skins until these were in place.
To complete the rear fender profiles tiny fender tips were made and glued on.
Hand-forming of the front skins was done using this highly technical jig. A piece of brass rod held in a vise provided just the right strength to gradually form each piece into a much better shape for more accurate placement during gluing.
This front skin is ready to mount. Each body's skin had various slots and relief cuts added as I learned where the stress lines were.
Next up will be 013 - Nose Shaping - the nose and splitter start to take shape.
For more of the story click on any of the following links:
- You’re here in the list.


