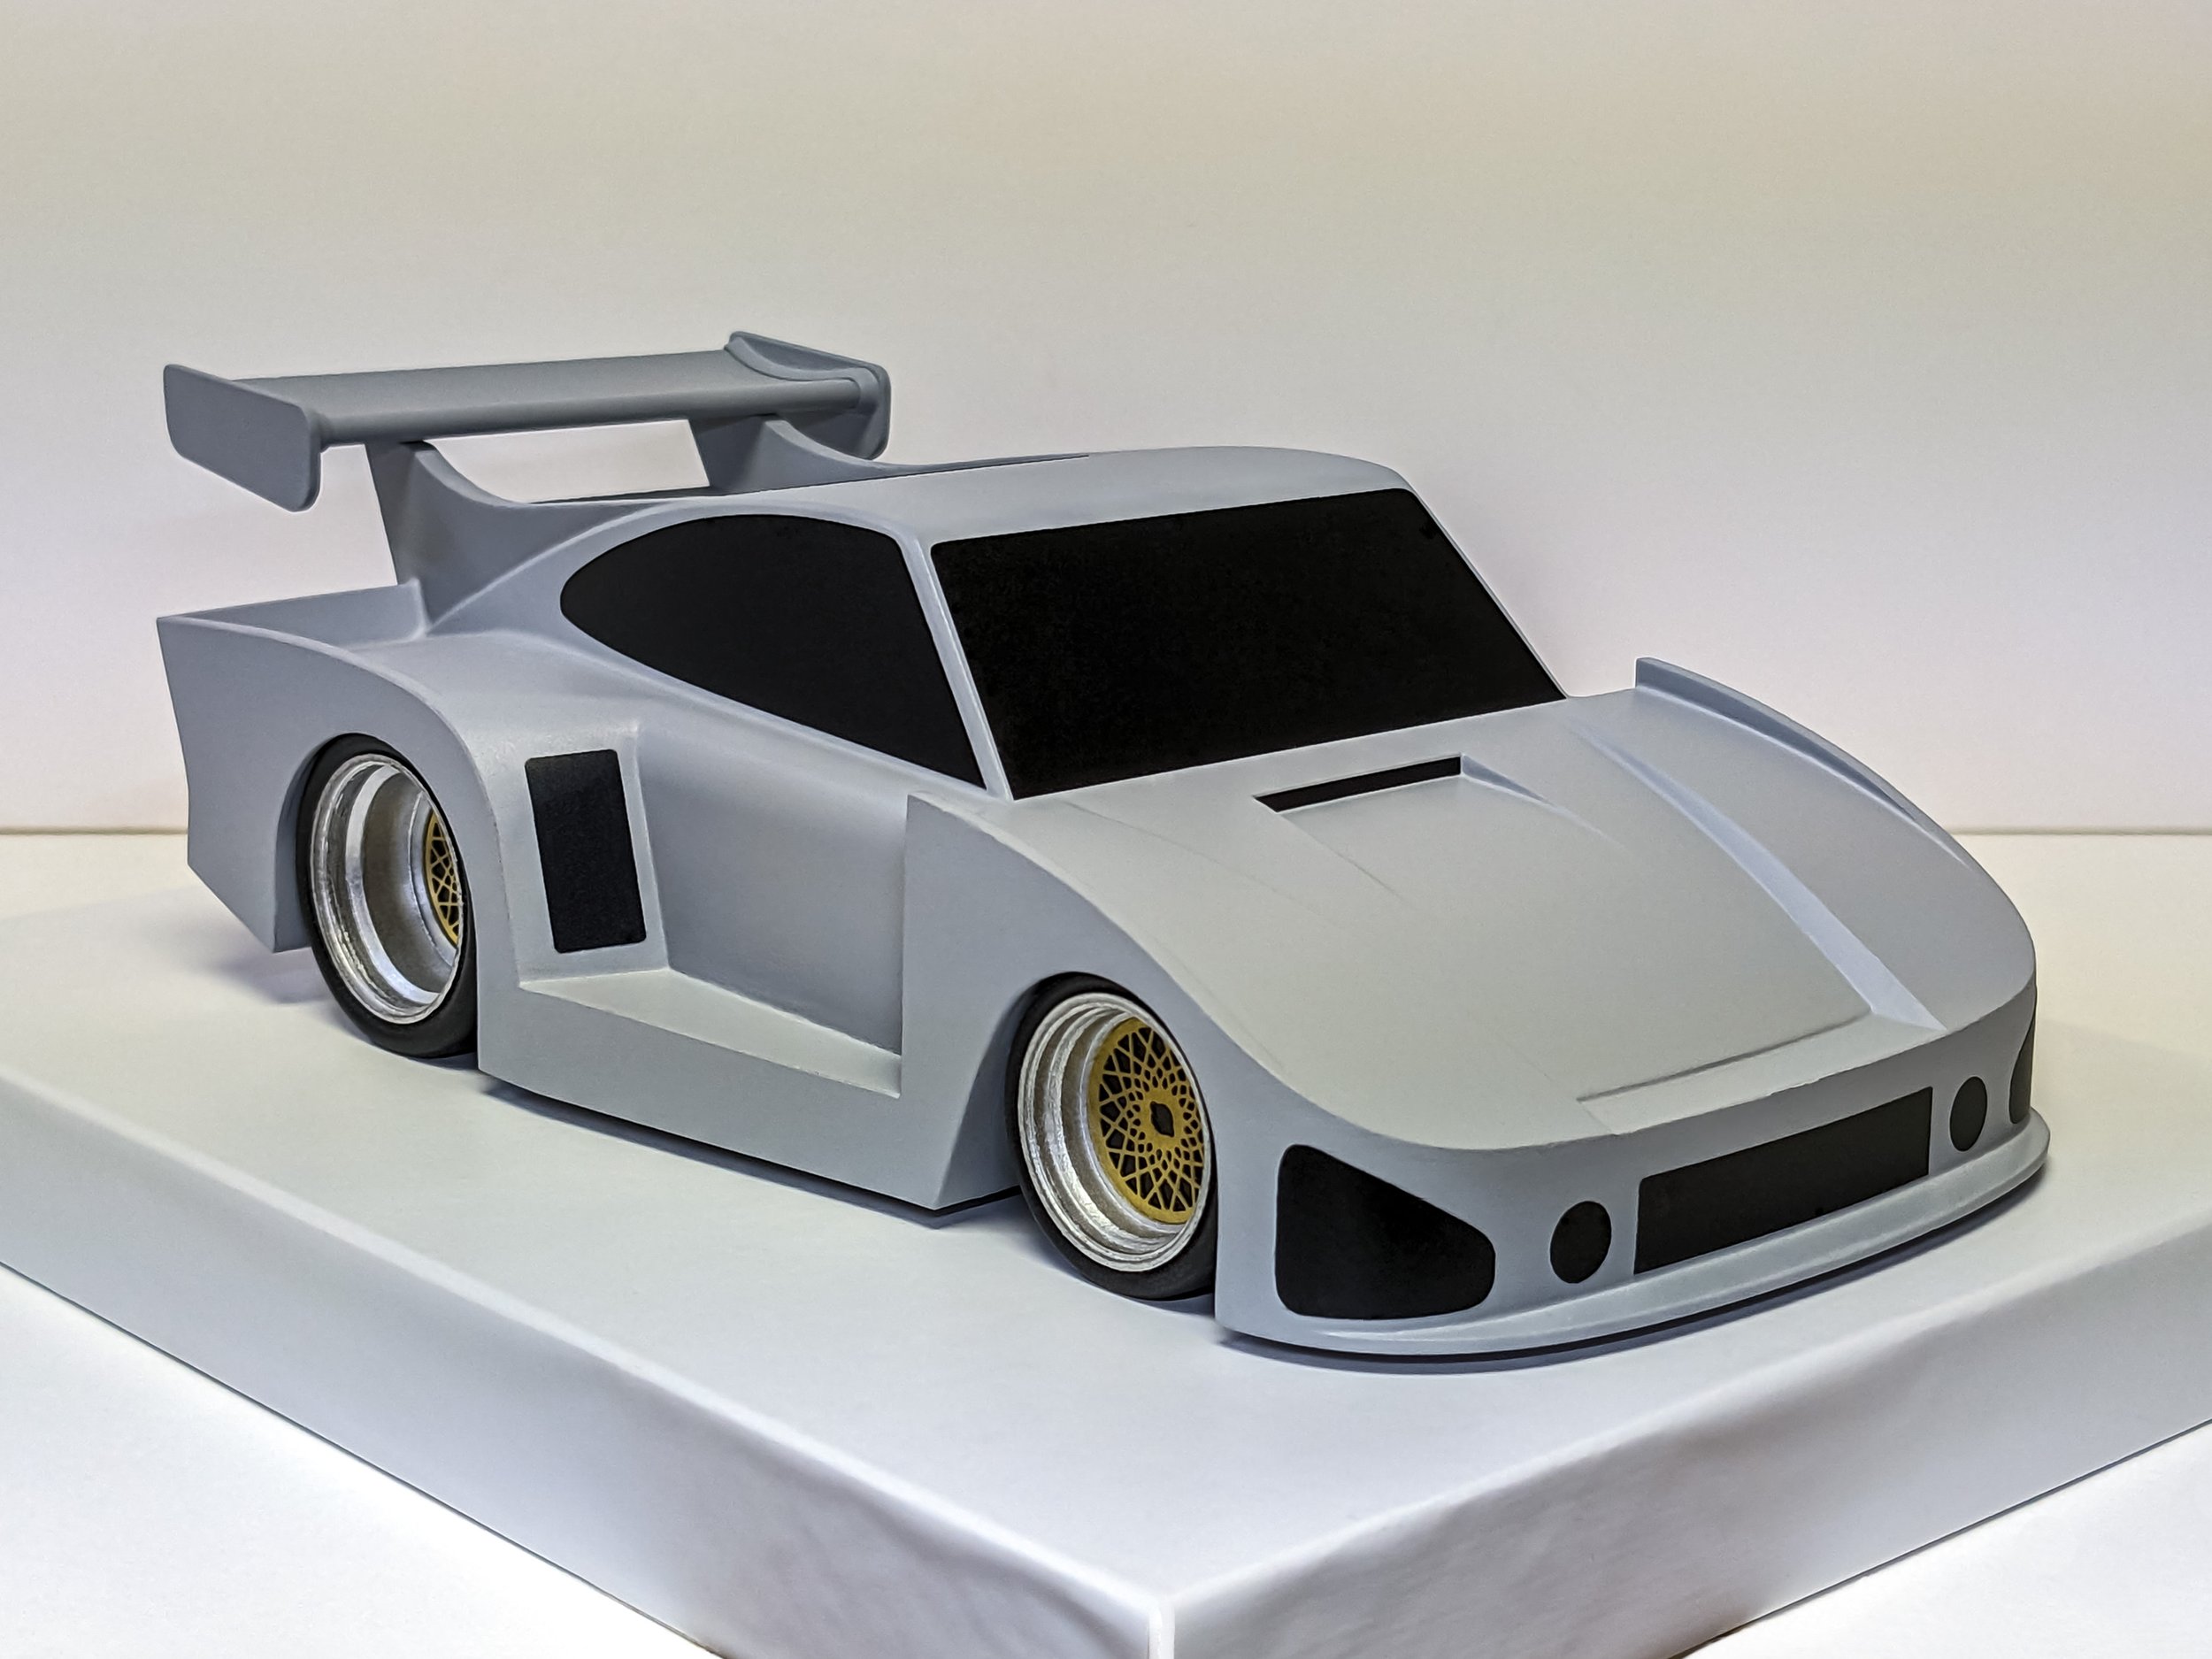
The group of four Co-Hog Porsche G935's is moving right along. There have been plenty of improvements since my last update.
Temporary prototype graphics have been applied to give a better feel for overall proportions which, in turn, helps identify areas for further refinement.
Front and rear wheel to tire ratios have been modified (again), using turned and painted maple. The result is a better overall look and stance.
The engine compartment is complete except for final painting and installation.
Left and right turbo assemblies are mounted and aligned using bosses on the block plate. Orange inlet tubes enter through the vent subassemblies.
Thirteen separate 3D printed pieces fill up the engine compartment. FDM printing (Fused Deposition Modeling) leaves a lot of stair-stepping so there was significant cleanup needed to get smooth round surfaces.
The nose has received a lot of attention since so many major character lines sweep down and around to meet in the center.
The splitter area has been simplified to match the more whimsical proportions of the whole piece.
Any place where wood is exposed indicates an area that has had alterations. These areas are resealed and reprimed before more filling and sanding.
Several filler materials are used sequentially. Sealer, wood putty and cyanoacrylate glue give a gradually finer and harder surface for priming and sanding. The final filling is done with red glazing.
Similar to 1:1 body work, it takes a slew of primer/filler/blocking/filler/sanding cycles to develop good surfaces. I use a multitude of small sanding blocks with 80, 150, 220, 320, 400 and 600 grits before final finishing can be started.
In the foreground are four small 956/962 wing supports being worked on for a separate restoration project.
After each glazing the vast majority is sanded away before starting the cycle all over again.
It's better to work out the nose graphics in 3D, roughly sketching out the details on tape applied to the curved surfaces.
This method is particularly good for the headlight bezels that roll around the plan view fender curve. Once the sketched details look good the layout is laid out flat, cleaned up and transferred to black vinyl for trimming.
There's still plenty of fine detailing and then multiple filling and sanding cycles to do, but the first of four G935's is getting closer to painting!
Be sure to check out the previous posts linked below to see the Co-Hog Porsche G935 story from the beginning.
For more of the story click on any of the following links:
012 - 2nd Skins Layer-Splitters


