There have been many ways used to label and individualize finished Co-Hog pieces. Most frequently the final touch was a machine printed label and a hand stamped number or a signed paper label. I've finally worked out something more fitting for current smaller, more refined editions.
To match those improvements, the Co-Hog logos are now encased in a hand turned and polished aluminum bezel with a polished clear acrylic cap. The signature and date are a separate lamination of two layers of clear vinyl. The logo itself has not changed, just the presentation.
The aluminum bezel pocket is carefully sized to have an interference fit with the turned clear acrylic cap. The printed logo with pressure sensitive adhesive on the back fits in the bottom of the pocket.
The polished acrylic cap is then pressed into place. Glue is not used to avoid ruining the printed logo.
After fitting, the outside face is turned down to the bezel surface, hand sanded and polished to complete it.
Acrylic rod stock is turned down to the cap diameter. The end face is the inner surface of each cap so, before cut-off, the face is hand sanded and polished. Rinse and repeat for each new cap.
Final sanding is done with 320, 400 and 600 grits and then with Tolecut 800, 1200, 1500 and 2000 grits. The surface is then polished with two grades of polishing paste.
The bezel pocket is turned cutting just 0.005" (0.13 mm) per pass to keep chatter down on such a thin part. Overall bezel thickness is 0.100" (2.5 mm), but after removing the pocket depth of 0.070" (1.8 mm) there's only 0.030" (0.8 mm) left holding it all together.
The bezel angle is turned using the compound slide. Because of the size limits of such a small lathe the cutting is done on the back side of the piece, hence the upside-down tool.
A 0.375" (9.5 mm) diameter boss (red arrow) is turned first to provide a firm grip and to use the chuck jaws as a solid backing for following operations. The boss fits into the hole in the bottom of each piece needed for the holding post used while painting.
I print the Co-Hog logo on matte presentation quality paper to prevent interference patterns when the polished cap is pressed into place.
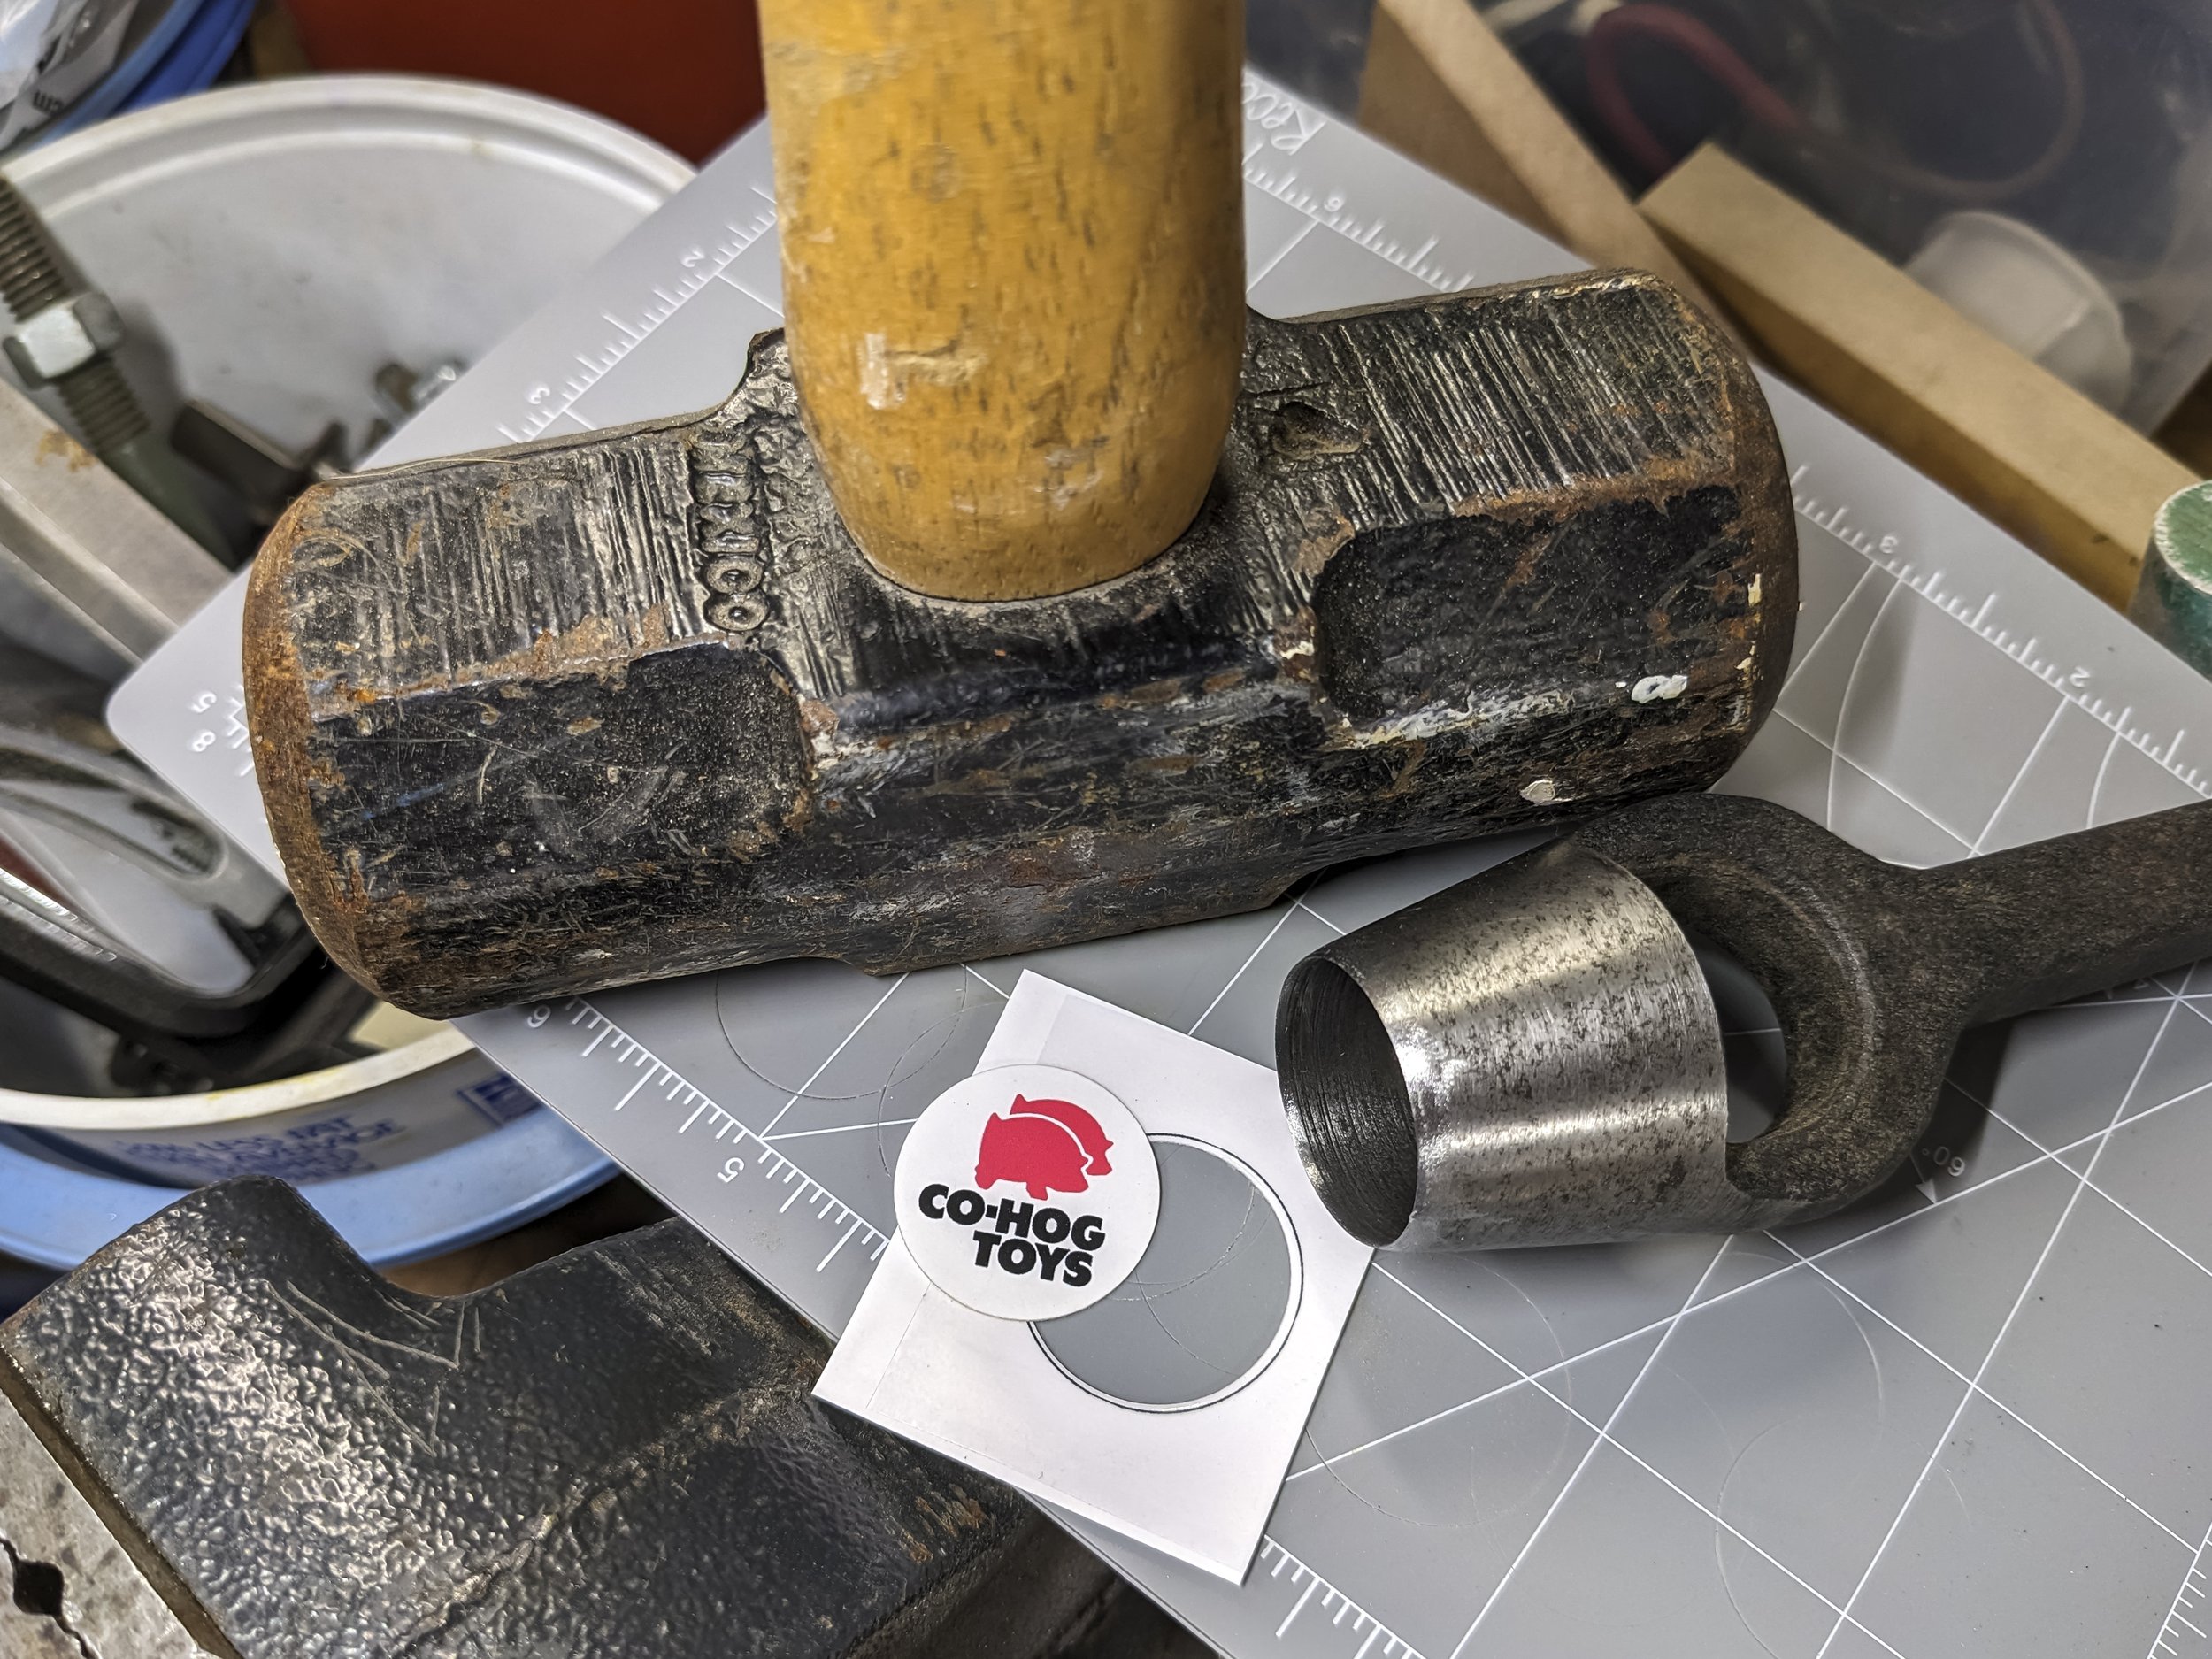
Heavy duty sheet adhesive is applied and a sharp arch punch is used with a subtle persuader to make the cut.
Few processes work the way they're first imagined. Multiple iterations are required to get it right. Here are most of the methods I tried to get to the current logo construction:
A - UV cured clear polyester resin
B - 2-part clear epoxy resin
C - logos printed on a variety of paper finishes and weights
D - double sided sheet adhesive used to position and hold the logo during lens fitting and finishing
E - individual acrylic caps polished one side - bezel is turned to an interference fit with the cap
F - complete logo trial, one of several
Now each piece has a logo that matches the quality of the piece it's added to.


